Advertisement
Quick Links
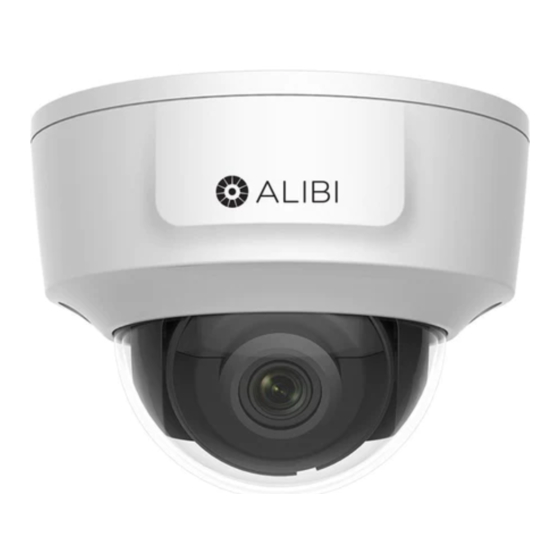
ALI-NS1008HDMI 4K (8MP) IR Indoor Dome
Network Camera Quick Installation Guide
This document guides you through the basic steps to install and configure the ALI-NS1008HDMI
network dome camera. This camera features:
3840 × 2160 @ 20 fps 4K (8MP) maximum resolution progressive scan CMOS sensor
•
2.8mm Lens with horizontal 102° field of view
•
Color: 0.028 lux @ (F2.0, AGC ON), 0 lux with IR
•
100 ft full frame IR
•
BLC/3D, DNR / ROI / HLC, H.265, H.264, and 120db wide dynamic range
•
Built-in micro SD / SDHC / SDXC card slot Supports capacity up to 128 GB
•
Micro HDMI output (1080P or 720P) for local monitoring. Micro HDMI to HDMI Type D adapter
•
cable provided
Audio and Alarm I/O
•
ONVIF (PROFILE S, PROFILE G)
•
Compact Dimensions 4.7" × 3.5"
•
Compatible Accessories: ALI-AJ13 Junction box
•
For more information, refer to these documents - available from your equipment vendor:
ALIBI™ Witness 2.0 App for Android or iOS Quick Start Guide
•
ALIBI™ IP Camera Firmware Version 5.4 User Manual (or later) provided at:
•
AlibiSecurity.com/resources
Mounting base
Dome
assembly
Lens
Lens
Black liner
Gimbal
assembly
Tilt lock
screw (2)
RESET*
button
* RESET button: To restore the camera with its default configuration (including user name, password, IP address, etc.)
press and hold the RESET button for 10 seconds while the camera is powering on or rebooting.
Camera view without dome assembly
1
www.observint.com
Camera assembly
Camera module
Gimbal
assembly
RJ-45 network LAN
connector)
Connector
for Audio,
Alarm,
Power cable
harness
Dome
assembly
captive
screws (2)
Hole for
surface
mounting
screws (2)
Orientation
mark (FRONT)
microSD
card slot
Hole for
Interface
cables
Micro HDMI cable
12 Vdc power connector
connector
(polarity independent)
LAN, Power, HDMI drop cable connectors
Camera top view without dome and liner
Holes for
surface
mounting
screws (2)
Camera mounting surface
Camera
module
Tilt lock
screw (2)
Hole for
Interface
cables
Camera
ground
terminal
ALI-NS1008HDMI_CQ
200218
Advertisement

Related Manuals for ALIBI ALI-NS1008HDMI


Summary of Contents for ALIBI ALI-NS1008HDMI
- Page 1 ALI-NS1008HDMI 4K (8MP) IR Indoor Dome Network Camera Quick Installation Guide Camera module This document guides you through the basic steps to install and configure the ALI-NS1008HDMI network dome camera. This camera features: Tilt lock screw (2) 3840 × 2160 @ 20 fps 4K (8MP) maximum resolution progressive scan CMOS sensor •...
-
Page 2: Install The Camera
Set the camera base down on a clean surface. Alarm, Audio, Power Use the security L-wrench provided to fully loosen the two dome assembly screws. cable camera end Lift the cover up and off the camera base assembly. NOTE: A safety cable on the right side is used to connect the dome assembly to the base. - Page 3 Seal all connections from moisture, dust or other contaminants. When an Alibi device is first installed, or reset to its factory configuration, it must be “Activated” before Failure of the power or Ethernet connector due to moisture or another it can be used.
-
Page 4: Step 7. Login To The Camera
In the Modify ... menu, uncheck the DHCP select box, enter the admin password in the screen. If this appears, follow the sub-steps below. field below, and then click OK. Close the Alibi Config Tool. Step 7. Login to the camera NOTE: If the camera LAN extension cable is attached to a Network Video Recorder (NVR), skip this step. - Page 5 Pan range: 0˚ ~ 355˚ Grasp Grasp here here Click on the message to install the plugin. Adjust the tilt: In the message bar at the bottom of the screen, click Save. Loosen the tilt lock screws on both sides of the gimbal. See photo on page 1. Open the folder where the plugin (WebComponents) was downloaded.
- Page 6 Step 10. Smart Events setup as a device on a LAN, or if it is connected to a NVR. Select the installation type below for your camera to complete this step. The camera can internally perform line crossing detection, intrusion detection, region entrance For cameras installed on a LAN detection, region exit detection, false alarm reduction by human and vehicle target classification based on deep learning using the configuration you setup.
- Page 7 Click Arming Schedule to set the time when this feature will be detected. By default, the feature is always armed when enabled. To create a custom arming schedule: To clear the arming schedule for a day of the week, click on the colored bar for that day, —...
- Page 8 Line Crossing Detection Smart Event setup Line crossing detection feature detects objects which cross a pre-defined virtual line. You can configure the minimum (Min) and maximum (Max) size of the object that crosses the line, and position the line anywhere and at any angle in video stream. Also you can detect when the object crosses the line from just one direction or the other direction, or detect when it crosses from either direction.
-
Page 9: Specifications
Shutter Speed 1/3 s ~ 1/100,000 s Slow Shutter Day & Night IR Cut Filter 120 dB Angle Adjustment Pan: 0° ~ 355°, tilt: 0° ~ 75°, rotate: 0° ~ 355° Click the Save button to retain your settings. Lens Unattended Baggage Detection Smart Event setup Lens Type 2.8 mm... - Page 10 Interface Communication 1 RJ45 10M / 100M self-adaptive Ethernet port Interface Audio 1 input (line in / mic in, terminal block), 1 output ( two-core terminal block), mono sound Alarm 1 input, 1 output (max. 12VDC, 30 mA) Video Output 1 HDMI™, type D, female plug (-M) Interface Style Pigtail / Socket style interface...
Need help?
Do you have a question about the ALI-NS1008HDMI and is the answer not in the manual?
Questions and answers