
Related Manuals for LEGRAND Sanus Accents ASBWM1


Summary of Contents for LEGRAND Sanus Accents ASBWM1
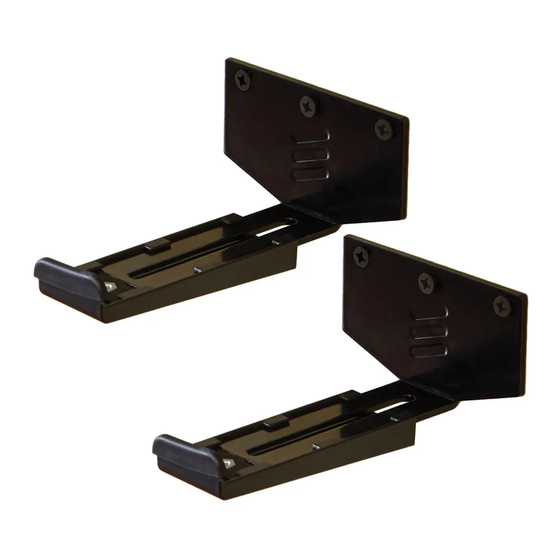
- Page 1 WE’RE HERE TO HELP SoundBar Wall Mount Model ASBWM 1 Our US-based install experts are standing by to help. Call us at: INSTRUCTION MANUAL +1-(800) 359-5520 Or, chat at: SANUS.com/chatSA Texto en español, página 16...
-
Page 2: Important Safety Instructions
IMPORTANT SAFETY INSTRUCTIONS READ ENTIRE MANUAL PRIOR TO USE — SAVE THESE INSTRUCTIONS Please read through these instructions completely to be sure you’re comfortable with this easy install process. If you do not understand these instructions or have doubts about the safety of the installation, assembly or use of this product, contact Customer Service (see back page). -
Page 3: Tools Needed
Tools Needed Tape Pencil Phillips Electric Drill Level Measure Screwdriver Wood Stud Install Drywall Install 1/8 in. (3.2 mm) 3/8 in. Wood (10 mm) Hammer Drill Bit Drill Bit... - Page 4 Supplied Parts and Hardware WARNING: This product contains small items that could be a choking hazard if swallowed. Before starting assembly, verify all parts are included and undamaged. If any parts are missing or damaged, do not return the damaged item to your dealer; contact Customer Service. Never use damaged parts! NOTE: Not all hardware included in this kit will be used.
- Page 5 Determine Your Install method Bottom Mounted Shelf-style (no threaded inserts) With threaded inserts...
- Page 6 STEP 1 Determine your bracket location HEIGHT STEP 1.1...
- Page 7 WIDTH STEP 1.2 Bottom Mounted Shelf-style 2−5 in. (51−127 mm) 2−5 in. (51−127 mm)
- Page 8 STEP 2 Install Soundbar Brackets Determine Your Wall Type STEP 2.1 WOOD STUD MUST BE DRYWALL CENTERED Only, Bracket, UNSURE, proceed to Skip to STEP 2.2 STEP 2.2 on PAGE 10...
- Page 9 Drill Hole Secure Bracket STEP 2.2 a STEP 2.3 a 2 in. (51 mm) 1/8 in. (3.2 mm) Go to STEP 3 on PAGE 12...
- Page 10 STEP 2.2 B STEP 2.3 B Drill Test Holes Drill Hole(s) 1/8 in. (3.2 mm) Bit 1 in. (25 mm) 3/8 in. (10 mm) 2 in. (51 mm) Drill test holes using a 1/8 in. (3.2 mm) bit. If you hit DRYWALL ONLY, proceed to STEP 2.3 If you hit a WOOD STUD, Skip to STEP 2.5...
- Page 11 STEP 2.4 B Insert Anchor(s) STEP 2.5 B Secure bracket...
- Page 12 STEP 3 Install Your Soundbar Loosen STEP 3.1...
- Page 13 Plug in Cables Place Soundbar STEP 3.2 STEP 3.3...
- Page 14 STEP 3.4 Secure ( — OPTIONAL For Bottom Mounted Only...
- Page 15 STEP 3.5 Adjust STEP 3.6 Secure...
-
Page 16: Instrucciones Importantes De Seguridad
INSTRUCCIONES IMPORTANTES DE SEGURIDAD. Español LEA TODO EL MANUAL ANTES DE UTILIZAR EL PRODUCTO. GUARDE ESTAS INSTRUCCIONES. Lea atentamente estas instrucciones para asegurarse de que está familiarizado con el sencillo proceso de instalación. Si no entiende las instrucciones o si tiene dudas acerca de la seguridad de la instalación, el montaje o el uso del producto, póngase en contacto con los profesionales de SANUS. -
Page 17: Herramientas Necesarias
Herramientas Necesarias Cinta métrica Lápiz Destornillador Taladro Nivel eléctrico Paredes con montantes de madera para pared de yeso 1/8 in. (3.2 mm) 3/8 in. (10 mm) Madera Martillo Broca Broca... - Page 18 PÁGINA 4 QUÉ HAY EN LA CAJA ADVERTENCIA: Este producto contiene piezas pequeñas que, en caso de ser tragadas, podrían causar asfixia. Antes de comenzar a montar la unidad, verifique que dispone de todas las piezas y que se encuentran en buen estado. Si no dispone de todas las piezas o alguna está...
- Page 19 PASO 2 Instale la placa mural PÁGINA 8 PASO 2.1. Determinar cuál es la construcción de su pared. Para montante de madera, debe comprobar el centro del montante, continúe con el PASO 2.2A. Solo para paneles de yeso, vaya a la PASO 2.2B en la PÁGINA 10. PASO 2.2A Taladre los orificios.
- Page 20 Legrand assumes no responsibility for accuracy, completeness or sufficiency of the information contained in this document. ©2022 Legrand AV Inc. All Rights Reserved. SANUS Accents is a brand of Legrand. SANUS Accents and the Accents logo are trademarks of Legrand.
Need help?
Do you have a question about the Sanus Accents ASBWM1 and is the answer not in the manual?
Questions and answers