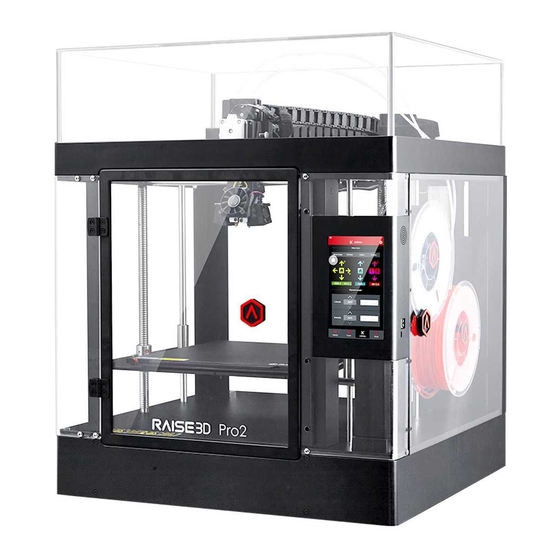
RAISE 3D Pro2 Series Manual
Hide thumbs
Also See for Pro2 Series:
- Quick start manual (31 pages) ,
- Manual (10 pages) ,
- Replacing manual (9 pages)
Advertisement
Quick Links
Replace Y Shaft Coupler
Manual Pro2 Series - 060 Replace Y Shaft Coupler-V1.0
Tools:
① 2.5mm wrench
② 2mm wrench
③ Philips head screw driver
1. Unload filament
In the 'Utilities' tab, verify that the temperature is set for your material. (215℃ for
•
Raise3D PLA)
Use the arrows to adjust the temperature if required. Press the 'unload' button to
•
begin.
The printer will begin to heat up to the designated temperature. Once the
•
temperature is reached the Unload button will become available.
Press Unload to withdraw the filament.
•
Advertisement

Related Manuals for RAISE 3D Pro2 Series


Summary of Contents for RAISE 3D Pro2 Series
- Page 1 Replace Y Shaft Coupler Manual Pro2 Series - 060 Replace Y Shaft Coupler-V1.0 Tools: ① 2.5mm wrench ② 2mm wrench ③ Philips head screw driver 1. Unload filament In the ‘Utilities’ tab, verify that the temperature is set for your material. (215℃ for •...
- Page 2 2. Power off. 3. Remove the 8 screws on top shroud with 2.5mm hex wrench. 4. Remove the cross screws on the upper and lower edges of plastic covers. Use Philips screwdriver and uninstall the Air filter Fan at the same time.
- Page 3 5. Cut the ties which hold the harness at the lower side of top shroud. 6. Lift the top shroud up manually.
- Page 4 7. Loosen the screws in the Shaft Coupler at rear-right corner with 1.5mm hex wrench.
- Page 5 8. Remove the screws which hold the Y Motor. Note: Secure the motor with your hand when removing the screws in 8...
- Page 6 9. Remove the coupler and Y motor from printer. 10. Rotate the back rod and motor shaft manually until both of their flat surface faces up.
- Page 7 11. Put the new coupler to the Y Motor Shaft. Note: Rotate the coupler slightly until one of the grub screws faces directly over the flat surface on Y Motor Shaft.
- Page 8 12. Put the motor with the new coupler back to its original position. Note: The two screws on coupler face toward the flat surface on the motor shaft and rod. 13. Hold up Y motor and pre-tighten the four screws which hold the motor on the frame.
- Page 9 14. Slide the coupler forward and back to verify the motor shaft and rod are aligned.
- Page 10 If motion is not smooth, it is not aligned. If not aligned adjust the position of the Y motor until the coupler can slide back and forth smoothly. Note: If it is not possible to move the motor then slightly loosen the four mounting screws.
- Page 11 17. Tighten the four screws on Y Coupler. 18. Zip tie the harness back to top cover. 19. Connect the Air Filter.
- Page 12 20. Re-install the top cover. 21. Re-install the back cover. Manual Pro2 Series - 060 Replace Y Shaft Coupler-V1.0...
Need help?
Do you have a question about the Pro2 Series and is the answer not in the manual?
Questions and answers