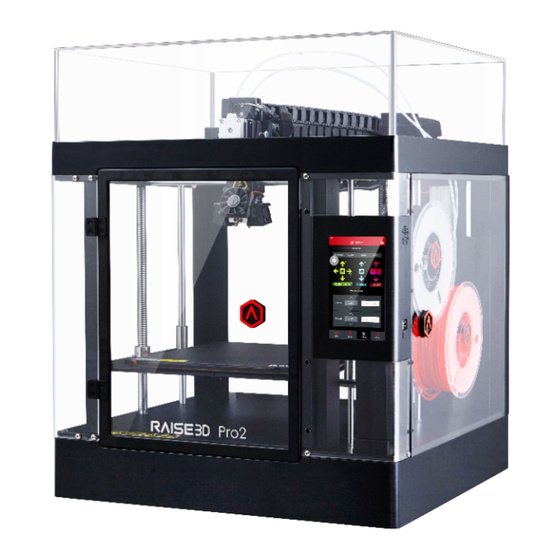
RAISE 3D Pro2 Installation Instruction
Extruder front nozzle cooling fan installation
Hide thumbs
Also See for Pro2:
- Quick start manual (31 pages) ,
- Manual (12 pages) ,
- Replacing manual (9 pages)
Advertisement
Quick Links
Pro2 Extruder Front Nozzle Cooling Fan Installation Instruction
Pro2 Extruder Front Nozzle Cooling Fan
Installation Instruction
STEP 1: Preparation
Unload the filament from both nozzles.
Turn off the printer after filament being removed.
STEP 2: Remove old Fan Duct
Remove the 4 fixing screws. Take the Front Fan off together with Protective Cover.
Remove the fixing screw on Fan Duct. Take the Fan Duct off.
WWW.RAISE3D.COM
AMERICA · ASIA · EUROPE
Advertisement

Related Manuals for RAISE 3D Pro2


Summary of Contents for RAISE 3D Pro2
- Page 1 Pro2 Extruder Front Nozzle Cooling Fan Installation Instruction Pro2 Extruder Front Nozzle Cooling Fan Installation Instruction STEP 1: Preparation Unload the filament from both nozzles. Turn off the printer after filament being removed. STEP 2: Remove old Fan Duct Remove the 4 fixing screws. Take the Front Fan off together with Protective Cover.
- Page 2 Pro2 Extruder Front Nozzle Cooling Fan Installation Instruction STEP 3: Remove the old Fan Unplug the front fan cable from extruder board. ⚫ Cut the old cable off. Take the old Cooling Fan and the its cable out. ⚫ Remove the two fixing screws from the black back casing and take the casing off.
- Page 3 Pro2 Extruder Front Nozzle Cooling Fan Installation Instruction Cut the zip tie fixing cables. Loosen the screws marked in following image. And remove the Heating Rod cables from extruder board. Pull the Heating Rod cables out from the Mounting Block from the bottom.
- Page 4 Pro2 Extruder Front Nozzle Cooling Fan Installation Instruction Fix the Protective Cover and Front Fan back onto the Fan Duct with 4 fixing screws. ⚫ Make sure the surface with label is facing to Fan Duct. Grab the connector of the new Fan by tweezers out from the top to help it go through the Mounting Block.
- Page 5 Pro2 Extruder Front Nozzle Cooling Fan Installation Instruction Plug the Front Fan cable onto the terminal where you unplug the old cable. Insert the cables of the Heating Rod into the terminal and tighten the screws to fix. Ensure there is no exposed wired touching with each other, or it may do harm to the printer.
- Page 6 Pro2 Extruder Front Nozzle Cooling Fan Installation Instruction STEP 4: Final Bind the cables together with zip ties and fix the casing back to cover the cables. WWW.RAISE3D.COM AMERICA · ASIA · EUROPE...
Need help?
Do you have a question about the Pro2 and is the answer not in the manual?
Questions and answers