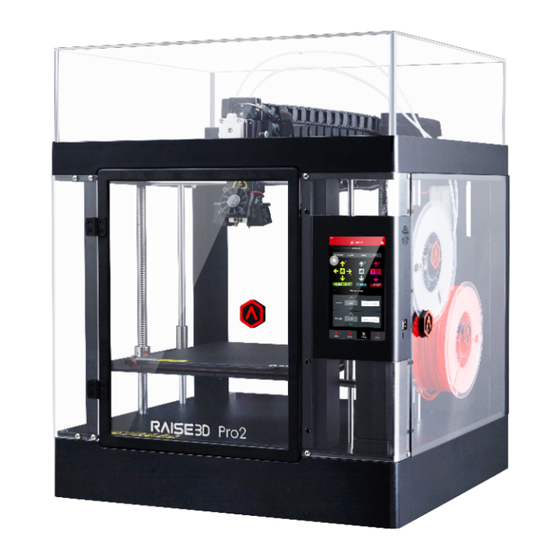
RAISE 3D Pro2 Installation Instruction
Nozzle
Hide thumbs
Also See for Pro2:
- Quick start manual (31 pages) ,
- Manual (12 pages) ,
- Replacing manual (9 pages)
Advertisement
Pro2 Nozzle Installation Instruction
For the instructions on removing or re-installing the assembled hotend onto the extruder head, please
refer to the Manual Pro2 – 402 Hotend Replacement.
STEP 1:
Remove and install nozzle
1.1 Remove the old nozzle from heating block with an 8mm socket wrench.
To prevent damage to components, do not exert force on the throat rube. Hold from the solid section of the heating
block during adjustments.
1.2 Insert a cleaning rod completely through the hotend and ensure that tube is completely clear of
blockages,
Pro2 Nozzle Installation Instruction
AMERICA · ASIA · EUROPE
WWW.RAISE3D.COM
Advertisement
Table of Contents

Summary of Contents for RAISE 3D Pro2
- Page 1 Pro2 Nozzle Installation Instruction Pro2 Nozzle Installation Instruction For the instructions on removing or re-installing the assembled hotend onto the extruder head, please refer to the Manual Pro2 – 402 Hotend Replacement. STEP 1: Remove and install nozzle 1.1 Remove the old nozzle from heating block with an 8mm socket wrench.
- Page 2 Pro2 Nozzle Installation Instruction 1.3 Screw the new nozzle into the heating block. Do not tighten completely. Ensure that there is a visible gap between the nozzle and the heating block. STEP 2: Tighten the Throat Tube Hold onto the heating block, and tighten the throat tube by rotating the heat sink. Rotate until the nozzle ‘catches’...
- Page 3 Pro2 Nozzle Installation Instruction STEP 3: Tighten Nozzle 3.1 Hold onto the heating block, and tighten the nozzle completely using an 8mm socket wrench. Check that a gap between the nozzle and the heating block has been maintained, 3.2 Lie the hotend assembly on a flat surface, rotating the heat sink so that the fixing screw is facing outwards 3.3 Move the heat sink down so that it rests on the silicone sock, and tighten into place.
- Page 4 Pro2 Nozzle Installation Instruction 3.4 If you do not have a silicone sock, adjust the heat sink so that it is flush with the bottom of the large cylinder. 3.5 Install the new silicone cover onto the hot end. For the steps of how to install the whole hot end back to extruder head, please check Manual Hotend Replacement WWW.RAISE3D.COM...


Need help?
Do you have a question about the Pro2 and is the answer not in the manual?
Questions and answers