
Subscribe to Our Youtube Channel
Related Manuals for Toshiba TEC B-SP2D Series


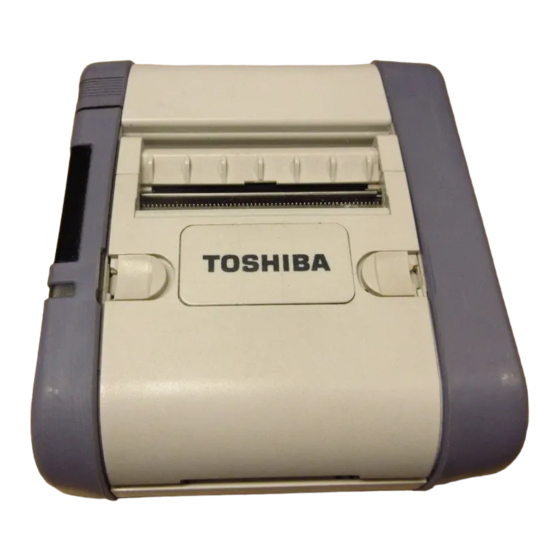
Summary of Contents for Toshiba TEC B-SP2D Series
- Page 1 TOSHIBA TEC Portable Printer B-SP2D Series Wireless LAN Setting Tool Operating Specification For customers First Edition: February 12, 2004...
-
Page 2: Table Of Contents
TABLE OF CONTENTS Page SCOPE ................................1 GENERAL DESCRIPTION..........................1 REQUIRED SYSTEM CONFIGURATION....................... 1 SOFTWRE INSTALLATION ........................... 2 OPERATING PROCEDURE (WHEN USING ACT-IR220Lplus) ..............3 OPERATING PROCEDURE (WHEN USING IrDA I/F SUPPORING IrCOMM) ..........11... -
Page 3: Scope
1. SCOPE This specification applies to the operating specification of the B-SP2D R.LAN Configuration Tool that is used to set the wireless LAN parameters for the B-SP2D-GH40 portable printer wireless LAN interface model. 2. GENERAL DESCRIPTION There are two ways to set the wireless LAN parameters: the way the B-SP2D R.LAN Configuration Tool is used and the way the web browser is used. -
Page 4: Softwre Installation
DISK(1/3) 7.M00557000 31st October 2003 V001.000 Copyright © 2003 TOSHIBA TEC CORPORATION All Rights Reserved [Installation Procedure] 1. Start Windows 95, Windows 98, Windows 2000, or Windows XP, and insert Setup Disk (1/3) into the PC floppy drive. 2. Click on the START button then highlight RUN and click on RUN. -
Page 5: Operating Procedure (When Using Act-Ir220Lplus)
5. OPERATING PROCEDURE (WHEN USING ACT-IR220Lplus) When using the ACT-IR220Lplus which is a jig connected to the serial port, TEC Protocol should be used. (1) Confirming the IrDA Setting of the Printer Turn on the printer while pressing and holding the .EED button (until the status indicator blinks in green) to start the printer in the system mode. - Page 6 (3) Starting the Application Start the R.LAN Configuration Tool. - 4 -...
- Page 7 (4) Starting the Parameter Setting Mode .irst, confirm that “IrDA: TEC Protocol” is selected for the Control of the Com Settings, and the IrDA port to which the ACT-IR220Lplus is connected is selected for the PORT. Then, face the ACT-IR220Lplus toward the IrDA interface window of the printer, and click on the Start button to cause the printer to enter the download mode.
- Page 8 (5) Calling the .actory Set Initial Settings When the Restore button is clicked on, the wireless LAN module’s parameter settings will turn to the initial settings. At this time, the IP address will always become “172.16.0.10”. The factory set IP address, however, is comprised of the upper 2 bytes fixed to “172.16” and the lower 2-byte number that is equal to the printer ID.
- Page 9 Loading the Parameter Settings Clicking on the GetPara button enables loading the current wireless LAN module’s parameter settings. - 7 -...
- Page 10 Parameter Setting Clicking on the Send Para button enables storing the parameter settings in the wireless LAN module. When the Send Para button is clicked on, the parameter settings starts to be transmitted one by one. The item being transmitted is shown below the Send Para button. - 8 -...
- Page 11 Saving and Loading the Parameter Settings The parameter settings shown on the B-SP2D R.-LAN Configuration screen can be saved or loaded. [Saving] When the “Save” on the .ile menu is selected, the Save screen will be displayed. Give a name to the file to save it.
- Page 12 Terminating the Application When clicking on the Close button, the application is closed. Then, hold down the Power button on the printer to turn it off. - 10 -...
-
Page 13: Operating Procedure (When Using Irda I/F Supporing Ircomm)
6. OPERATING PROCEDURE (WHEN USING IrDA I/. SUPPORTING IrCOMM) When using the IrDA Interface supporting IrCOMM for parameter setting, IrCOMM protocol should be used. (.or example, when using the IrDA interface provided on a notebook PC.) (1) Confirming the IrDA Setting of the Printer Turn on the printer while pressing and holding the .EED button (until the status indicator blinks in green) to start the printer in the system mode. - Page 14 (3) Starting the Application Start the R.LAN Configuration Tool. - 12 -...
- Page 15 (4) Starting the Parameter Setting Mode .irst, confirm that “IrDA: IrCOMM” is selected for the Control of the Com Settings, and the virtual COM port for the IrDA is selected for the PORT. Note that when using Windows 2000 and Windows XP, the COM port selection will be ineffective.
- Page 16 (5) Calling the .actory Set Initial Settings When the Restore button is clicked on, the wireless LAN module’s parameter settings will turn to the initial settings. At this time, the IP address will always become “172.16.0.10”. The factory set IP address, however, is comprised of the upper 2 bytes fixed to “172.16” and the lower 2-byte number that is equal to the printer ID.
- Page 17 Loading the Parameter Settings Clicking on the GetPara button enables loading the current wireless LAN module’s parameter settings. - 15 -...
- Page 18 Parameter Setting Clicking on the Send Para button enables storing the parameter settings in the wireless LAN module. When the Send Para button is clicked on, the parameter settings starts to be transmitted one by one. Item being transmitted is shown below the Send Para button. - 16 -...
- Page 19 Saving and Loading the Parameter Settings The parameter settings shown on the B-SP2D R.-LAN Configuration screen can be saved or loaded. [Saving] When the “Save” on the .ile menu is selected, the Save screen will be displayed. Give a name to the file to save it.
- Page 20 Terminating the Application When clicking on the Close button, the application is closed. Then, hold down the Power button on the printer to turn it off. - 18 -...
Need help?
Do you have a question about the TEC B-SP2D Series and is the answer not in the manual?
Questions and answers