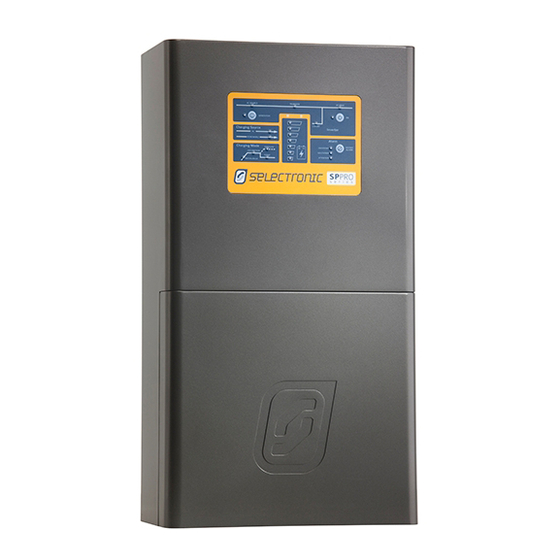
Selectronic SP PRO Technical Notes
Interactive inverter charger shunt installation
Hide thumbs
Also See for SP PRO:
- Instruction manual (76 pages) ,
- Installation note (26 pages) ,
- Installation notes (22 pages)
Advertisement
SP PRO Interactive Inverter Charger
Technical Note
SP PRO Shunt Installation
Introduction
The SP PRO accurately monitors current in and out of the battery bank to keep track of the
batteries State of Charge (SoC). The SP PRO internally measures any current flow to and from
the battery caused by itself but requires additional external current shunts to measure other
connected components like solar input or DC loads. The SP PRO has two shunt sense inputs for
this purpose.
Installation
S
W
HUNT
IRING
External shunts MUST be installed on the battery negative side, between the battery negative
terminal and the solar or DC load.
To Solar and/or DC Load
Note: Shunts installed in any other position will not work correctly and may cause damage to
the SP PRO.
TN0045 Revision 02 – 1 of 2
POWER
PERFORMANCE
PASSION
Advertisement
Table of Contents

Summary of Contents for Selectronic SP PRO
- Page 1 SP PRO Shunt Installation Introduction The SP PRO accurately monitors current in and out of the battery bank to keep track of the batteries State of Charge (SoC). The SP PRO internally measures any current flow to and from the battery caused by itself but requires additional external current shunts to measure other connected components like solar input or DC loads.
- Page 2 IRING OLARITY Polarity is important when using the shunt in “Dual” or “Multiple SP PRO” mode – that is where the shunt is used for both input and output measurement to obtain a nett result. In this case the sense wiring must be as shown above – 1A or 2A terminal to the solar and load side, 1B or 2B to the battery negative side.


Need help?
Do you have a question about the SP PRO and is the answer not in the manual?
Questions and answers