Table of Contents
Advertisement
Quick Links
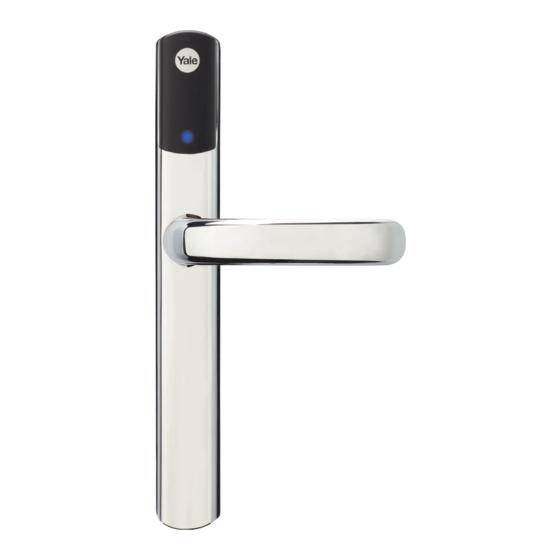
Installing the Yale Access Module – Conexis
Installing the Module
Step 1. Remove battery cover
Using a Phillips-head screwdriver, loosen the battery cover screw. Slide the cover away from the lock.
Step 2. Remove a battery
Remove the batteries from your lock to power it off. Wait approximately 10 seconds for the lock to fully
power down.
Step 3. Remove the Module Cover
Slide the module cover up to remove this and access the slot
Advertisement
Table of Contents

Related Manuals for Yale Conexis


Summary of Contents for Yale Conexis
- Page 1 Installing the Yale Access Module – Conexis Installing the Module Step 1. Remove battery cover Using a Phillips-head screwdriver, loosen the battery cover screw. Slide the cover away from the lock. Step 2. Remove a battery Remove the batteries from your lock to power it off. Wait approximately 10 seconds for the lock to fully power down.
- Page 2 Step 4. Install the Module Insert the Yale Access module into the slot in the module compartment. Make sure it is properly seated in the lock. Step 5. Replacing the battery cover Restore power to the lock by reinserting the batteries. The light on the front of the lock will flash blue and play a fanfare noise, once this has happened please proceed.
- Page 3 Android phone: Yale Access devices come with a QR code that can be used to set up the device in the Yale Access App. This code is included on the Yale Access Module and is helpful during setup. If you no longer have a QR code associated with the device, the serial number can be used during setup.
- Page 4 15 feet on an opposite or adjacent wall from your Yale Smart Lock. 1. Wait for the flashing green light on your Yale Connect Wi-Fi Bridge. If you don’t see the flashing green light press and hold the button on your Yale Connect Wi-Fi Bridge for 5 seconds.
- Page 5 The accessory setup interface will ask you to choose your home Wi-Fi network. Once your Yale Connect Wi-Fi Bridge has successfully joined your home Wi-Fi network, the Yale Access App will check the signal levels of your Wi-Fi and bluetooth connections. If your signal levels are good, you’re almost finished.
Need help?
Do you have a question about the Conexis and is the answer not in the manual?
Questions and answers