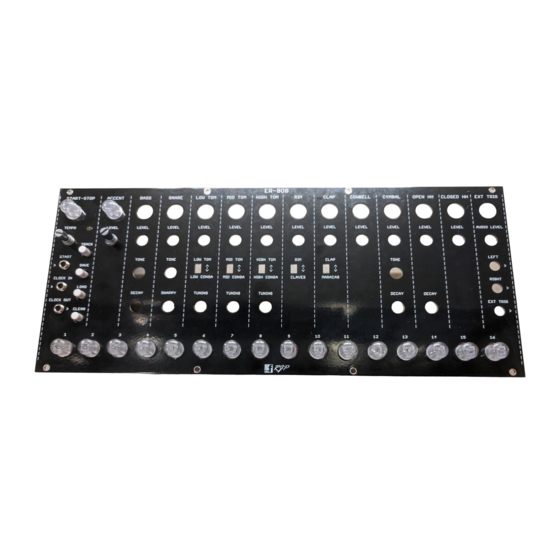
PMFoundations ER-808 Clap Module Assembly Manual
Hide thumbs
Also See for ER-808 Clap Module:
- Assembly manual (16 pages) ,
- User manual (5 pages) ,
- Assembly manual (5 pages)
Table of Contents
Advertisement
Quick Links
Advertisement
Table of Contents

Related Manuals for PMFoundations ER-808 Clap Module


Summary of Contents for PMFoundations ER-808 Clap Module
- Page 1 ER-808 – Assembly Guide _____________________________________________________________________________________ PM Foundations ER-808 v1.4 Clap Module _____________________________________________________________________________________ Page 1 of 5...
- Page 2 ER-808 – Assembly Guide _____________________________________________________________________________________ Introduction LM13700 through hole parts are being phased out. You may need to use a SOIC version of this part and install in a 16 pin SOIC to PDIP adapter so that it can be installed in the IC socket. BOTTOM mounted parts Install and solder all the parts listed in the BOM as BOTTOM mounting parts.
- Page 3 ER-808 – Assembly Guide _____________________________________________________________________________________ Bipolar Transistors Separate the transistors on the workbench into NPN (2N3904) and PNP (2N3906). Install the transistors on the TOP of the board. Do not mix up the NPNs with the PNPs. These are polarized components. Align the outline with the outline on the board.
- Page 4 ER-808 – Assembly Guide _____________________________________________________________________________________ _____________________________________________________________________________________ Page 4 of 5...
- Page 5 ER-808 – Assembly Guide _____________________________________________________________________________________ Testing Install the ICs. Plug the module into the Bus PCB. Connect the L and R outputs of the Trigger/Output module to an amplifier or other listening device in your rack. Power on. Press the button to light and then build a pattern of steps (see User Guide). Start the sequence.
Need help?
Do you have a question about the ER-808 Clap Module and is the answer not in the manual?
Questions and answers