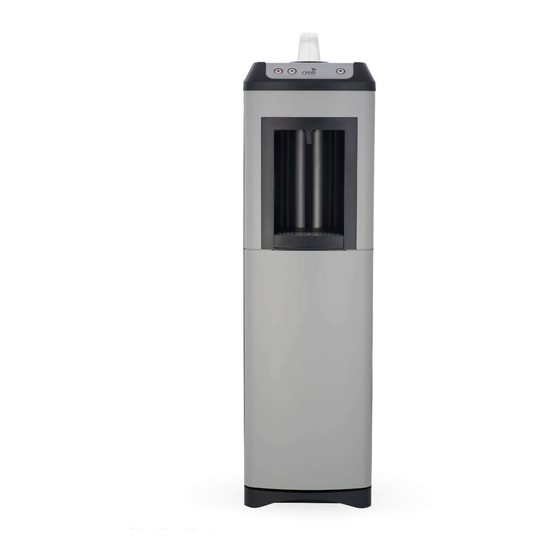
Advertisement
Quick Links
Ensure use of personal protective equipment. Please read and comply with all safety and
handling instructions as recommended by sanitizer manufacturer.
Required materials:
•
Sanitizer/Disinfectant based on 5% Peracetic Acid
•
Mild dishwashing soap
•
Small bristle brush
•
Large bottle/bristle brush
•
Philips head screw driver
•
¼ Inch hexagonal head, screw driver
•
Sellotape
•
Empty sanitizing filter unit.
•
Replacement filter media
•
Replacement blue tubing [4000mm], knife to cut lengths.
•
Cable ties [x 4]
•
Container for emptying contaminated cooler, capacity of at least 2 liters.
•
Small sink or bucket to hold at least 3 liters of water.
1. Disconnect cooler from Mains Water & Electrical supply.
•
Remove and replace inlet tubing with similar length.
2. Expose filter system - removing front door panel from unit.
•
Lift out and remove the drip tray. (Diagram 3.1)
•
Depress the clip visible through the slot in the alcove and swivel the door forward. (Diagram
3.2)
181218
OAS0033A
Kalix Sanitisation Procedure
Diagram 3.1
.
TECHNICAL
BULLETIN
OAS0033A
1
Advertisement

Subscribe to Our Youtube Channel
Summary of Contents for Oasis Kalix
- Page 1 TECHNICAL Kalix Sanitisation Procedure BULLETIN OAS0033A Ensure use of personal protective equipment. Please read and comply with all safety and handling instructions as recommended by sanitizer manufacturer. Required materials: • Sanitizer/Disinfectant based on 5% Peracetic Acid • Mild dishwashing soap •...
- Page 2 TECHNICAL Kalix Sanitisation Procedure BULLETIN OAS0033A Diagram 3.2 • Remove the door from the cooler • The inlet pipe and filter system, are now visible in the filter compartment. 3. Expose Tee-piece by removing top of cooler. • Remove the top from the unit – remove the two screws at the rear of the top, and lift off the lid assembly Diagram 4.1...
- Page 3 TECHNICAL Kalix Sanitisation Procedure BULLETIN OAS0033A Diagram 5.1 Diagram 5.2 5. Remove drain plug and Empty Cold tank. • Looking down on the unit, (Diagram 6.1) disconnect the cold water inlet as shown. Diagram 6.1 • Open the drain valve at the rear of the unit. The drain is located 280mm from the floor –...
- Page 4 TECHNICAL Kalix Sanitisation Procedure BULLETIN OAS0033A • Install 4 ft (1300mm) blue tube between the bulk head fitting at the rear of the cooler, and the Tee piece on the shelf. • Use shortest distance 7. Install sanitization cartridge. •...
- Page 5 TECHNICAL Kalix Sanitisation Procedure BULLETIN OAS0033A • Disconnect the cooler from mains water and electrical supply. Flush the cold tank and drain tube by following [STEP 6]. Sanitization Instructions – Additional Parts: 10. Sanitizing solution • Prepare a 2000 ppm Peracetic acid solution by mixing 40ml of 5% Peracetic acid per liter of room temperature water.
- Page 6 TECHNICAL Kalix Sanitisation Procedure BULLETIN OAS0033A • Separate “John Guest” ¼ Inch reducers from water outlet. • Wash the components (spout, water outlet, ¼ Inch reducers, Tee-piece, and bulk head fitting) with mild soap and water. Use a small bristle brush to clean all the interior components of every piece, including the check valves in the water outlet.
- Page 7 TECHNICAL Kalix Sanitisation Procedure BULLETIN OAS0033A Diagram 12.5 • Unscrew filter cap from filter housing. • Remove insert and filter media. • Separate filter media from insert and dispose of filter media. • Wash all remaining parts with mild soap and water using both the small and large bristle brush.
- Page 8 TECHNICAL Kalix Sanitisation Procedure BULLETIN OAS0033A • Disassemble parts and remove o-rings from insert and cap. • Place all filter parts back in sanitization solution for a further 10 minutes. • Remove all parts from sanitization solution, and rinse thoroughly under a tap.
- Page 9 TECHNICAL Kalix Sanitisation Procedure BULLETIN OAS0033A • Position filter head and mounting bracket over screws and slot into place. (Diagram 13.3) • Re-Tighten screws. • Push filter into filter head and lock into position. (Diagram 13.4) Diagram 13.5 Diagram13.6 •...
- Page 10 Affix 3 screws in position illustrate in (Diagram 14.2). Diagram 14.3 Diagram 14.4 • Reposition top of Kalix as per (Diagram 14.3) • Slide top over push buttons, then secure in position via two screws at the back of the cooler. •...


Need help?
Do you have a question about the Kalix and is the answer not in the manual?
Questions and answers