Advertisement
Quick Links
Advertisement

Related Manuals for Seafloor HyDrone ASV


Summary of Contents for Seafloor HyDrone ASV
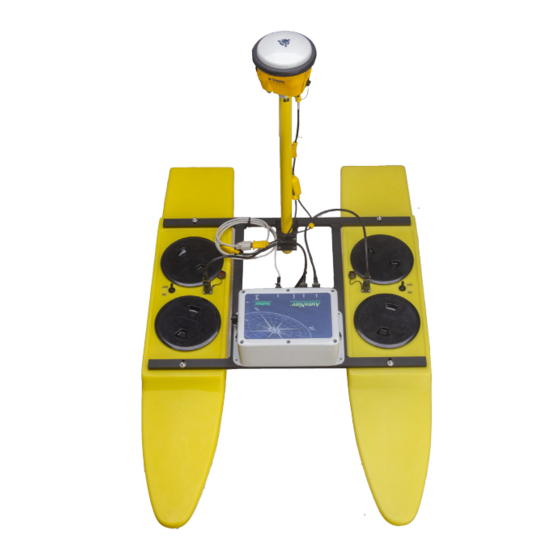
- Page 1 HyDrone Model # ASV/RCV Survey Vessel...
- Page 2 Model # ASV/RCV S f y d S c f c y I f m mb y..Au N y S f y L u ch u ch h ck Au N Qu ck S u ...
- Page 3 Model # ASV/RCV...
- Page 4 HyDrone Model # ASV/RCV Vessel...
- Page 10 Before and after every use of a LiPo battery, carefully inspect the pack to ensure no physical damage, swelling or “ballooning” is If at any time you have an accident with your model, or if the battery swells, “balloons”, or feels too hot to the touch, immediately stop use and carefully follow these safety steps: Always handle LiPo batteries with extreme care and take all necessary to avoid battery packs and cells being dinged, dented, punctured, or...
- Page 11 Due to international shipping regulations, LiPo batteries are not shipped fully charged. All LiPo battery packs should be fully charged prior to the first use. Always use a charger specifically designed for LiPo batteries. Never use NiCD or NiMH chargers to charge LiPo batteries.
- Page 12 Any battery that has been subjected to conditions outside of normal use, shows signs of swelling, “ballooning”, damage or has been retired from use should be disposed of properly. We recommend transporting these battery packs to an approved disposal facility while observing the applicable safety warnings above.
- Page 17 TARANIS X7 Controller Alarm Volum Clockwise:Up Counterclockwise: Down Forward Forward Reverse Reverse Power ON/OFF Center all switches and joysticks. Hold Power button until all four loading process dots appear on the screen.
- Page 18 TARANIS X7 Controller AutoNav Up: Manual Mode Down: Auto Mode Down Arming Safety Switch AutoNav Up: Arm Down: Disarm Forward Alarm Volume Clockwise: Up Counterclockwise: Down Left Right Reverse Power ON/OFF To arm AutoNav, move Center all switches and joysticks. arming switch to arming position then Hold Power button until all four loading hold arming...
- Page 19 Before heading into the field Make sure the batteries you are bringing are fully charged! The ESCs have a low voltage cutoff of 12.8v (3.2 per cell) The 4s LiPo batteries charge up to 16.8v (4.2 per cell) Qx7 remote charges up to 8.5v For RCV Center throttle sticks and turn on the Qx7 remote Turn pontoon power switches on and wait for...
- Page 20 For ASV Attach the AutoNav box to the Hydrone frame using the supplied hardware (10-32X1.25 bolt, wing nuts) Connect the port and starboard AutoNav cables into the labeled ports on the AutoNav Next connect the port side cable to the left pontoon and the starboard side cable to the right pontoon Turn the Qx7 remote on (sticks will stay in the center) Switch to manual using the top left switch (SF) (the remote screen will read “Manual”) Turn pontoon power switches on and wait for startup tones to finish...
- Page 22 Within the top left portion of the “Flight Data” tab, you may see an inscription A NMEA string will be needed for positioning purposes. Receiver must have RS232 output, RS232 to Amphenol cable provided by Seafloor Systems. Gender changer and/or Null modem may also be needed.
- Page 23 1. Click FLIGHT PLAN in Mission Planner on the control bar. 2. Find your survey area on the satellite map.
- Page 28 Be AWARE, it WILL head directly to the location where it was first armed. If there are objects in the way or it was armed on shore, the boat may run aground.
- Page 30 Figure 4...
- Page 31 Figure 5 Figure...
Need help?
Do you have a question about the HyDrone ASV and is the answer not in the manual?
Questions and answers