
Related Manuals for Seafloor AutoNav PLUS


Summary of Contents for Seafloor AutoNav PLUS
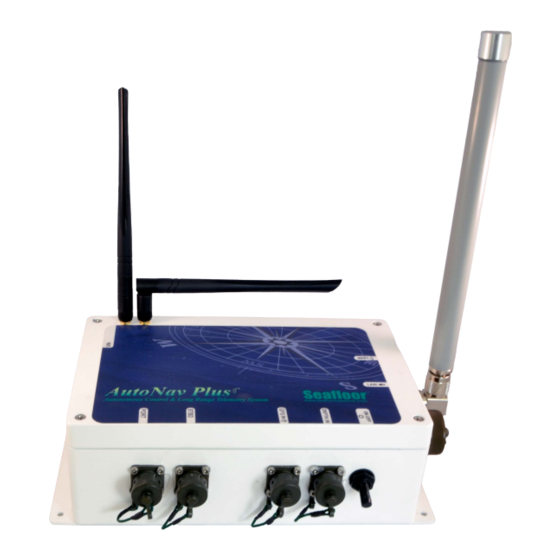
- Page 1 AutoNav PLUS User Manual Seafloor Systems, Inc. | info@seafloorsystems.com | +1(530) 677-1019 V1 - 7/26/21...
- Page 2 The AutoNav PLUS expands on the HyDrone’s usability by allowing direct access to the onboard computer on the survey vessel for easier data collection when paired with the HyDrone and HydroLite-TM or -DFX pole kit.
- Page 3 Attach the bullet connector to the POE and plug it into a power source. Lastly, plug the POE ethernet adapter into the computer being used to remote into the AutoNav PLUS. Then, setup the base computers network settings following the steps below.
- Page 4 2. Open “Network and Internet” (Figure 3). Figure 3 3. Right Click on the ethernet port with the description “Unidentified network” and select “properties” (Figure 4). Figure 4 Seafloor Systems, Inc. | info@seafloorsystems.com | +1(530) 677-1019 V1 - 7/26/21 Page 3 of 5...
- Page 5 8. Type in the IP address: 192.168.1.8 as shown in Figure 6 Figure 6 9. Make sure the Username to log in is “ANP” 10. The password is Seafloor (capital "S") Seafloor Systems, Inc. | info@seafloorsystems.com | +1(530) 677-1019 V1 - 7/26/21 Page 4 of 5...
- Page 6 HyDrone Pairing To connect to the AutoNav PLUS, the first step is to setup the AutoNav Plus on the Hydrone. First, plug in both the Port and Starboard pontoon batteries and make sure the switches are set to “off.” Then attach the box to the frame using the four screws included. Once fastened to the frame attach the port pontoon using the Mil-Spec cable and the “Port”...
Need help?
Do you have a question about the AutoNav PLUS and is the answer not in the manual?
Questions and answers