
Related Manuals for BEA LZR FLATSCAN RS305


Summary of Contents for BEA LZR FLATSCAN RS305
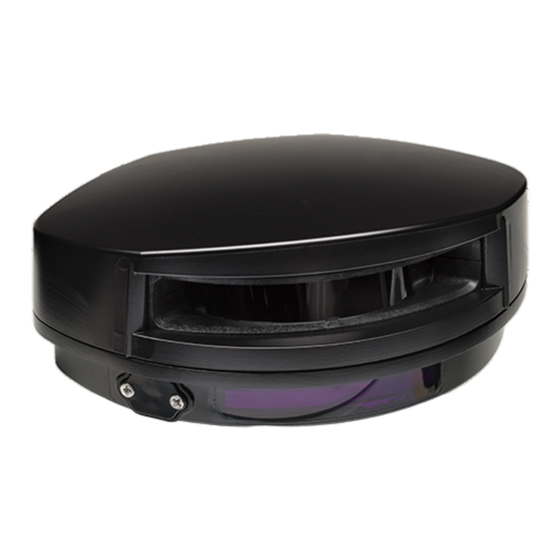
- Page 1 ® - FLATSCAN RS305 COMPACT LASER SCANNER FOR PRESENCE DETECTION OF PLATFORM SCREEN DOORS User’s Guide for product version 0100 and higher See product label for serial number...
- Page 2 INTRODUCTION IN GENERAL FLATSCAN RS305 is a detective laser scanner with single curtain which is especially suitable to secure the hazardous area between the platform screen doors and train doors. Thanks to the compact and slim design it can be installed in the narrow gap easily and accurately monitoring the zone between the train doors and platform screen doors to prevent passengers from getting trapped in between.
-
Page 3: Led Signals
LED-SIGNALS detection error LED LED flashes quickly LED flashes slowly power on no power LED flashes LED is off SYMBOLS Caution! Remote control Possible Factory values Attention Note Laser radiation sequence remote control adjustments SAFETY TIPS The device contains IR and visible laser spots. IR laser: Wavelength 905nm;... -
Page 4: Installation And Maintenance
INSTALLATION AND MAINTENANCE Avoid extreme Do not cover the laser Avoid moving objects Avoid the prensence of Avoid condensation. vibrations. window. and light sources in smoke and fog in the the detection field. detection field. 0°C -10°C Avoid exposure to Avoid direct exposure Do not use dry or dirty Clean the laser window... - Page 5 Prepare the bracket for Loosen the screws on the Fix the laser scanner Install the bracket with installation. top of the back side. on the bracket at right laser scanner at a solid and position. appropriate place. Then tighten the screws. - Only the authorized installer could implement the installation and configuration.
-
Page 6: How To Use The Remote Control
HOW TO USE THE REMOTE CONTROL Before use the remote control, please check the following points: 1. The effective control distance is 4 meters, please always use remote control within 4 meters of the scanner. 2. The scanner curtain should not be perpendicular to the high reflective surface, a 3-degree angle in between is necessary to guarantee communication between the scanner and the remote control. -
Page 7: Parameter Settings
PARAMETER SETTINGS (11) Detection field 1 (W) (12) Detection field 1 (H) 0-9 Number keys (13) Detection field 2 (W) Detection field (14) Detection field 2 (H) Redirection (15) Uncovered zone Plus (16) Check Values (17) Lock Unlock Minus (18) Output configuration Output activation delay (19) - Page 8 MOUNTING SIDE left right center left right center The scanner can be configured at left side, right side and central. Please note that this parameter must be defined before setting the configuraiton, as the detection area will link to this parameter. * The sensor will automatically launch teach-in with every adjustment.
- Page 9 UNCOVERED ZONE Uncovered zone: increase in case of snow, dead leaves, etc. Measured in specific conditions and determined by application and installation. IMMUNITY > > FILTER high filtering Immunity Filter: when there’s interference from environment such as rain, snow which could create some false detection, occasional false detection could be decreased by increasing immunity level.
- Page 10 DETECTION field 1 and AREA field 1 field 2 field 2 ACTIVATION Detection area activation: detection field 1 or detection field 2 can be actived or deactived. DETECTION error field 1 or field 1 field 2 alarm field 2 FIELD error field 1 or REDIRECTION...
-
Page 11: Troubleshooting
max.30s TEACH-IN setting the field 1 through Teach-in. max.30s setting the field 2 through Teach-in. max.30s setting the background through Teach-in. max.30s setting the field 1&2 through Teach-in. Teach-in: the scanner could automatically learn the environment profile as its detection field with self-learning function;... -
Page 12: Technical Specifications
F +86 10 6262 8775 info@beasensors.com asia.beasensors.com BEA hereby declares that the LZR®-FLATSCAN RS305 is in compliance with European directives 2014/30/EU and 2011/65/EU. The full text of the EU declaration of conformity is available on our website for ec countries...
Need help?
Do you have a question about the LZR FLATSCAN RS305 and is the answer not in the manual?
Questions and answers