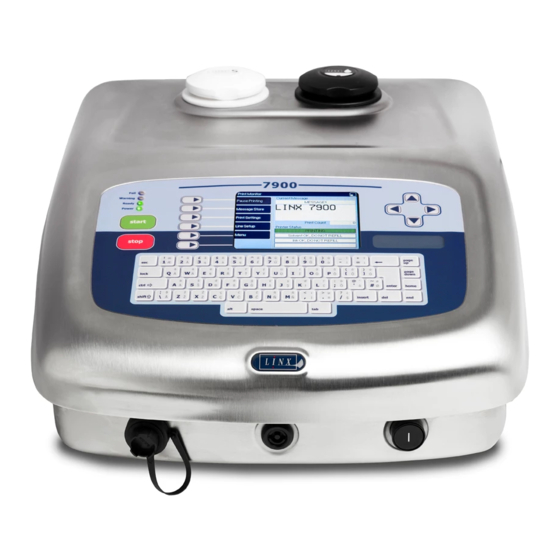
Linx 7900 Manual
Hide thumbs
Also See for 7900:
- Manual (24 pages) ,
- Quick start manual (81 pages) ,
- How to use manual (34 pages)
Table of Contents
Advertisement
Advertisement
Table of Contents

Related Manuals for Linx 7900


Summary of Contents for Linx 7900
- Page 1 How To Create a Logo...
-
Page 2: Table Of Contents
How To Create a Logo Contents 1 Introduction........................... 2 1.1 Health and Safety ........................2 2 About the Logo Editor........................3 2.1 Create a new logo........................3 2.2 Logo Editor page ........................4 2.2.1 Magnification ........................4 2.2.2 Scroll bars........................5 2.2.3 Preview box ........................ -
Page 3: Introduction
How To Create a Logo 1 Introduction This document describes how to create and use logos for the 7900 printer. You need a User Level C password to perform all the tasks that are described in this document. 1.1 Health and Safety Make sure that you read and understand the Health and Safety information in the ‘Safety’... -
Page 4: About The Logo Editor
How To Create a Logo 2 About the Logo Editor A logo is an image that is made from a grid of square picture elements (‘pixels’). You can use the Logo Editor to set each pixel colour to make a complete image, as shown in the following example. -
Page 5: Logo Editor Page
How To Create a Logo 2.2 Logo Editor page When you create a new logo, the Logo Editor page displays a blank grid of squares. The default grid has 32 squares on each side. You can change the default size of the grid. See How To Configure the Message Editor and Logo Editor. -
Page 6: Scroll Bars
How To Create a Logo The result is shown below. 69276 Figure 4. Magnification In Figure 4 (a) you can see 10 rows and 10 columns. In Figure 4 (b) the magnification was decreased in 16 steps, so that 26 rows and columns are visible. The Logo Editor page has scroll bars and a preview box, (described below), that show you which part of the logo you can see. -
Page 7: Logo Editor Keys
How To Create a Logo Figure 6 shows a logo that contains a circle at the top of the logo. The scroll bars and the red box indicate that you can see the bottom corner of the logo. The circle is not visible because the cursor is moved to row 32 and column 32, but you can see the circle in the preview box. -
Page 8: Pen Size
How To Create a Logo 2.3.2 Pen Size Press this key to change the size of the pen (cursor). The number that is next to this key shows the size of the pen. Figure 8 (a) shows how you draw a narrow line with the pen size set to 1. -
Page 9: Options
Press this key to see more menu options (see ‘Options page’ on page 9). 2.3.6 Exit Press this key to leave the Logo Editor page and display the Save As page. (The Linx 5900 & 7900 Quick Start Guide describes how you use the Save As page.) Page 8 of 13 FA69349–2 English... -
Page 10: Options Page
How To Create a Logo 2.4 Options page When you press the Options key in the Logo Editor page, the printer displays the following page. 69269 Figure 11. Options page The keys in this page are as follows: 2.4.1 Transformations Press this key to see more menu options (see ‘Transformation options’... -
Page 11: Resize
How To Create a Logo 2.4.5 Resize Press this key to see more menu options (see ‘Resize options’ on page 12). 2.4.6 Exit Press the Exit key to leave the Options page and return to the Logo Editor page. 2.5 Transformation options When you press the Transformations key, the printer displays a new set of options: 69270 Figure 13. -
Page 12: Flip X
How To Create a Logo 2.5.3 Flip X Press this key to reverse the logo along the X-axis horizontally (see Figure 15). 2.5.4 Flip Y Press this key to reverse the logo along the Y-axis vertically. Figure 15 shows the operation of the Flip X key and the Flip Y key. The logo (A) is reversed horizontally (B) if you press the Flip X key. -
Page 13: Resize Options
How To Create a Logo 2.6 Resize options You can change the height and width of your logo. The maximum height is 34 and the maximum width is 256. The minimum height or width is 1. To change the logo dimensions, press the Resize key to display the following page. -
Page 14: Cancel
The Copy option, the Rename option, and the Delete option are not described in this document. These options are like the options in the Message Store > Manage Messages page, which is described in the Linx 5900 & 7900 Quick Start Guide.
Need help?
Do you have a question about the 7900 and is the answer not in the manual?
Questions and answers
hello. how to create or edit LMG files in windows os?