Linx 5900 Setting Manual
Hide thumbs
Also See for 5900:
- Manual (557 pages) ,
- Quick start manual (81 pages) ,
- How to use manual (34 pages)
Table of Contents
Advertisement
Quick Links
Advertisement
Table of Contents

Related Manuals for Linx 5900


Summary of Contents for Linx 5900
- Page 1 How To Change the Print Settings...
-
Page 2: Table Of Contents
How To Change the Print Settings Contents 1 Introduction........................... 2 1.1 Health and Safety ........................2 2 The Print Settings page........................ 3 2.1 Print Settings options......................3 2.1.1 Print Delay ........................3 2.1.2 Print Width ........................3 2.1.3 Print Height........................5 2.1.4 Lock Aspect Ratio...................... -
Page 3: Introduction
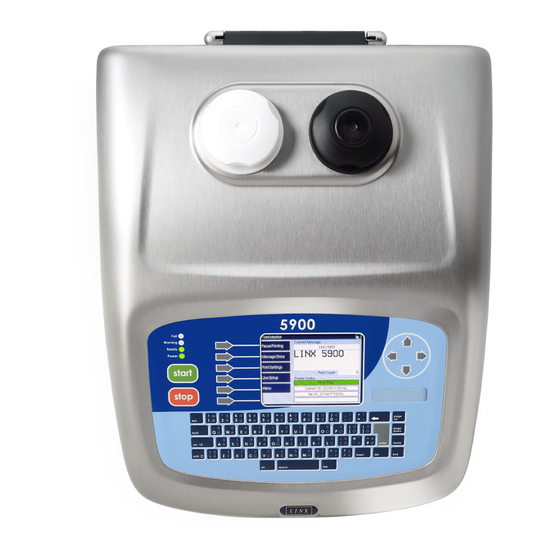
How To Change the Print Settings 1 Introduction This document describes how you can change the Print Settings on the 5900 and 7900 printers. The Print Settings page contains the following options: • Print Delay • Print Width • Print Height •... -
Page 4: The Print Settings Page
You can change the Print Delay setting to make sure that the printed message appears in the right position on the product. For more information, refer to the Linx 5900 & 7900 Quick Start Guide. 2.1.2 Print Width The Print Width setting is the horizontal distance between the drops in the message characters (Actual Raster Pitch). - Page 5 How To Change the Print Settings To change the Print Width At the Print Monitor page, press the Print Settings key to display the Print Settings page. Then select the Print Width option to display the Print Width page: 69113 Figure 2.
-
Page 6: Print Height
How To Change the Print Settings 2.1.3 Print Height You can make small adjustments to the height of the printed message. The adjustment range depends on the message type. Normally the aspect ratio of the message changes when you change the height because the width does not change. -
Page 7: Lock Aspect Ratio
You can use this option to change the Print Count for the current message. You can use any value from 0 to 4,294,967,295. For more information, refer to the Linx 5900 & 7900 Quick Start Guide. Page 6 of 8 FA69335–2 English... -
Page 8: Message Orientation Mode
Change the Print Settings 2.1.6 Message Orientation Mode This option is only available on the 5900 Dairy Coder printer. It enables you to configure message orientation settings for traversing applications. For more information, refer to How To Use Dynamic Message Orientation. -
Page 9: Reset All Message Sequences
How To Change the Print Settings Use the Up arrow key or the Down arrow key to highlight the required orientation. Then do one of the following: • Press the OK key to save the setting and return to the Print Settings page. Then press the Exit key to display the Print Monitor page.
Need help?
Do you have a question about the 5900 and is the answer not in the manual?
Questions and answers