Table of Contents
Advertisement
Advertisement
Table of Contents

Related Manuals for Linx 7900 Food Grade


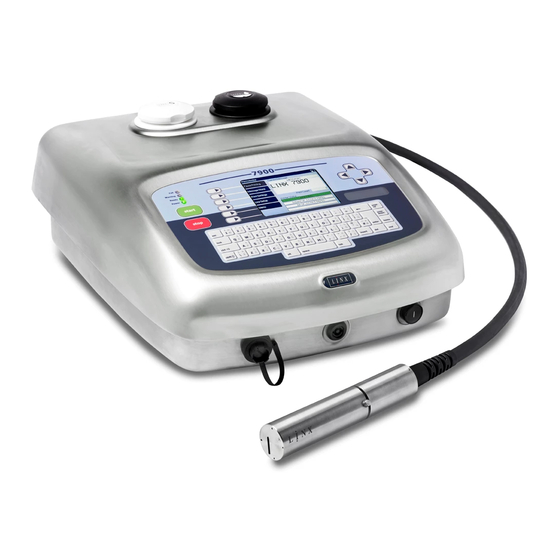
Summary of Contents for Linx 7900 Food Grade
- Page 1 How To Use the 7900 Food Grade Printer...
-
Page 2: Table Of Contents
Printer Contents 1 Introduction........................... 2 1.1 Health and Safety ........................2 2 About the 7900 Food Grade printer .................... 3 2.1 Power-up sequence........................ 3 2.2 EHT flash test ......................... 3 2.3 Start print ..........................4 2.3.1 Delayed start ........................4 2.4 Stop print and shutdown ...................... -
Page 3: Introduction
Use the 7900 Food Grade Printer 1 Introduction This document contains information for anyone who uses the 7900 Food Grade printer. You need a User Level C password to perform all the tasks that are described in this document. 1.1 Health and Safety Make sure that you read and understand the Health and Safety information in the ‘Safety’... -
Page 4: About The 7900 Food Grade Printer
Use the 7900 Food Grade Printer 2 About the 7900 Food Grade printer The 7900 Food Grade printer is a special version of the Linx 7900 printer with the following differences to enable reliable operation when you use Linx food grade inks: •... -
Page 5: Start Print
7. When the printhead is clean, perform a Nozzle Flush, as shown in the Linx 5900 & 7900 Quick Start Guide. 2.3 Start print Select the required message (refer to the Linx 5900 & 7900 Quick Start Guide for more information) and press the [start] key. 2.3.1 Delayed start NOTE: This option requires a configuration code that is set at the factory. -
Page 6: Minimum Run Time And Delayed Shutdown
To begin the shutdown procedure, press the [stop] key. 2.4.1 Minimum run time and delayed shutdown The 7900 Food Grade printer must be run continuously for a minimum period of several hours in some environments. This period depends on the ambient temperature where the printer is installed. -
Page 7: To Cancel The Delayed Shutdown
NOTE: You can leave the mains power supply switch at the rear of the printer in the On (I) position. Refer to the Linx 5900 & 7900 Quick Start Guide for more information about how to stop and turn off the printer. -
Page 8: Clean The Printhead
CAUTION: Do not dry the printhead with a cloth. This may deposit fibres that could block the printhead nozzle. CAUTION: Only Linx foam swabs (FA69034) and Linx Food Grade solvent 6600 must be used to clean the printhead. Other materials or fluid can cause damage to the printer and invalidate its Food Grade status. -
Page 9: To Clean The Printhead
• If ink causes a blockage in the nozzle, use the Nozzle Clear sequence or Nozzle Flush sequence, as shown in the Linx 5900 & 7900 Quick Start Guide. The printhead must be completely dry before the printer is started. - Page 10 Use the 7900 Food Grade Printer Carefully apply Linx food grade solvent 6600 to the printhead area shown in Figure 4 to remove the dried ink. Allow the solvent to dissolve after each application. Repeat until most of the ink is removed.
- Page 11 How To Use the 7900 Food Grade Printer Apply more solvent to the area shown with a circle in Figure 4 on page 8. Before the solvent dries, use a foam swab to carefully remove any ink deposits from the components identified in Figure 5 on page 9, as shown in Figure 6.
-
Page 12: Event Messages
Remove any ink from the inside of the printhead cover tube with Linx food grade solvent 6600, as shown in Figure 7, and allow to dry.
Need help?
Do you have a question about the 7900 Food Grade and is the answer not in the manual?
Questions and answers