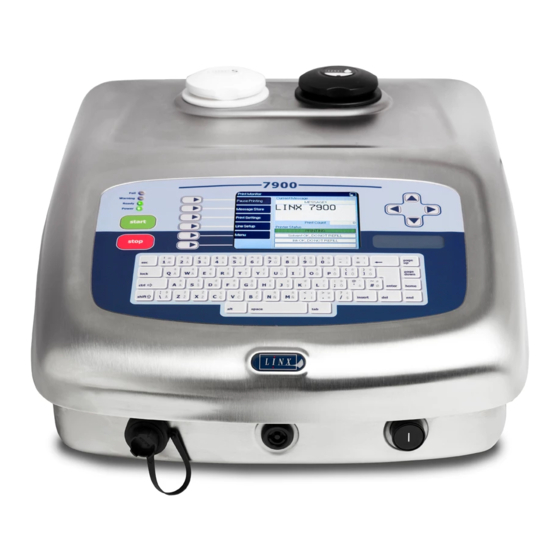
Linx 7900 Manual
Hide thumbs
Also See for 7900:
- Manual (14 pages) ,
- Quick start manual (81 pages) ,
- How to use manual (34 pages)
Table of Contents
Advertisement
Advertisement
Table of Contents

Related Manuals for Linx 7900


Summary of Contents for Linx 7900
- Page 1 How To Create a Production Schedule...
-
Page 2: Table Of Contents
How To Create a Production Schedule Contents 1 Introduction........................... 2 1.1 Health and Safety ........................2 2 About production schedules ....................... 3 3 Create a production schedule ..................... 4 3.1 Edit the production schedule ....................8 3.1.1 Production Schedule Store page..................8 3.1.2 Production Schedule Editor page ................... -
Page 3: Introduction
You need a User Level C password to perform all the tasks that are described in this document. 1.1 Health and Safety Make sure that you read and understand the Health and Safety information in the ’Safety’ section of the Linx 5900 & 7900 Quick Start Guide. Page 2 of 23 FA69350–2 English Jun 2013... -
Page 4: About Production Schedules
How To Create a Production Schedule 2 About production schedules A production schedule allows you to print a sequence of messages automatically. You can set the number of repeats for each message, or use a trigger signal to change to the next message. -
Page 5: Create A Production Schedule
“CCC” Before you begin, create and store these three messages in the message store, as shown in the Linx 5900 & 7900 Quick Start Guide. To create the production schedule, do the following: At the Print Monitor page, press the Menu key then select the Stores option. - Page 6 How To Create a Production Schedule Press the New key to display the following page. 69412 Figure 2. Production Schedule Editor page Press the Insert key to display the Insert Item page. 69413 Figure 3. Insert Item page Select the Message option to display a list of the messages that are stored in the printer.
- Page 7 How To Create a Production Schedule Highlight the required message then press the OK key to return to the Insert Item page. 69415 Figure 5. Insert Item page: first item The Message option on the Insert Item page shows the name of the selected message.
- Page 8 How To Create a Production Schedule Repeat steps 4 to 8 to add the second message, then the third message. The completed production schedule is shown below. 69417 Figure 7. Production Schedule Editor page: complete schedule Press the Exit key to display the Save As page. 69418 Figure 8.
-
Page 9: Edit The Production Schedule
The Copy option, the Rename option, and the Delete option are not described in this document. These options are like the options in the Message Store > Manage Messages page, which is described in the Linx 5900 & 7900 Quick Start Guide. Page 8 of 23 FA69350–2 English... -
Page 10: Production Schedule Editor Page
How To Create a Production Schedule 3.1.2 Production Schedule Editor page 69417 Figure 10. Production Schedule Editor page This page contains the following options. Edit Use this option to display the Edit Item page for the highlighted item (see page 10). Insert Use this option to insert another item at the position indicated by the cursor. -
Page 11: Edit Item Page
Figure 11. Edit Item page Orientation Use this option to define the orientation of this item. (Orientation is described in the Linx 5900 & 7900 Quick Start Guide.) This option is not present unless the Dictate Orientations option in the Status page is set to Yes (see page 11). -
Page 12: Status Page
How To Create a Production Schedule 3.1.4 Status page The Status page allows you to inspect and change the current state of the sequence. 69421 Figure 12. Status page The options on this page are as follows. Current Position Use this option to set the schedule to a different position in the sequence of messages (for example, change from item 1 to item 3). - Page 13 How To Create a Production Schedule If the schedule contains an odd number of messages, the printer adds another message when you save the schedule. The additional message is a copy of the last message that has an even number, as shown in the following example. The production schedule shown below contains an odd number of messages.
-
Page 14: Multiprint
How To Create a Production Schedule 3.2 Multiprint The Multiprint option allows you to create an entire production schedule that you can print from a single trigger. To use the Multiprint option with a production schedule: Create a production schedule or edit an existing schedule, as described in ‘Create a production schedule’... - Page 15 How To Create a Production Schedule To print multiple prints from a single trigger, select the Production Schedule you require from the Message Store. The Inter-Print Distance page is displayed. 69616 Figure 16. Inter-Print Distance page You must enter an inter-print distance for the messages in the schedule. This value is the distance between the start of one message and the start of the next message.
-
Page 16: Trigger Setup
How To Create a Production Schedule 3.3 Trigger setup 3.3.1 Next Trigger 69235 Figure 17. Trigger Type page This option defines the signal that tells the printer to update the counter that controls the schedule position. The trigger type that you use controls the production schedule as follows: Product Sensor If the Repeat option is set to 5, the printer prints the message “AAA”... - Page 17 How To Create a Production Schedule Product Sensor Use the Product Sensor option to select the product sensor setup that you use. 69642 Figure 19. Trigger Editor: Product Sensor page Leading Edge Primary The printer updates the production schedule counter when the primary product sensor detects the leading edge of a product.
- Page 18 How To Create a Production Schedule The printer checks the state of the Secondary Trigger input (‘Aux’ input) at the start of every message. The printer does not update the production schedule counter unless the Secondary Trigger input is in the correct state. 6121 Print Go Aux Input...
- Page 19 How To Create a Production Schedule Monthly The sequence changes on the same day of every month, and at the same time of day. If the Repeat option is set to 5, the printer prints the same message for five months, then changes to the next message. Yearly The sequence changes on the same day of every year, and at the same time of day.
-
Page 20: Reset Trigger
How To Create a Production Schedule You can set any Start Time between 00:00:00 and 23:59:00. You can set any Time Interval from 00:01:00 until 23:59:00. If you set a Time Interval of 00:00:00, the printer uses 00:01:00 for the Time Interval. NOTE: If you start the print before or after the Start Time, the printer adjusts the schedule position for the Current Message. - Page 21 How To Create a Production Schedule Product Sensor The printer resets the schedule when a signal is received from the product sensor. If you use this type of trigger, the printer displays an additional option. 69240 Figure 23. Trigger Editor page: Product Sensor Product Sensor Use the Product Sensor option to select the product sensor setup that you use.
- Page 22 How To Create a Production Schedule Trailing Edge Secondary The printer resets the schedule when the secondary product sensor detects the trailing edge of the product. Keyboard Trigger The printer resets the schedule when you generate a keyboard trigger. (To generate a keyboard trigger signal, press the [alt] key and the [T] key together.) Timed Trigger You can set this option to Daily, Weekly, Monthly, or Yearly.
-
Page 23: Applications
How To Create a Production Schedule 4 Applications The following example shows how you can use a production schedule with a secondary trigger device to find a solution for a problem. The information in this section is not detailed—refer to the other ‘How To...’ guides if necessary. 4.1 Application example 69422 A —>... - Page 24 How To Create a Production Schedule Message setup Create two messages M1 and M2. • Message M1 contains the text sequence S1. • Message M2 contains the text sequence S2. For both messages, set the options in the Line Setup and Print Settings pages as required. Make sure that the printer prints the messages correctly.
Need help?
Do you have a question about the 7900 and is the answer not in the manual?
Questions and answers