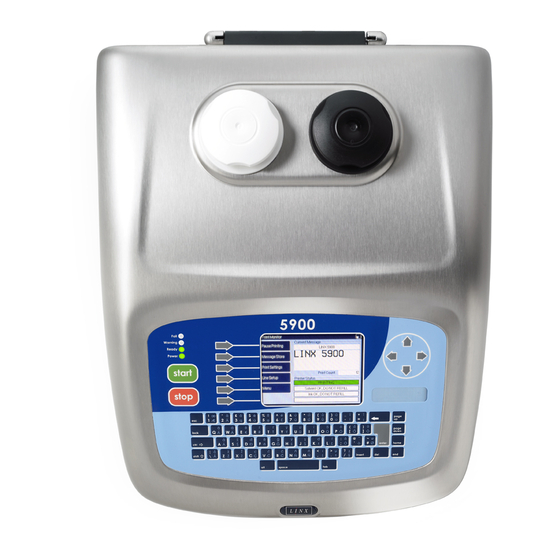
Linx 5900 How To Use Manual
Hide thumbs
Also See for 5900:
- Manual (557 pages) ,
- Quick start manual (81 pages) ,
- How to use manual (34 pages)
Table of Contents
Advertisement
Quick Links
Advertisement
Table of Contents

Summary of Contents for Linx 5900
- Page 1 How To Use Dynamic Message Orientation...
-
Page 2: Table Of Contents
How To Use Dynamic Message Orientation Contents 1 Introduction........................... 2 1.1 Health and Safety ........................2 2 About traversing applications ..................... 3 2.1 Application design........................3 2.1.1 Physical layout........................ 3 2.1.2 Software configuration....................4 2.1.3 Software requirements ....................4 2.1.4 Inputs..........................4 2.2 Installation .......................... -
Page 3: Introduction
Orientation 1 Introduction This document describes how to configure dynamic message orientation for the 5900 Dairy Coder printer for a traversing application. Dynamic orientation means that the orientation of the message changes automatically in response to a trigger event. The following topics are included: •... -
Page 4: About Traversing Applications
How To Use Dynamic Message Orientation 2 About traversing applications In a traversing application, the printhead makes repeated movements across the substrate. Normally, the printer marks the product during these printhead movements. In some applications, the printhead prints in both directions (that is, from left to right, and from right to left). -
Page 5: Software Configuration
2.1.3 Software requirements The 5900 Dairy Coder printer has a Variable Message Orientation option on the Print Settings page which allows you to configure dynamic message orientation for traversing applications (see ‘Set up dynamic message orientation’ on page 10.) 2.1.4 Inputs... -
Page 6: Installation
2.2.2 Printhead mounting A printhead mounting that is not planned carefully can cause a failure of the conduit. Printhead type Two versions of the Linx Mk7 Printhead are available: straight and right-angled. Page 5 of 12 TP1B001–1 English Jun 2013... -
Page 7: Conduit Routing
How To Use Dynamic Message Orientation Select the printhead type that minimizes the tension in the conduit. For example, the right angle printhead in Figure 4 (a) creates a tension in the conduit when the printer moves to the left side. The straight connector in Figure 4 (b) prevents this problem. AS172a Figure 4. - Page 8 How To Use Dynamic Message Orientation The following diagrams show some suggestions to improve the layout: • To decrease the strain when the conduit bends as shown in Figure 5 (a), make a loop in the conduit as shown in Figure 5 (b). Consider the use of a 4-metre conduit to make a wider loop if the traversing arm is long.
-
Page 9: Printhead Vibration
How To Use Dynamic Message Orientation • Make sure that the printhead movement does not apply a rotation force (torsion) to the conduit clamp at the printhead end of the conduit. Figure 7 (a) shows an incorrect design that causes this problem. The rotation force is reversed when the printhead direction is reversed. -
Page 10: Example
How To Use Dynamic Message Orientation 3 Example The printer in this example is on a production line that has three lanes (Figure 8). The printhead is on a traversing arm, and moves across the three lanes to mark the products. 69422 Figure 8. -
Page 11: Set Up Dynamic Message Orientation
59007 Figure 10. Message Orientation Mode page You can set the message orientation mode to either Fixed or Variable. Variable mode enables you to configure the 5900 Dairy Coder printer software for traversing operations. Page 10 of 12 TP1B001–1 English... - Page 12 Use Dynamic Message Orientation If you select Fixed mode, the four standard 5900 message orientations (Horizontal + Vertical Flip, Horizontal Flip, Vertical Flip, and Normal) are available on the Message Orientation page, as shown in Figure 11. Refer to How To Change Print Settings for more information.
- Page 13 How To Use Dynamic Message Orientation The following options are available: • High Level Secondary Trigger—this option sets the message orientation when a High Level trigger signal is received (that is, when the trigger is in the inactive state). You can select one of the four standard message orientations (Horizontal + Vertical Flip, Horizontal Flip, Vertical Flip, and Normal).


Need help?
Do you have a question about the 5900 and is the answer not in the manual?
Questions and answers