Advertisement
Quick Links
Advertisement

Summary of Contents for Diphano Icon
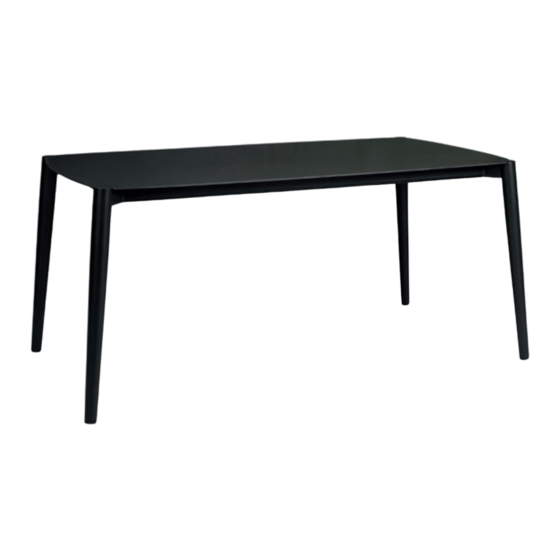
- Page 1 Icon dining table 164x96 ceramic INSTRUCTION MANUAL...
- Page 2 (you can use the cardboard box for this). 1x table top 1x support 4x leg 4x bolt (M8x15mm) 8x bolt (M8x20mm) 8x washer (8mm) 1x hex key 4x adjuster Diphano cannot be held responsible if the assembly instructions are not followed properly.
- Page 3 CONNECT THE LEGS (1/2) Connect the legs (C) to the support (B) by fixating the bolts (E) with the washers (F) in the correct order. Repeat this action for each leg.
- Page 4 CONNECT THE LEGS (1/2) Fixate by screwing the bolt (D) into the pre-made hole. Repeat this action for each leg.
- Page 5 TURN TABLE Turn the table carefully to its normal position with at least 2 persons.
- Page 6 ADJUST FEET Check with a spirit level if the table is placed level. If not, (un)screw the adjustable feet till your table is completely level. It is important to prevent tension on your ceramic top!
- Page 7 PLACE TABLE TOP Carefully place the table top (A) onto the support (B) with at least 4 persons at the positions indicated in the picture.
- Page 8 POSITION TABLE TOP Carefully adjust the ceramic top into the correct position. 2mm tollerance around the leg is required, see detail. If this is not possible, please go to the next chapter. ca. 2mm...
- Page 9 how to adjust the table top In case there is not enough space between the legs to place the ceramic table top in a safe way, there are adjusters included. Follow the steps below to adjust your table. DECONNECT THE LEGS Deconnect the legs that do not have enough space between the leg and the ceramic table top.
- Page 10 POSITION ADJUSTER Peel off the strip of the sticker on the adjuster and stick the adjuster on the open outer profile of the leg so the pre-made holes match. Now go back to step 1 ‘connect the legs’. STICKER...
-
Page 11: Maintenance And Care
maintenance & care POWDERCOATED ALUMINIUM Simply brush away loose dirt, rinse, and clean with a mild, lukewarm soapy solution. Rinse thoroughly and pat dry with a cloth. CERAMIC Simply brush away loose dirt, rinse, and clean with a mild, lukewarm soapy solution or Ceramic cleaner. - Page 12 Textielstraat 4 - 8790 Waregem - Belgium Tel. +32 (0)56 980 008 - info@diphano.com...


Need help?
Do you have a question about the Icon and is the answer not in the manual?
Questions and answers