Table of Contents
Advertisement
Quick Links
Advertisement
Table of Contents

Related Manuals for Diphano Landscape Teak


Summary of Contents for Diphano Landscape Teak
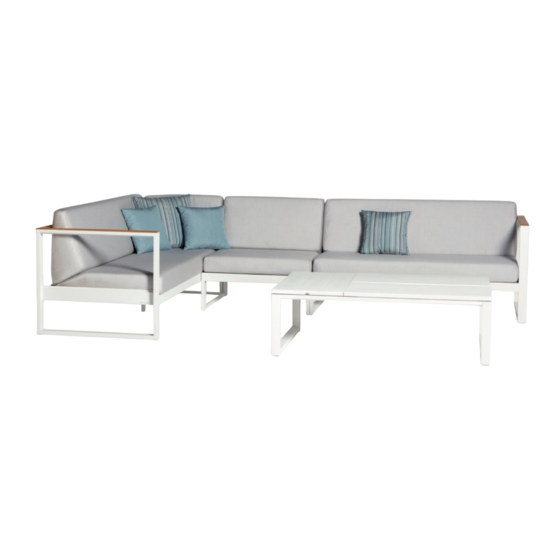
- Page 1 Landscape Teak INSTRUCTION MANUAL...
- Page 2 Start by unpacking everything carefully. Make sure to cover the floor to prevent any damage or scratching (you can use the cardboard box for this). 2x clip system 2x screw 2x washer 1x hex key Diphano cannot be held responsible if the assembly instructions are not followed properly.
- Page 3 UNSCREW CLIP SYSTEMS Use the hex key (D) to unscrew the clip systems which you can fi nd on the bottom of the module. ATTACH TO FIRST MODULE Attach one side of the aluminium clip system onto the hole on the side of the module (see image).
- Page 4 PLACE SECOND MODULE Place the second module next to the first one. ATTACH MODULES Attach the other side of both aluminium clip systems onto the second module. Then tighten all screws.
- Page 5 how to adjust the feet Check with a spirit level if the modules are placed level. If not, (un)screw the adjustable feet until your concept is completely level. This ensures each module can be leveled so it fits perfectly to the next module.
- Page 6 how to fi xate the seat cushion Each module is standard equiped with velcro strips (secured strips can easily be unfastened if necessary). Place the seat cushion on the module so the velcro parts on the seat cushion matches the velcro parts on the module.
- Page 7 maintenance & care POWDERCOATED ALUMINIUM Simply brush away loose dirt, rinse, and clean with a mild, lukewarm soapy solution. Rinse thoroughly and pat dry with a cloth. NATURAL TEAK Simply brush away loose dirt, rinse, and clean with a mild, lukewarm soapy solution.
- Page 8 Textielstraat 4 - 8790 Waregem - Belgium Tel. +32 (0)56 980 008 - info@diphano.com...
Need help?
Do you have a question about the Landscape Teak and is the answer not in the manual?
Questions and answers