Advertisement
Quick Links
Advertisement

Related Manuals for Hay PAO GLASS TABLE LAMP


Summary of Contents for Hay PAO GLASS TABLE LAMP
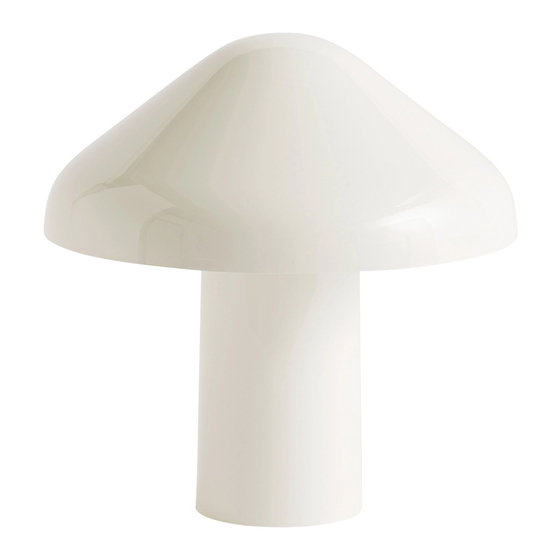
- Page 1 – INSTRUCTION MANUAL – PAO GLASS TABLE LAMP DESIGN BY NAOTO FUKASAWA...
-
Page 3: General Information
15 of the FCC Rules. Operation is subject to The product must not be modified in any way. the following two conditions: HAY accepts no responsibility for any products that have been modified or tampered with. The ∆ This device may not cause harmful external flexible cable or cord of this luminaire interference. - Page 4 – PARTS – Shade Base Light source Adapter Power supply Top screw Please note that the parts shown are packaged in three separate boxes.
- Page 5 Unpack all the parts and check that you have received all the parts listed. It is important to take extra care when assembling the Pao Table lamp. Follow the instructions carefully and only assemble the lamp on a flat, stable surface, where it is not in danger of falling over. When moving the lamp, make sure you always lift it by the base, not the shade.
- Page 6 Place the light source carefully on top of the base. Pull the cable through the base, so it exits the mousehole at the bottom of the base. NOTICE Place the light source carefully on top of the base.
- Page 7 Centre the light source on the base and tighten the three screws carefully again. Tighten the screws evenly so that the light source stays centred on the base. NOTICE Do not overtighten!
- Page 8 Loosen the top screw with a flat screwdriver or a small coin.
- Page 9 Place the shade carefully on top of the light source. Make sure that the rubber washer is in place on top of the light source before mounting the shade. NOTICE Place the shade carefully...
- Page 10 Carefully retighten the top screw with a coin or flat head screwdriver. The screw must be tightened properly to secure and level the shade. Take care not to overtighten the screw as this may damage the shade. NOTICE Tighten the screw carefully.
- Page 11 The top of the screw should be flush with the top of the shade when assembled, resulting in a visually clean side view, as pictured below. If the assembled lamp is to be moved, make sure to hold it by the base. Never hold or carry the lamp by the shade.
- Page 12 Plug the trailing cable into the power supply. Attach the correct adapter for your region. The lamp is now ready for use.
- Page 13 The lamp’s inline switch has a three-setting dimmable feature. The first sets the lamp to maximum brightness, the second sets to medium brightness and the third sets to lowest brightness. A fourth push will turn the lamp off. 100%...
-
Page 14: Care And Maintenance
Please find our Care & Maintenance guide by scanning the QR code You can find more relevant information on Pao Glass Table Lamp by scanning the QR code You can also find the same information here hay.dk/downloads... - Page 16 Havnen 1 8700 Horsens Denmark +45 4282 0282 / hay@hay.com www.hay.com 10/01/2022...
Need help?
Do you have a question about the PAO GLASS TABLE LAMP and is the answer not in the manual?
Questions and answers