Table of Contents
Advertisement
Quick Links
Advertisement
Table of Contents

Related Manuals for Rockwell ShopSeries RS5002


Summary of Contents for Rockwell ShopSeries RS5002
- Page 1 RouteR RS5002...
- Page 3 RS5002...
- Page 4 RS5002...
- Page 5 RS5002...
-
Page 6: Component List
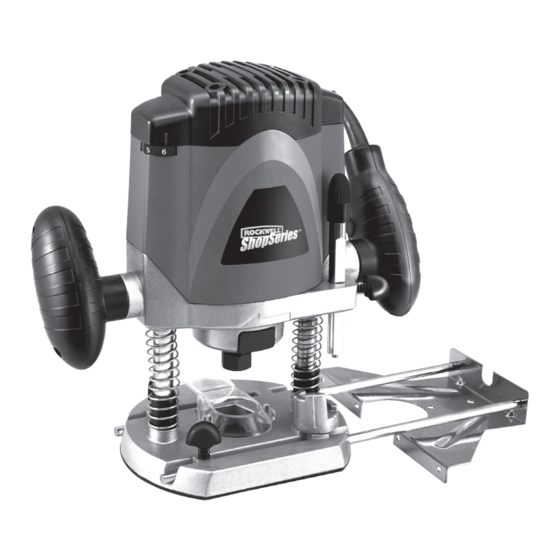
RouteR CoMPoNeNt LISt LoCk buttoN oN/off SwItCh haNdLe dePth guIde fIxINg SCRew dePth guIde dePth StoP tuRRet SPINdLe LoCk buttoN CoLLet Nut baSe PLate PaRaLLeL guIde LoCkINg SCRewS PLuNge LoCk LeveR vaRIabLe SPeed CoNtRoL MaINS CabLe PaRaLLeL guIde SPaNNeR CeNteRINg PIN duSt extRaCtIoN tube LoNg SCRewS foR fIxINg vaCuuM adaPtoR aNd teMPLate guIde teMPLate guIde... -
Page 7: General Power Tool Safety
RouteR aCCeSSoRIeS b) avoid body contact with earthed or grounded surfaces such as pipes, radiators, ranges and Collet:12mm, 6.35mm refrigerators. There is an increased risk of electric Router bits shock if your body is earthed or grounded. Center pin c) do not expose power tools to rain or wet Parallel guide conditions. - Page 8 RouteR addItIoNaL Safety INStRuCtIoNS or long hair can be caught in moving parts. foR youR RouteR g) If devices are provided for the connection of dust extraction and collection facilities, ensure these 1. hold power tool by insulated gripping surfaces, are connected and properly used.
-
Page 9: Technical Data
RouteR teChNICaL data Router bits vary in depth, the step buffer allows for this with its six positions. Use one of the two Voltage 230-240V~50Hz following methods: Rated power 1500W Method 1: using a piece of wood method (See No load speed 11000-26000/min fig.e,f,g) Max. - Page 10 RouteR after the coarse adjustment lock is locked. Rotating switch and release lock off button. Your switch the fine adjustment knob counterclockwise causes is now on. To switch off, just release the on/off the depth rod to move up, producing a deeper cut. switch.
-
Page 11: Troubleshooting
RouteR tRoubLeShootINg • Fasten the centering pin onto the parallel guide. • Place the centering pin against the material. 1. If your router will not operate, check the • Set the required radius by adjusting the parallel power at the mains plug. guide shafts and tighten the guide locking screws. - Page 12 Made IN PRC...
Need help?
Do you have a question about the ShopSeries RS5002 and is the answer not in the manual?
Questions and answers