
Related Manuals for FVC Sprinter Side Ladder


Summary of Contents for FVC Sprinter Side Ladder
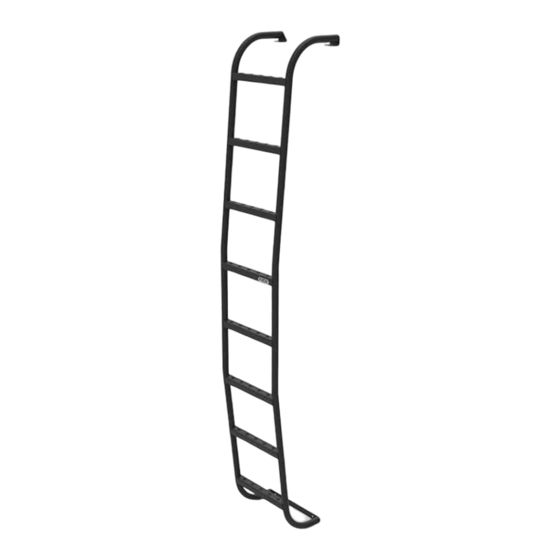
- Page 1 Installation Guide Sprinter Side Ladder SP0201B FLATLINE VAN CO • SUPPORT@FLATLINEVANCO.COM • 888-667-5576...
- Page 2 All Flatline Van Co products must be properly assembled and secured before attaching to your vehicle. Improper attachment could result in an automobile accident, and could cause serious bodily injury or death to you or to others involved. You are responsible for assembling and securing flatline van co products to your vehicle, checking the mounting points and attachments prior to use, and regularly inspecting the products for wear and or damage.
- Page 3 THANK YOU! ARE YOU EXCITED ABOUT YOUR NEW SPRINTER SIDE LADDER? HERE ARE A FEW TOOLS THINGS TO DO BEFORE BEGINNING THE INSTALLATION PROCESS-- • PLEASE INSPECT THE PRODUCT TO ENSURE THERE WAS NO DAMAGE INCURRED DURING SHIPPING. • IF THERE IS DAMAGE TO REPORT, PLEASE CONTACT OUR CUSTOMER SERVICE DEPARTMENT AS SOON AS POSSIBLE.
- Page 4 PACKAGE CONTENTS COUPLER RAIL NUT 3/8 FLAT WASHER MOUNT PLATE LADDER BOTTOM LADDER TOP QTY-2 QTY-2 QTY-2 QTY-1 QTY-1 QTY-` 3/8-16 NYLOCK 3/8 SPLIT LOCK WASHER 1/4 SELF DRILLING 1/4-20 FLANGE HEAD SCREW QTY-2 QTY-2 SCREW QTY-8 QTY-5 STICKER PACK INSTALLATION GUIDE 3/8-16 X 1”...
- Page 5 FIGURE 1 LET’S GET STARTED! PLACE THE LADDER HALVES FRONT SIDE DOWN, INSERT THE COUPLERS INTO ONE HALF (SEE FIGURE 1), AND TIGHTEN DOWN USING THE 1/4-20 SCREWS. SLIDE THE OTHER LADDER HALF ONTO THE COUPLERS AND TIGHTEN DOWN. NOTE- IF DESIRED YOU CAN USE BLUE LOCTITE ON THE SCREWS. FIGURE 2 FLATLINE VAN CO •...
- Page 6 RAIL NUT NEXT, SLIDE THE THE TWO (2) RAIL NUTS INTO THE ROOF RAIL ON YOUR VAN. NOTE- IF YOU’VE ALREADY INSTALLED A ROOF RACK, THIS MAY BE TIME CONSUMING. NOW POSITION THE LADDER ON THE VAN, HANGING IT ON THE ROOF RAIL. LOOSELY SCREW THE TOP OF THE LADDER DOWN TO THE ROOF RAIL USING THE 3/8-16 X .75”...
- Page 7 TAKE THE MOUNT PLATE (SEE RIGHT) AND LOOSELY ATTACH IT TO THE MOUNT PLATE BOTTOM OF THE LADDER USING THE 3/8-16 X 1” SCREWS, 3/8 FLAT WASHERS, AND 3/8-16 NYLOCK NUTS. YOU’LL WANT TO SLIDE THE BRACKET UP AS TIGHT TO THE PINCH SEAM ON THE BOTTOM OF THE VAN AS YOU CAN, AND THEN TIGHTEN THE BOLTS.
- Page 8 CUSTOMER SUPPORT If you are having any issues with your product, please reach out, and we will make it right. FVC is a company of van and outdoor enthusiasts that design and use our own products, so we want you to be as stoked on your new parts as we are! @flatlinevanco...
Need help?
Do you have a question about the Sprinter Side Ladder and is the answer not in the manual?
Questions and answers