Table of Contents
Advertisement
Quick Links
Advertisement
Table of Contents

Summary of Contents for B meters HYDROCLIMA 2
-
Page 2: Table Of Contents
HYDROCLIMA 2 - User Manual Contents Preface Safety and warranty Important information Symbols Use according to specification Notes concerning the safety of lithium batteries How to store lithium batteries Preliminary caution Safety measurements General information Intended use Packaging content Installation... -
Page 3: Preface
HYDROCLIMA 2 - User Manual Preface This installation manual contains the rules, information and advice concerning the correct installation of B METERS HC2 heat cost allocators. Before beginning installation, please read this manual. Failure to comply with the instructions contained in this manual will lead to faster parts wear, measurement errors, and may be the basis for the rejection of any future warranty claims. -
Page 4: General Information
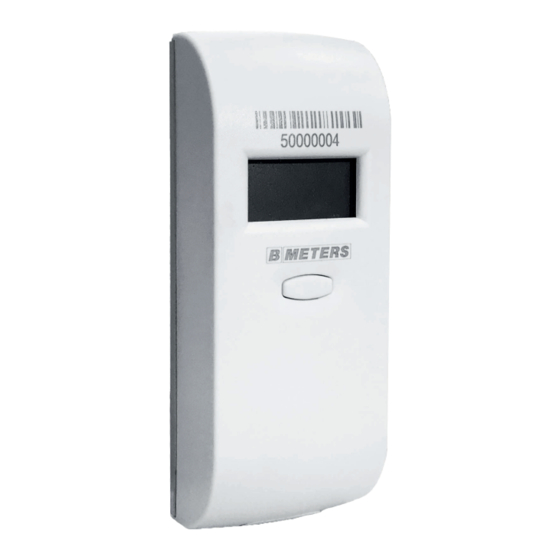
HYDROCLIMA 2 - User Manual General information Hydroclima 2 is a 2nd generation two-sensor electronic heat cost allocator. It is used to indirectly measure the consumption of thermal energy emitted by a radiator. The allocator calculates dimensionless consumption units according to the radiator temperature and room temperature. -
Page 5: Installation
HYDROCLIMA 2 - User Manual Installation General installation rules 1. The allocator is installed on the radiator in two steps. First the aluminium heat sink must be attached to the radiator. 2. The electronic heat cost allocator (heat sink) should be installed at 75% of the radiator’s height, counting from the bottom. -
Page 6: Installation On Radiator Heaters
HYDROCLIMA 2 - User Manual 9. To ensure the heating cost calculation is correct, it is necessary to install all allocators of a given radiators at the same height. 10. When performing the installation or stocktaking of allocators, the rooms in which they are located should be described in clockwise order. - Page 7 HYDROCLIMA 2 - User Manual c. In the case of an odd number of heating elements and when it is not possible to install the allocator in the middle of the radiator’s width, the allocator (heat sink) should be moved one heating element toward the radiator’s supply.
-
Page 8: Installation Of A Heating Cost Allocator With Remote Sensor
Installation of a heating cost allocator with remote sensor The installation of the Hydroclima 2 allocator with a remote sensor is shown in the figures below. The cost allocator should be mounted on the wall at a height of 1.5 meters. The heat sink with the sensor is mounted with the handle at the level of 75% of the height and 50% of the width of the radiator, any deviations from the assumed mounting position are the same as described in section “Installation”... -
Page 9: Installation On Tubular Radiators
HYDROCLIMA 2 - User Manual Installation on tubular radiators The allocator (heat sink) should be glued to the radiator on a straight segment without any ribs to ensure the largest possible contact surface between the radiator and the heat sink. -
Page 10: Installation Techniques
HYDROCLIMA 2 - User Manual Installation techniques Mounting brackets Installation with mounting brackets is the most common type of allocator installation. It is important to match the type and size of the brackets to the radiator. The installation itself is relatively simple. It involves the preliminary selection of the installation location according to the guidelines presented above, followed by inserting the mounting bracket between the ribs/pipes of the radiator and finally tightening the screws securing the heat sink. - Page 11 HYDROCLIMA 2 - User Manual N° Bracket code Description BRR 15 6 mm, 8 mm, 10 mm, 12 mm, 15 mm (recommended), Studs for welding machine available 20 mm, 25 mm, 30 mm BRR 26 Wall-mounted cover of the allocator...
- Page 12 HYDROCLIMA 2 - User Manual Type of radiator Installation method Attachment Dimension Cast iron radiator (CR) Bracket BRR 15 (encased) 50 mm x 46 mm Steel radiator (SR) Bracket BRR 15 (encased) 50 mm x 46 mm Alluminium radiator (SR)
- Page 13 HYDROCLIMA 2 - User Manual Type of radiator Installation method Attachment/Dimension Plate, panel, steel radiator (profi- Gluing led) (SP) Welding Plate, panel, steel radiator (profi- Gluing led) (SP) Welding...
- Page 14 HYDROCLIMA 2 - User Manual Type of radiator Installation method Attachment Dimension Rail-based towel warmer (TW) Bracket BRR 2 Bracket BRR 4...
-
Page 15: Gluing
HYDROCLIMA 2 - User Manual Gluing 1. Measure the heat sink installation points on the radiator according to “General installation rules”. 2. Before starting gluing degrease and clean the gluing area on the radiator. 3. Apply around 3 cm strips of Loctite AA 330 glue (yellow tube) on contact points between the heat sink and the radiator (see image above). -
Page 16: Welding
HYDROCLIMA 2 - User Manual Welding 1. Ensure the spacing between the electrodes is in line with the spacing of the allocator heat sink holes (40 mm). 2. Gently remove the paint from the radiator in the pins mounting area. -
Page 17: Configuration
HYDROCLIMA 2 - User Manual Configuration Programming and configuration of the device is carried out by radio, using an RFM-RX2 and BMetering software. To trigger the configuration procedure, the BMetering software must be properly configured: → for the factory state of the allocator, press the button for < 1s →... -
Page 18: Contacts
HYDROCLIMA 2 - User Manual Contacts B METERS srl Via Friuli, 3 • Gonars 33050 (UD) • ITALY Tel: +39 0432 931415 Tel: +39 0432 1690412 Fax: +39 0432 992661 E-mail (sales/info): info@bmeters.com E-mail (support): ticket@bmeters.com Web: www.bmeters.com...


Need help?
Do you have a question about the HYDROCLIMA 2 and is the answer not in the manual?
Questions and answers