Leister Fusion 3C Operating Instructions Manual
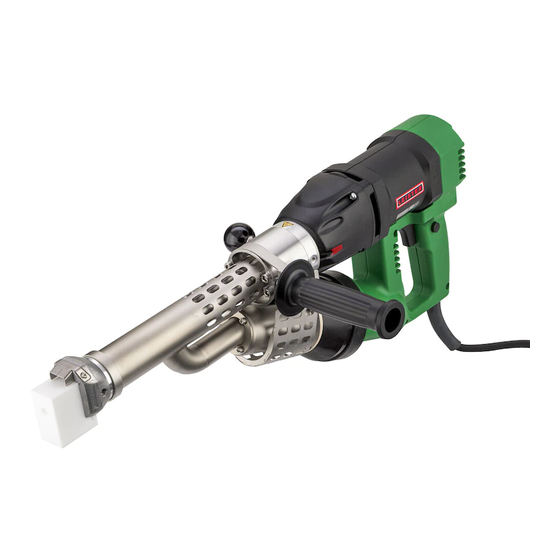
Extrusion welder
Hide thumbs
Also See for Fusion 3C:
- Operating instructions manual (108 pages) ,
- Operating instructions manual (66 pages) ,
- Operating instructions manual (21 pages)
Table of Contents
Advertisement
Quick Links
Advertisement
Table of Contents

Related Manuals for Leister Fusion 3C


Summary of Contents for Leister Fusion 3C
- Page 1 ® FUSION 2 / 3C / 3 Fusion 3C Fusion 3 Fusion 2...
- Page 2 Operating Instructions (Translation of the original operating instructions) Please read operating instructions carefully before use and keep for further reference. Leister FUSION 2 / 3C / 3 Extrusion Welder Application Welding PE and PP thermoplastics for applications in • container engineering •...
-
Page 3: Technical Data
Conformity Leister Technologies AG, Galileo-Strasse 10, CH-6056 Kaegiswil/Switzerland confirms that these products, in the versions as brought into circulation through us, fulfil the requirements of the following EC directives. EC directive(s): 2006/42, 2011/65, 2014/30, 2014/35 Harmonized Standards: EN ISO 12100, EN 55014-1, EN 55014-2, EN 61000-6-2, EN 61000-3-2, EN 61000-3-3, EN 62233, EN 60335-1, EN 60335-2-45, EN 50581 Kaegiswil, 31.10.2018... - Page 4 Description of tool FUSION 2 FUSION 3C FUSION 3 1 Hot air blower switch 10 Tool handle 2 Air temperature potentiometer 11 Drive unit 3 Locking device drive on/off switch 12 Hot air blower 4 Drive on/off switch 13 Power supply cord...
-
Page 5: Preparation For Welding
Preparation for welding • The tool rest (8) or handle (9) can alternatively be mounted left of right of the tool. • Before putting into operation, check power supply cord (13) and connector as well as extension cable for electrical and mechanical damages. •... -
Page 6: Starting The Welding Process
Starting the welding process • Fit the required welding shoe (5) according to the paragraph „Change of welding shoe” (see page 15). • Welding can begin once the operating temperature has been attained. Operate the drive on/off switch (4) for this purpose. - Page 7 Changing the welding shoe Danger of getting burned! Work with temperature resistant gloves only. Switch off the hot tool and disconnect it from the mains supply. • Disassembly – Remove the welding shoe (5) with the welding shoe holder (17) by unfastening the clamp screws (18) from the extruder nozzle (19).
-
Page 8: Maintenance
Hot air blowers ca. 1000 hours (brushes) • Repairs should only be carried out by authorized Leister Service Centres. They guarantee a specialised and reliable Repair Service within 24 hours using original spare parts in accordance with the circuit diagram and spare parts list. - Page 9 © Copyright by Leister ® Your authorised Service Centre is: Allied Power Tools 12/ 76 Rushdale St, Knoxfield VIC 3180 Australia T: + 61 3 9764 2911 E: sales@alliedpowertools.com.au W: www.alliedpowertools.com.au...
Need help?
Do you have a question about the Fusion 3C and is the answer not in the manual?
Questions and answers