Motorola solutions Curve Series Quick Reference Manual
Hide thumbs
Also See for Curve Series:
- User manual (243 pages) ,
- Quick reference manual (13 pages) ,
- Quick reference manual (2 pages)
Table of Contents
Advertisement
Quick Links
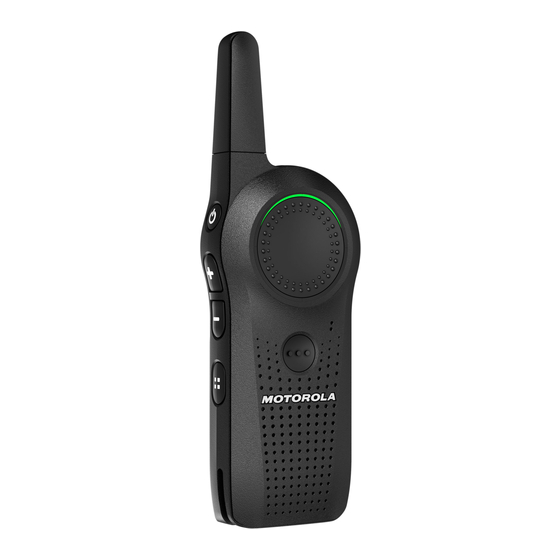
Quick Reference Guide Curve Series Two-Way Radio
Power
Button
Audio
Accessory
Connector
Volume/Up-Down
Control Buttons
Channel/Menu
Charging
Button
Rail
*Voice Assistant button enables you to initiate connection through WiFi.
Hold the VA button to log in or out, send a voice message, or trigger a
call. Subscription is required for Wi-Fi capabilities.
Congratulations on Your New Digital Radio!
Ensure your battery is fully charged before first use. The Curve
series operates in the license-free 900MHz ISM Band (915-928MHz).
For more information on product details, user guide, brochures, and
accessories, refer to
http://www.motorolasolutions.com/curve
call: 1-800-931-855 (Australia) or 0-800-445-227 (New Zealand).
Important: Before using this product, read the RF Energy
Awareness and Acoustic Safety information and operating
instructions contained in the Safety and RF Energy Exposure
Booklet enclosed with your radio package.
Antenna
Tx/Rx
Top Button
Indicator LED
PTT
(Push-To-Talk)
Button
Microphone
*VAB (Voice
Assistant Button)
Speaker
Getting Started
For more information, refer to the User Guide in
https://www.motorolasolutions.com/en_xa/products.html
Installing the Battery
1. Slide the battery latch to unlock position
2. Align the battery contacts with the tabs in the battery compartment.
Insert and fit the battery until it locks in place.
3. Put the battery door back on the radio. Slide the latch to the lock
position.
Battery Latch
Battery Slot
Charging the Battery
or please
1. Connect the power supply to the drop-in charger tray or a power cord
to the multi-unit charger (MUC).
2. Insert the radio into the tray. Ensure that the lateral battery slots are
inserted in the tray rails.
3. The charger LED flashes a few times to indicate the current battery
charge when the radio is inserted into the charger.
4. Short press the Power button to check the battery status on the
device.
and lift up the battery door.
Drop in Tray Charger with Power Supply
Tray
Tray
Rail
Lateral
Holster
English
Tray
Rail
Charging a Radio and Battery using a Multi
Unit Charger - MUC (Optional Accessory)
1
Advertisement
Table of Contents

Related Manuals for Motorola solutions Curve Series


Summary of Contents for Motorola solutions Curve Series
- Page 1 English Getting Started For more information, refer to the User Guide in https://www.motorolasolutions.com/en_xa/products.html Quick Reference Guide Curve Series Two-Way Radio Installing the Battery 1. Slide the battery latch to unlock position and lift up the battery door. Antenna 2. Align the battery contacts with the tabs in the battery compartment.
- Page 2 1 inch to 2 inches (2.5 cm to 5 cm) from mouth when talking. The Curve Series provides an easy way to ensure non-interference and 4. Release the PTT to listen. improved private communications. Follow the following simple steps to...
- Page 3 Changing Channels Advanced Configuration Mode or Other Features 1. To change channel, press the Channel/Menu button. The radio The Curve Series allows for other special features such as Radio announces the current channel. PROFILE ID, Maximum Channels, Top button programming, Home 2.
Need help?
Do you have a question about the Curve Series and is the answer not in the manual?
Questions and answers