REP PR-5000 Assembly Instructions
With weight storage + lat attachment
Hide thumbs
Also See for PR-5000:
- Assembly instructions manual (18 pages) ,
- Assembly instructions manual (18 pages)
Advertisement
Quick Links
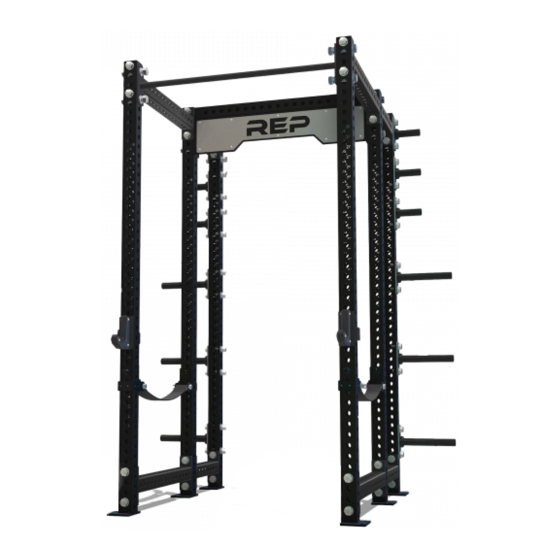
PR-5000 with weight storage + lat attachment
Weight Storage Parts + Hardware
parts Included:
2 Uprights
4 Horizontal Braces
8 weight horns
1.
If you are starting from an
already assembled rack, remove
the name plate to make room for
the weight storage. If you are
starting with building your
power rack, full PR-5000 Power
Rack Assembly Instructions
available at repfitness.com.
Upright caps must also be
removed so that you can
properly secure any horizontal
braces at the highest point of the
uprights.
Hardware Included:
4.3 In Bolt
Small Washer
x 24
x 44
3.
Connect uprights to horizontal braces.
x4
(4.3 in)
x8
x4
Nut
Bulgy Screw
x 24
x 16
Attach horizontal braces to
the top and bottom of each
side of the back of the power
rack. These should be
attached to the highest and
lowest holes of the uprights.
The same screw will be used
that is securing the
x4
horizontal braces of the
(4.7 in)
x8
x4
2.
power rack.
Advertisement

Related Manuals for REP PR-5000


Summary of Contents for REP PR-5000
- Page 1 PR-5000 with weight storage + lat attachment Weight Storage Parts + Hardware parts Included: Hardware Included: 4.3 In Bolt Small Washer Bulgy Screw 2 Uprights x 24 x 24 x 44 x 16 4 Horizontal Braces 8 weight horns Attach horizontal braces to...
- Page 2 Secure weight horns to each side of weight storage uprights. Make sure to leave enough space between each horn so that the diameter of the plates can fit vertically in line with each other. (3.2 in) Lat Attachment Parts + Hardware parts Included: Hardware Included: 3.2 In Bolt +...
- Page 3 (3.2 in) Secure pulley top and (2.8 in) (2.8 in) base braces to crossbars. (2.8 in) (10.2 ) (3.2 in) (3.2 in) (1.8 in) (1.8 in) (3.2 in) (11.5 ) Feed cables through pulleys and secure the pulleys in their designated locations. One end of each cable will attach to the base of the lat pull down to create a line of tension and the other will have a carabiner to attach pull-down...
Need help?
Do you have a question about the PR-5000 and is the answer not in the manual?
Questions and answers