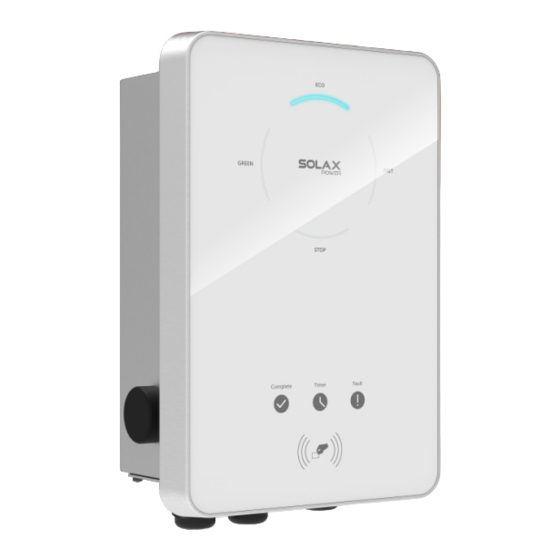
SolaX Power X1-EVC Series Quick Installation Manual
Hide thumbs
Also See for X1-EVC Series:
- User manual (88 pages) ,
- Installation manual (74 pages) ,
- Quick installation manual (2 pages)
Advertisement
Quick Links
X1/X3-EVC Series 7.2 kW-22 kW
(Commercial Edition)
Packing List
Expansion bolt *3/5
(3 for Socket Type,
EV-Charger *1
5 for Plug Type)
Gasket *3/5
European terminal *3/5
(3 for Socket Type,
(3 for single-phase;
5 for Plug Type)
5 for three-phase)
Cable hook *1
(only for Plug Type)
Private RFID card *2
Self tapping screw *3/5
(3 for Socket Type,
5 for Plug Type)
Documents
Installation Steps
STEP 1: Remove the screw from the EV-Charger with the cross screwdriver. Then remove the back bracket away carefully.
STEP 2: Fix the back bracket and the cable hook (only for Plug Type) to the wall.
- Mark the position of the holes.
- Insert the expansion bolts.
- Drill holes with φ 8 drill.
- Depth: at least 45 mm.
≥400 mm
STEP 3: Hang the EV-Charger on the wall for trial, then estimate the required length of input cable (
,
) and communication cable. After that, take the EV-Charger down.
three-phase
outer diameter: 12.5-18 mm
STEP 4: Unscrew the EV-Charger's rear cover with the cross screwdriver and take it down.
waterproof materials away as shown below.
STEP 5: Unscrew the countersunk screw of the base plate of communication board with the cross screwdriver. Then pull the base plate of
communication board out.
①
- Align the bracket and the cable hook (only for Plug Type)
with the holes, and screw the self tapping screws with the
cross screwdriver.
(torque:1.5~2 N·m)
three-core for single-phase, five-core for
Then undo
the fastening heads and take the
②
Advertisement

Summary of Contents for SolaX Power X1-EVC Series
- Page 1 Installation Steps STEP 1: Remove the screw from the EV-Charger with the cross screwdriver. Then remove the back bracket away carefully. STEP 2: Fix the back bracket and the cable hook (only for Plug Type) to the wall. X1/X3-EVC Series 7.2 kW-22 kW - Mark the position of the holes.
- Page 2 Installation Steps STEP 11: Push the rear cover to appropriate position of the cables and screw the self tapping screws with the cross screwdriver. Then tighten the waterproof fastening heads. (torque: 2~2.5 N·m) STEP 6: Insert the communication cable of the meter through the waterproof connector in sequence as shown below. ( In the “Private Charger”...


Need help?
Do you have a question about the X1-EVC Series and is the answer not in the manual?
Questions and answers