SolaX Power X1-EVC Series Quick Installation Manual
7.2 kw-22 kw home edition
Hide thumbs
Also See for X1-EVC Series:
- User manual (88 pages) ,
- Installation manual (74 pages) ,
- Quick installation manual (2 pages)
Advertisement
Quick Links
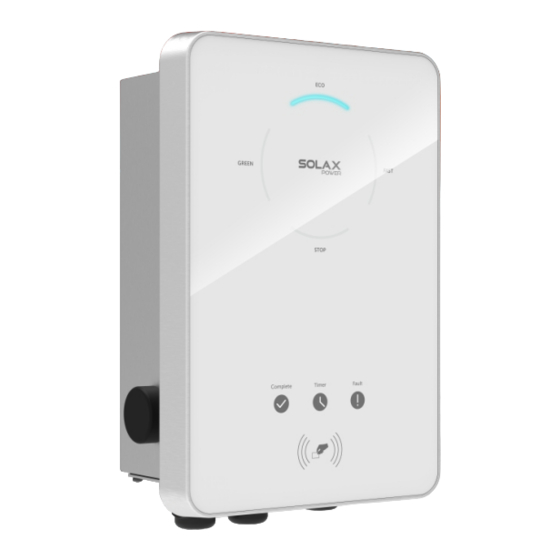
X1/X3-EVC Series 7.2 kW-22 kW
Packing List
Expansion bolt *3/5
Self tapping screw *3/5
(3 for Socket Type,
(3 for Socket Type,
EV-Charger *1
5 for Plug Type)
5 for Plug Type)
X1/X3-EVC
Series User Manual
7.2 kW - 22 kW (Home Edition)
X1/X3-EVC Series 7.2 kW-22 kW
(Home Edition)
European terminal *3/5
Copyright Declaration
The copyright of this manual belongs to SolaX Power Network Technology (Zhejiang) Co., Ltd.
Any corporation or individual should not plagiarize, par tially or fully copy it (including
software, etc.), and no reproduction or distribution of it in any form or by any means shall be
right of final interpretation.
allowed. All rights reser ved. SolaX Power Network Technology (Zhejiang) Co., Ltd. reser
ves the
Quick Installation Guide
(3 for single-phase;
Manual *1
*1
5 for three-phase)
CT (single-phase)
CT(three-phase)
RFID Card *2
*1
*1
(only for Plug Type)
(Home Edition)
Gasket *3/5
(3 for Socket Type,
5 for Plug Type)
RJ45 terminal adapter
*1
Cable hook *1
Installation Steps
STEP 1: Remove the screw from the EV-Charger with the cross screwdriver. Then remove the back bracket away carefully.
STEP 2: Fix the back bracket and the cable hook (only for Plug Type) to the wall.
- Mark the position of the holes.
- Insert the expansion bolts.
- Drill holes with φ 8 drill.
- Depth: at least 45 mm.
≥400 mm
STEP 3: Hang the EV-Charger on the wall for trial, then estimate the required length of input cable (
,
) and communication cable. After that, take the EV-Charger down.
three-phase
outer diameter: 12.5-18 mm
STEP 4: Unscrew the EV-Charger's rear cover with the cross screwdriver and take it down.
waterproof materials away as shown below.
STEP 5: Unscrew the countersunk screw of the base plate of communication board with the cross screwdriver. Then pull the base plate of
communication board out .
①
- Align the bracket and the cable hook (only for Plug Type)
with the holes, and screw the self tapping screws with the
cross screwdriver.
(torque:1.5~2 N·m)
three-core for single-phase, five-core for
Then undo
the fastening heads and take the
②
Advertisement

Related Manuals for SolaX Power X1-EVC Series


Summary of Contents for SolaX Power X1-EVC Series
- Page 1 European terminal *3/5 Copyright Declaration The copyright of this manual belongs to SolaX Power Network Technology (Zhejiang) Co., Ltd. Any corporation or individual should not plagiarize, par tially or fully copy it (including software, etc.), and no reproduction or distribution of it in any form or by any means shall be allowed.
- Page 2 Installation Steps STEP 11: Push the rear cover to appropriate position of the cables and screw the self tapping screws with the cross screwdriver. Then tighten the waterproof fastening head. (torque: 2~2.5 N·m) STEP 6: Insert the prepared communication cable through the waterproof connector in sequence as shown below (If the cable is self-made, also insert the wires into the RJ45 terminals and then use crimping pliers to press them tightly).
Need help?
Do you have a question about the X1-EVC Series and is the answer not in the manual?
Questions and answers