Table of Contents
Advertisement
Quick Links
QUICK START GUIDE
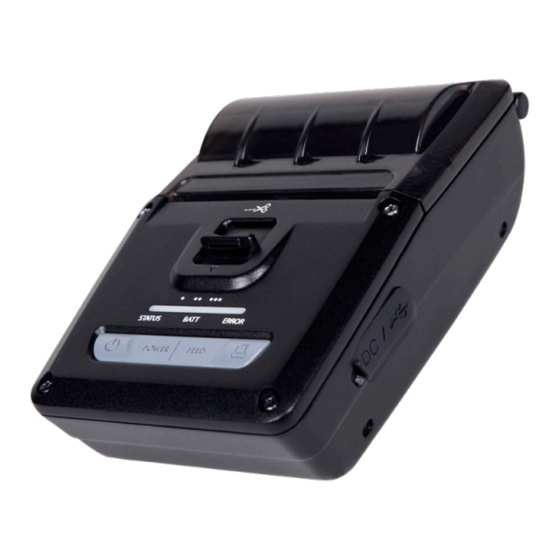
MP24
2-Inch Mobile Printer
Installing the Battery
Before using your MP24 printer, install the Lithium-Ion rechargeable
Battery.
1.
Connect the input cord to the AC adapter.
2.
Align the battery hook on the back of the printer.
3.
Lock the battery in place and ensure the upper cover clicks closed securely.
Charging the Battery
You can charge the battery with the approved AC adapter cables
provided with your printer.
1.
Ensure the printer is turned off and not turned on when charging the
battery.
2.
Open the DC jack cover, and then connect the jack to the printer.
3.
Plug the power cord into an appropriate power source.
LED Status
Red
Printer is charging.
Solid Green
Charging is complete.
Blinking Green
Printer is not charging properly.
Button Functionality
Power
•
Turn the printer On/Off.
•
When the printer is off, press Power for at least
three seconds to turn on.
Feed
•
Feed the paper manually into the printer, perform
self tests and hexadecimal dumps.
Error
•
Red light indicates paper tray is empty or paper
cover is open.
Link
•
LED blinks
•
Power On/charging complete - Green
•
Power Off - No LED
Installing a Standard Paper Roll
1.
To install a standard paper roll, press down the Advance Manual Cutter
(AMC) button on top of the printer.
•
AMC button down opens the cover for you to clean the printer
head, replace paper, or fix a paper jam.
•
AMC button up allows you to cut paper.
2.
Remove the empty paper core.
3.
Insert a new paper roll so it unrolls from the bottom easily.
4.
Once the paper is in place, pull out a short length of it, close the printer cover,
and then press the AMC button again to raise it up. You can then cut the
extra paper.
5.
Close the cover with both hands.
Diagnostic Self Test
After installation follow these guidelines to print out the status of the
printer. This self test provides information about the control circuit,
mechanism, print quality and ROM version.
Note:
To protect the motor from overheating, stop the printer for 30 seconds
after continuous printing of 1.5 meters (4.92 ft).
1.
Turn off the printer by holding the Power button down for three seconds.
2.
Press both the Feed and Power buttons at the same time. The self-test
printout appears automatically.
Connect Peripherals
You can connect your printer to other iOS devices via Bluetooth, Wi-Fi,
for Near-Field Communication (NFC) using the USB cable from the
printer to a PDA, computer, and so on.
Note:
NFC connection is only compatible with Bluetooth.
1.
Plug the USB cable into the printer connector on the back of the connector
cover.
2.
Plug the other end of the cable into the USB port on the device.
Advertisement
Table of Contents

Related Manuals for Infinite Peripherals MP24


Summary of Contents for Infinite Peripherals MP24
- Page 1 2-Inch Mobile Printer Installing the Battery Installing a Standard Paper Roll To install a standard paper roll, press down the Advance Manual Cutter Before using your MP24 printer, install the Lithium-Ion rechargeable (AMC) button on top of the printer. Battery. •...
- Page 2 Website: ipcmobile.com Specifications subject to change without notice. Infinite Peripherals, Mobilize Your Enterprise, Linea Pro, Infinea Tab and QSG-10059 Rev A Infinea Omni are trademarks of Infinite Peripherals, Inc. All other trademarks are the property of their respective owners.
Need help?
Do you have a question about the MP24 and is the answer not in the manual?
Questions and answers