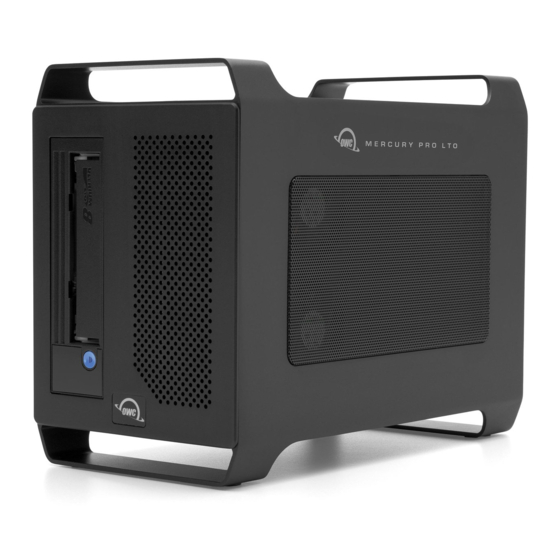
Summary of Contents for OWC Mercury Pro LTO
- Page 1 ARGEST BACKUP ® WITH MERCURY PRO LTO Quick Start Guide ARGEST BACKUP QUICK START GUIDE...
-
Page 2: Table Of Contents
TABLE OF CONTENTS INSTALLATION..............3 ............3 - System Requirements ................3 - Download ................3 - Installation SETUP..................3 ................3 - Prerequisites ..............4 - Inital Configuration BACKUP.................5 RESTORE................10 ADDITIONAL RESOURCES..........14 ............14 - User Guides & Software ..............14 - Advanced Settings ARGEST BACKUP QUICK START GUIDE... -
Page 3: Installation
Backup supports macOS 10.13 or later, Windows 7 or later, and 64- ® bit Linux with GTK3. - Mercury Pro LTO requires macOS 10.14.6 or later and Windows 10 or later. DOWNLOAD The latest version of ArGest Backup can be obtained from our website at ®... -
Page 4: Inital Configuration
INITIAL CONFIGURATION When first opening ArGest ® Backup, the QuickConfig Configuration Assistant will walk you through the initial configuration. For use with the OWC Mercury Pro LTO, please select Standalone Tape Drive as your default backup destination. For the remaining settings, we recommend using the default and skipping the email configuration. -
Page 5: Backup
BACKUP FOR A REGULAR BACKUP, WE RECOMMEND USING THE WIZARD MODE. 1. Insert a blank tape into the LTO drive and wait until it is ready. This may take a few seconds and during that time you will hear some noise from the drive. This is expected. - Page 6 Drag and drop the volumes, folders, or files that you would like to back up onto the blank space under “Included Items” 6. Check the box for Use Destination Defaults to use the default settings as set up during the initial configuration and then click Next. ARGEST BACKUP QUICK START GUIDE...
- Page 7 7. Enter your preferred name for the tape set and the current backup. This will allow you to easily identify the tape and archive when you need to restore it at a later point. Click Next to continue. 8. ArGest® Backup will use the native capacity of the supported tapes to estimate how many tapes will be required for this backup.
- Page 8 9. When ready, click Start to write the file(s) to tape. If the tape already contains some data, depending on your settings, you may get a warning and a prompt to insert a blank tape or approve the overwriting of any existing data. 10.
- Page 9 11. The LTO drive will now reposition the tape and start the backup. 12. When the backup has completed, please review the log to make sure there were no unexpected errors. You may print the details and save the report as a PDF document for future reference.
-
Page 10: Restore
13. Click Close again to close the backup job and return to the main menu. 14. To eject the tape, please press and immediately release the eject button on the front of the tape or from within ArGest® Backup go to Tools >... - Page 11 3. Under Tape Sets & Archives, select the archive that you would like to restore. 4. Under Archive Contents, double-click on any folder(s) or file(s) that you would like to restore in order to add them to the list of files to be restored from the archive. ARGEST BACKUP QUICK START GUIDE...
- Page 12 5. Tip: As an alternative to the previous two steps, and when you don’t remember where a certain file is stored, click Search Archives and search by file name or metadata. Choose the files you would like to restore, click Add Checked and then Close...
- Page 13 7. ArGest Backup will prompt you to load the tape that contains the required data. ® Insert the tape and click Continue Restore when the tape is ready. 8. The LTO drive will now reposition the tape and start the restore. 9.
-
Page 14: Additional Resources
© 2022 Other World Computing, Inc. All rights reserved. OWC, the OWC logo, and ArGest are trademarks of New Concepts Development Corporation, registered in the U.S. and/or other countries. Mac and macOS are trademarks of Apple Inc., registered in the United States and other countries.


Need help?
Do you have a question about the Mercury Pro LTO and is the answer not in the manual?
Questions and answers