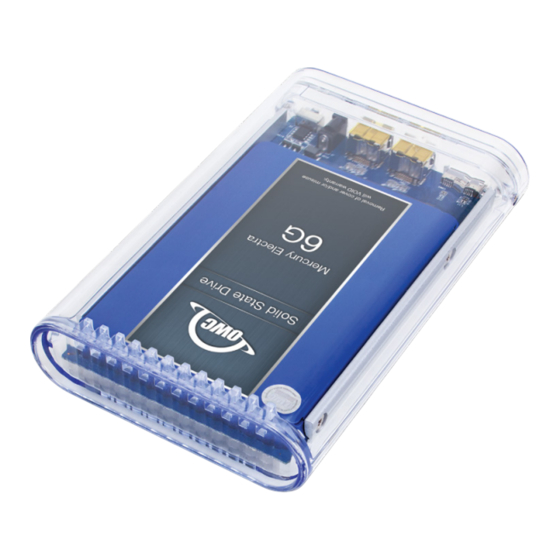
OWC Mercury On-The-Go Pro Assembly Manual & User Manual
Hide thumbs
Also See for Mercury On-The-Go Pro:
- Assembly manual & user manual (12 pages) ,
- User manual (8 pages) ,
- Owner's manual (2 pages)
Table of Contents
Advertisement
Quick Links
Advertisement
Table of Contents

Summary of Contents for OWC Mercury On-The-Go Pro
- Page 1 M E R C U R Y O N - T H E - G O P R O Assembly Manual & User Guide...
-
Page 2: Table Of Contents
2.1 Quick Start ....................4 2.2 Assembly ....................4 2.3 Usage Notes ....................7 SUPPORT RESOURCES 3.1 Formatting ....................8 3.2 Unmounting Drives..................8 3.3 Troubleshooting ..................8 3.4 About Data Backup ..................8 3.5 Online Resources ..................8 3.6 Contacting Technical Support ..............9 OWC MERCURY ON-THE-GO PRO TABLE OF CONTENTS... -
Page 3: Introduction
The images and descriptions may vary slightly between this manual and the unit shipped. Functions and features may change depending on the firmware version. Please visit the product web page for the current product specifications. OWC MERCURY ON-THE-GO PRO INTRODUCTION... -
Page 4: General Use Precautions
Never expose your device to rain, or use it near water or in damp or wet conditions. Never place objects containing liquids on the drive, as they may spill into its openings. Doing so increases the risk of electrical shock, short-circuiting, fire or personal injury. OWC MERCURY ON-THE-GO PRO INTRODUCTION... -
Page 5: Led Indicator
1.4 LED Indicator The Mercury On-The-Go Pro has a blue LED at the front. The LED emits a solid blue light when the unit is powered on and flashes during drive activity. 1.5 Rear View 1.5.1 Rear Features 1. USB 3.1 Gen 1 port — Attach the included USB 3.1 Gen 1 (Standard-A to Micro-B) cable here. -
Page 6: Device Setup
NOTE: If you are installing your own 2.5 inch SATA drive, skip this section and proceed to Section 2.2 for assembly instructions. You will need to format the Mercury On-The-Go Pro before using it. The OWC Drive Guide formatting utility has been pre-installed to assist you. Follow the steps below to use Drive Guide to format the Mercury On-The-Go Pro for Mac (OS X 10.4 and later) or Windows (XP and later). - Page 7 Next insert the end-cap into the back of the enclosure. The cutouts in the end- cap should sit flush around the data port(s) and the power switch should protrude through the corresponding cutout (below right). OWC MERCURY ON-THE-GO PRO DEVICE SETUP...
- Page 8 8. Find the adhesive strip with the four rubber pads attached to it. Each pad can be peeled off and attached to one of the four similarly shaped recesses on the bottom of the enclosure (shown below). The assembly process is now complete. OWC MERCURY ON-THE-GO PRO DEVICE SETUP...
-
Page 9: Usage Notes
Connect only one interface (USB or FireWire) at a time. • The Mercury On-The-Go Pro is designed to receive power through the USB or FireWire cable, therefore a separate power adapter is not necessary and not included. For rare circumstances in which external power may be necessary, an optional 5V power adapter is available: www.owcdigital.com/otg-power... -
Page 10: Support Resources
SUPPORT RESOURCES OWC MERCURY ON-THE-GO PRO SUPPORT RESOURCES... -
Page 11: Contacting Technical Support
3.6 Contacting Technical Support 8am - 5pm (CT) Monday - Friday Phone Support: (866) 692-7100 (North America only) +1 (815) 338-4751 (International) Live Chat: (available during business hours) www.owcdigital.com/support Email Support: www.owcdigital.com/support OWC MERCURY ON-THE-GO PRO SUPPORT RESOURCES... - Page 12 • Connect the equipment to an outlet on a circuit different from that to which the receiver is connected. Warranty: The Mercury On-The-Go Pro has a 3 Year OWC Limited Warranty if it was bundled with drives. Mercury On-The-Go Pro enclosures that do not ship with drives have a 1 Year OWC Limited Warranty.


Need help?
Do you have a question about the Mercury On-The-Go Pro and is the answer not in the manual?
Questions and answers