OWC mercury elite pro mini Assembly Manual & User Manual
Hide thumbs
Also See for mercury elite pro mini:
- Assembly manual (28 pages) ,
- Assembly manual & user manual (24 pages) ,
- Quick start manual (10 pages)
Table of Contents
Advertisement
Quick Links
Advertisement
Table of Contents

Related Manuals for OWC mercury elite pro mini


Summary of Contents for OWC mercury elite pro mini
- Page 1 M E R C U R Y E L I T E P R O M I N I Assembly Manual & User Guide...
-
Page 2: Table Of Contents
1.4 Rear View ................3 1.5 Usage Notes ................4 DEVICE SETUP 2.1 Quick Start ................5 2.2 Assembly ................5 SUPPORT RESOURCES 3.1 Formatting ................8 3.2 Troubleshooting ..............8 3.3 About Data Backup ...............8 3.4 Contacting Technical Support ..........8 OWC Mercury Elite Pro mini Contents... -
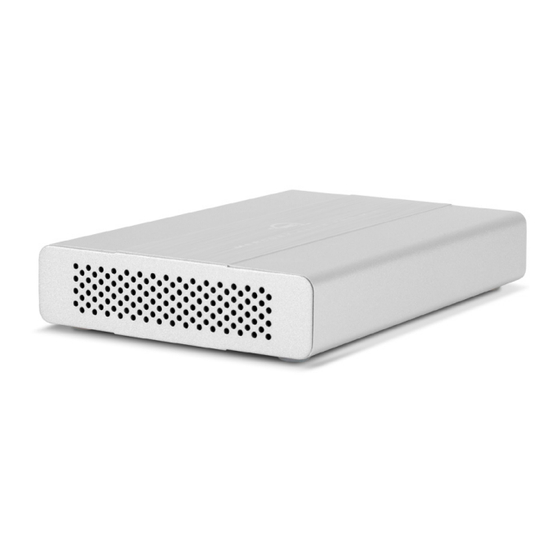
Page 3: Introduction
9-9 pin cable *** Not pictured: • If the Mercury Elite Pro mini was purchased without drives, a packet of screws is included. • USB to DC power cable (USB 3.1 Gen 1 / eSATA model only) ** eSATA cable included only with USB 3.1 Gen 1 / eSATA model. -
Page 4: General Use Precautions
Never expose your device to rain, or use it near water or in damp or wet conditions. Never place objects containing liquids on the drive, as they may spill into its openings. Doing so increases the risk of electrical shock, short-circuiting, fire or personal injury. OWC Mercury Elite Pro mini Introduction... -
Page 5: Rear View
If the connector does not go in smoothly, do not force it. Flip it over and re-insert it. 4. ON | OFF switch — Power the Mercury Elite Pro mini on and off here. 5. DC IN — Connect the optional 5V power adapter here (sold separately). -
Page 6: Usage Notes
• Use only one interface (USB 3.1 Gen 1, eSATA, or FireWire 800) at a time. • The Mercury Elite Pro mini is designed to receive all needed power through the USB or FireWire cable, therefore a separate power adapter is not necessary and not included. When using eSATA or other scenarios that require external power, an optional 5V power adapter is available. -
Page 7: Device Setup
2.1 Quick Start Follow the steps below to use the OWC Drive Guide utility to format your Mercury Elite Pro mini for Mac (OS X 10.4 and later) or Windows (XP and later). If you installed your own drives, please use the formatting method you are most familiar with or use our recommended formatting tips: www.owcdigital.com/format... - Page 8 7. Insert the four included screws into the screw holes, then use a Phillips driver to fasten the drive to the inner chassis (shown below). When this is done, turn the inner chassis over. OWC Mercury Elite Pro mini DEVICE SETUP...
- Page 9 9. Attach the back plate as shown below and use a Phillips driver to re-affix the two screws that you removed in Step 1, in the locations shown at left. This completes the assembly process. OWC Mercury Elite Pro mini DEVICE SETUP...
-
Page 10: Support Resources
To ensure that your files are protected and to prevent data loss, we strongly suggest that you keep two copies of your data: one copy on your Mercury Elite Pro mini and a second copy on either your internal drive or another storage medium, such as an optical backup, or on another external storage unit. - Page 11 Warranty: The Mercury Elite Pro mini has a 3 Year OWC Limited Warranty if it was bundled with drives. Mercury Elite Pro mini enclosures that do not ship with drives have a 1 Year OWC Limited Warranty. Please visit the web site for details.
Need help?
Do you have a question about the mercury elite pro mini and is the answer not in the manual?
Questions and answers