Advertisement
Quick Links
4 light type
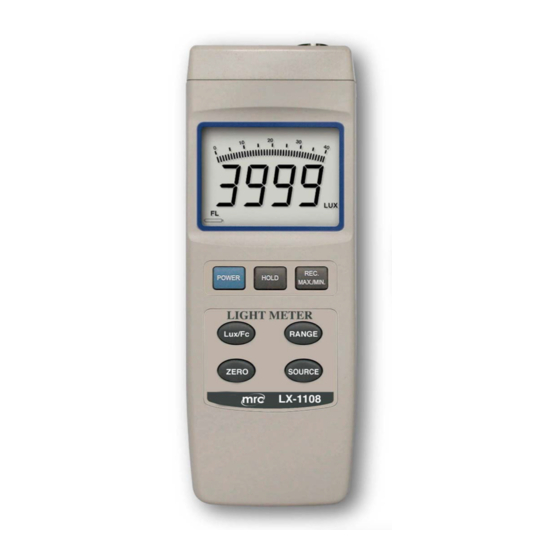
LIGHT METER
Model : LX-1108
Your purchase of this LIGHT METER marks a step forward for
you into the field of precision measurement. Although this LIGHT
METER is a complex and delicate instrument, its durable structure
developed. Please read the following instructions carefully and
always keep this manual within easy reach.
OPERATION MANUAL
Hagavish st. Israel 58817 Tel: 972 3 5595252, Fax: 972 3 5594529
MRC.7.22
mrc@mrclab.com
Advertisement

Related Manuals for MRC LX-1108


Summary of Contents for MRC LX-1108
- Page 1 4 light type LIGHT METER Model : LX-1108 Your purchase of this LIGHT METER marks a step forward for you into the field of precision measurement. Although this LIGHT METER is a complex and delicate instrument, its durable structure developed. Please read the following instructions carefully and always keep this manual within easy reach.
- Page 2 TABLE OF CONTENTS 1. FEATURES..............1 2. SPECIFICATIONS............1 2-1 General Specifications......... 1 2-2 Electrical Specifications........4 2-3 Spectrum for Light Sensor......... 3. FRONT PANEL DESCRIPTION........6 3-1 Display..............6 3-2 Power Button............ 6 3-3 Hold Button............6 3-4 REC ( Max/Min ) Button........6 3-5 Lux/Fc ( Ft-cd ) Button........6 3-6 Range Button............
- Page 3 1. FEATURES * 5 ranges : 40.00/400.0/4,000/40,000/400,000 Lux, wide measuring range. * High resolution : 0.01 Lux to 100 Lux, 0.001 Ft-cd to 10 Ft-cd. * Selection of lighting type ( Tungsten, Fluorescent, Sodium or Mercury ). * Sensor used the exclusive photo diode & color correction filter, spectrum meet C.I.E.
-
Page 4: Specifications
2. SPECIFICATIONS 2-1 General Specifications Display Large LCD display. LCD size 52 x 38 mm, 4 digits. with bar graph indicator. Measurement 5 ranges : 40.00 Lux, 400.0 Lux, & ranges 4,000 Lux, 40,000 Lux, 400,000 Lux. Unit Lux, Foot-candle ( Ft-cd ). Lighting Type Tungsten lamp, Fluorescent lamp, Selection... - Page 5 Power Supply DC 9V battery. 006P, MN1604 ( PP3 ) or equivalent. Power Approx. DC 8 mA. Consumption Weight 220 g/0.48 LB. Main instrument : Dimension 200 x 68 x 30 mm ( 7.9 x 2.7 x 1.2 inch ). Light Sensor probe : 82 x 55 x 7 mm ( 3.2 x 2.2 x 0.3 inch ).
- Page 6 2-2 Electrical Specifications (23 5 蚓) Unit Range In-range Display Resolution 40.00 Lux 0 to 40.00 Lux 0.01 Lux 400.0 Lux 36.0 to 400.0 Lux 0.1 Lux 4,000 Lux 360 to 4,000 Lux 1 Lux 40,000 Lux 3,600 to 40,000 Lux 10 Lux 400,000 Lux 10,000 to 400,000 Lux 100 Lux...
- Page 7 2-3 Spectrum for Light Sensor...
-
Page 8: Front Panel Description
3. FRONT PANEL DESCRIPTION 3-1 Display 3-9 Light Sensor Input Socket 3-2 Power Button 3-10 Stand 3-3 Hold Button 3-11 Battery Compartment/Cover 3-4 REC ( Max/Min ) Button 3-12 RS-232 Output 3-5 Lux/Fc ( Ft-cd ) Button 3-13 Light Sensor 3-6 Range Button 3-14 Sensor Cover 3-7 Zero Button... -
Page 9: Measuring Procedure
4. MEASURING PROCEDURE 1) Push the " Power Button " ( 3-2, Fig. 1 ) to switch the instrument on. 2) Select the desired measuring unit by pressing the " Lux/Fc Button " ( 3-5, Fig. 1 ). The display will indicate the selected unit of "... - Page 10 6) Zero adjustment a. Cover the " Light Sensor " ( 3-13, Fig, 1 ) using the " Sensor Cover " ( 3-14, Fig. 1 ). b. Set to 40.00 Lux range. c. Pushing the " Zero Button " ( 3-7, Fig. 1 ), LCD will reach to zero values.
- Page 11 Data Record ( Max., Min. reading ) a. The data record function records the maximum and minimum readings. Press the " REC. Button " ( 3-4, Fig. 1 ) to start the Data Record function and there will be a " REC " symbol on the display. b.
- Page 12 5. AUTO POWER OFF DISABLE The instrument has " Auto Power Off " function in order to prolong battery life. The meter will shut off automatically if none of the buttons are pressed in approx. 10 min. To disable this function, Select the memory record function during the measurement by pressing the "...
-
Page 13: Battery Replacement
2) Slide the " Battery Cover " ( 3-11, Fig. 1 ) away from the instrument and remove the battery. 3) Replace with 9V battery ( Alkaline or Heavy duty type ) and reinstate the cover. 4) Make sure the battery cover is secured after changing the battery. MRC.7.2022...
Need help?
Do you have a question about the LX-1108 and is the answer not in the manual?
Questions and answers