
Related Manuals for Boss Snowplow SNR24030


Summary of Contents for Boss Snowplow SNR24030
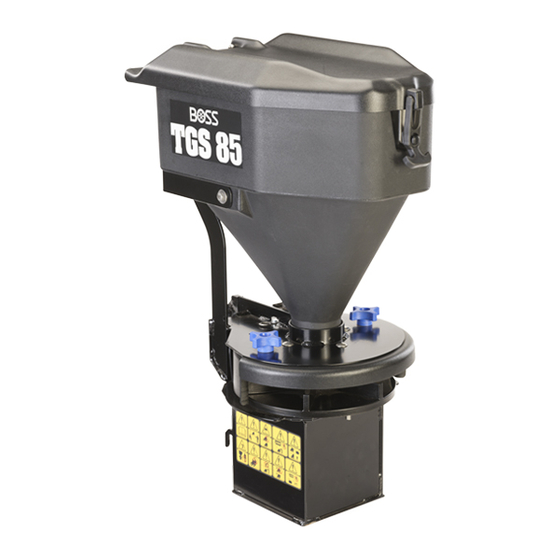
- Page 1 Form No. MSC24004 Rev A Owner's Manual Broadcast Spreader Snowrator and Snowrator MAG Part No. SNR24030—Serial No. 400000000 and Up *MSC24004* Register at www.bossplow.com. Original Instructions (EN)
-
Page 2: Table Of Contents
BOSS Products limited consumer warranty and BOSS The safety-alert symbol shown in this manual and on Products commercial warranty policies are located at the machine identifies important safety messages that www.bossplow.com. you must follow to prevent accidents. Patent www.ttcopats.com. g000502 Figure 2 Introduction Safety-alert symbol... -
Page 3: Safety
Safety Improperly using and maintaining the equipment can result in injury. To reduce the potential for injury, comply with these safety instructions. Preparation • Ensure that only trained personnel install and perform maintenance on the equipment. • Always wear appropriate personal protective equipment when loading, unloading, and servicing the spreader. -
Page 4: Safety And Instructional Decals
Safety and Instructional Decals Safety decals and instructions are easily visible to the operator and are located near any area of potential danger. Replace any decal that is damaged or missing. decal143-1088 143-1088 1. Warning—read the Owner’s Manual. 6. Thrown object hazard—keep bystanders away. 2. -
Page 5: Setup
Setup Installing the Mounting Plates g382862 Figure 5 Snowrator g383799 Figure 3 g387680 Figure 6 Snowrator MAG Install the upper mounting bracket using 2 bolts (5/16-18 x 1 inch) and 2 nuts (5/16-18 inch). g382858 Figure 4 Installation location options Secure the lower mounting plates to the machine using 2 bolts (5/16-18 x 1 inch) and 2 nuts (5/16-18 inch). -
Page 6: Installing The Spreader On The Mounting Plates
Installing the Spreader on Rotate the spreader upright to the mounting hole and spring bracket. Release the latch pin the Mounting Plates to secure the assembly. Place the spreader mounting flange on the mounting bar. g382859 Figure 10 g382863 Figure 8 Pull back and lock the latch pin. -
Page 7: Installing The Controller
Installing the Controller Installing the Controller on the Snowrator Installing the Controller on the Remove the cushion from the machine. Snowrator MAG Remove the cushion from the machine. Remove the knockout panel on the control panel. g319131 Figure 14 g383797 Remove the knockout panel on the control Figure 12 panel. -
Page 8: Routing The Wire Harness
g388640 Figure 17 g382856 Figure 16 1. Machine harness 2. Controller connector connector Connect the controller connector to the back Routing the Wire Harness side of the previously installed control and secure with cable ties. Important: Keep the harness away from hot or Connect the spreader side harness to the moving parts. -
Page 9: Product Overview
Controller Product Overview The spreader controller lets you operate your spreader and displays information about your machine. g293836 Figure 19 1. Blast button 4. Slow button 2. Power button 5. Fast button 3. Speed LED’s • Power button—turns the spreader controller and spinner motor on or off. -
Page 10: Operation
Operation Note: Determine the left and right sides of the machine from the normal operating position. DANGER The spreader is heavy and could cause serious injury or property damage if it falls off the vehicle. • Ensure that your footing is stable, and avoid lifting the spreader on slippery or uneven surfaces. -
Page 11: Freeing A Clog
Cleaning the Spreader Slow speeds spread material close and densely. Fast speeds spread material far and thinly. Service Interval: Before each use or daily—Clean Drive at a consistent speed as you spread the spreader. material. Important: Do not use water to clean the When you are finished spreading, turn the spreader. -
Page 12: Troubleshooting
Troubleshooting Problem Possible Cause Corrective Action The controller has no power. 1. The controller is not plugged into the 1. Plug in the controller. wire harness. 2. The electrical system is damaged. 2. Contact your authorized BOSS dealer. 3. A fuse is blown. 3.
Need help?
Do you have a question about the SNR24030 and is the answer not in the manual?
Questions and answers