
Subscribe to Our Youtube Channel
Related Manuals for Boss Snowplow TGS 800


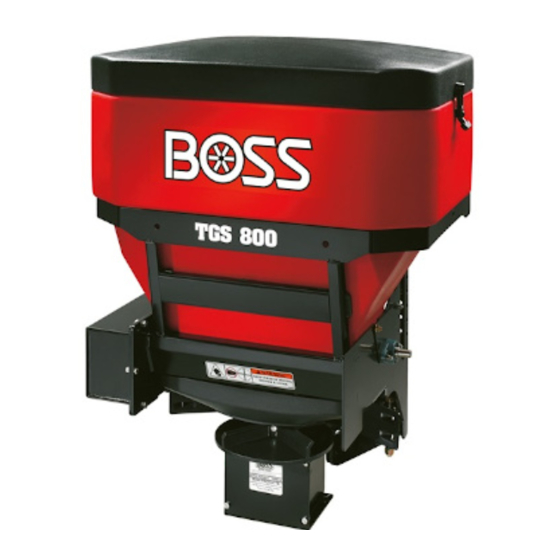
Summary of Contents for Boss Snowplow TGS 800
- Page 1 Form No. TGS06487 Rev A P.O. Box 787 Iron Mountain, MI 49801 United States Owner's Manual TGS 800 Tailgate Spreader Part No. TGS08000 *TGS06487* A Register at www.bossplow.com. Original Instructions (EN)
-
Page 2: Table Of Contents
This product complies with all relevant European directives; which signals a hazard that may cause serious injury or death for details, please see the separate product specific Declaration if you do not follow the recommended precautions. of Conformity (DOC) sheet. WARNING g000502 CALIFORNIA... -
Page 3: Safety
• Never operate the spreader within 7.6 m (25 ft) of • The TGS 800 can hold a maximum weight of 362 kg (800 bystanders. lb) of salt. Do not exceed this weight. •... -
Page 4: Safety And Instructional Decals
Safety and Instructional Decals Safety decals and instructions are easily visible to the operator and are located near any area of potential danger. Replace any decal that is damaged or missing. decaltgs06269b TGS06269 1. Warning—read the Owner’s 4. Warning—turn the machine 7. - Page 5 decalmsc14468 MSC14468 1. Read the Owner’s 4. Read the Owner’s Manual for information Manual for information on attaching the spreader. on removing the spreader. 2. Coupler spring pin unlock 5. Coupler spring pin lock 3. Coupler spring pin unlock 6. Coupler spring pin lock position position decaltgs05896...
-
Page 6: Setup
Installing the Slide-In Setup Attachment Note: Either the slide-in or RT3 attachment is required to install this machine. Contact your Authorized BOSS Dealer 1. Mount the slide-in attachment to the spreader using 4 bolts (1/2 inch) and locknuts (1/2 inch) and torque the for more information. -
Page 7: Installing The Rt3 Attachment
2. Slide the hitch on the spreader into the receiver hitch 6. Slide the ends of the ratchet straps between the bumper of your vehicle and line up the second hole on the and tailgate on your vehicle and attach them to a solid spreader hitch with the hole in the hitch of your vehicle point on the truck frame rail. -
Page 8: Mounting The Spreader With The Rt3 Attachment
Mounting the Spreader with the RT3 Attachment 1. Attach the D-ring end of the ratchet straps to the upper holes on the outside of the spreader frame using a bolt (1/2 inch), washer (1/2 inch), and locknut (1/2 inch) and torque the bolts to 76 Nm (56 ft-lb) as shown in Figure G031013 g031013... -
Page 9: Installing The Spreader Controller
DANGER The spreader is heavy and could cause serious injury or property damage if it falls off your vehicle. Ensure that the top pin of the RT3 attachment is fully locked into place and that the safety latch is down. 8. -
Page 10: Product Overview
Product Overview Spreader Controller The spreader controller lets you operate your spreader and displays information about your machine. g186465 Figure 15 1. Lift points 4. Spinner spring pin g186466 Figure 16 2. Bag splitter 5. Material deflector 3. Hopper cover 6. -
Page 11: Operation
Operation Note: Determine the left and right sides of the machine from the normal operating position. DANGER Removing the Spreader The spreader is heavy and could cause serious Equipped with the Slide-In Attachment injury if dropped. 1. Ensure that the spreader controller is in the O Ensure that your footing is stable, and avoid position. -
Page 12: Removing The Spreader
Removing the Spreader Equipped with the RT3 Attachment 1. Ensure that the spreader controller is in the O position. 2. Unplug the spreader wire harness from the vehicle wire harness and attach the weather caps to each end. 3. Pivot the leg-assembly wheels from under the spreader (Figure 19). -
Page 13: Loading The Spreader
DANGER The spreader is heavy and could cause serious injury or property damage if it falls off your vehicle. Ensure that the top pin of the RT3 attachment is fully locked into place and that the safety latch is down. 6. -
Page 14: Operating The Spreader
Unloading the Spreader Note: Have 2 people lift bags weighing more than 18 kg (40 lb). 1. Position the spreader in the area where you want to Note: Keep your hands and fingers clear of the deposit the material. bag splitter when loading materials. 2. -
Page 15: Adjusting The Material Deflectors
CAUTION The spreader throws material at a high speed that could cause minor injuries to bystanders. Bystanders should stay a minimum of 7.6 m (25 ft) away from operating spreaders. 7. Once the hopper is empty, turn off the spreader controller. -
Page 16: Adjusting The Spreader Vibration
Adjusting the Spreader Vibration 1. Ensure that the spreader controller is in the O position, and unplug the spreader wire harness from the vehicle wire harness. 2. Remove the hopper cover and top screen. 3. Loosen the vibration tray bolts, and move the plate to the desired position (Figure 30). -
Page 17: Troubleshooting
Troubleshooting Problem Possible Cause Corrective Action The controller has no power (the green 1. The battery connections are corroded. 1. Clean the battery connections. LED is not on). 2. The 40 amp in-line fuse in the vehicle 2. Replace the fuse. side harness in bad. - Page 18 Notes:...
- Page 19 3. Products which have been subject to misuse, negligence, accident, improper installation, maintenance, care, or storage. 4. Products mounted on vehicles other than those listed in the BOSS Snowplow Application Chart and Selection Guide. 5. BOSS Products does not assume liability for damage to your motor vehicle resulting from the attachment or use of any BOSS products. Vehicle risk is the sole responsibility of the purchaser.
- Page 20 3. Products which have been subject to misuse, negligence, accident, improper installation, maintenance, care, or storage. 4. Products mounted on vehicles other than those listed in the BOSS Snowplow Application Chart and Selection Guide. 5. BOSS Products does not assume liability for damage to your motor vehicle resulting from the attachment or use of any BOSS products. Vehicle risk is the sole responsibility of the purchaser.
Need help?
Do you have a question about the TGS 800 and is the answer not in the manual?
Questions and answers