Table of Contents
Advertisement
Quick Links
It is important to read the installation instructions before connecting the equipment to the
CAUTION:
mains power supply.
Download Product Manual: Product manuals and documentation are available online at
www.barco.com/support. The QR code at the bottom of this page leads directly to the F400
product page on the Barco website. Registration may be required; follow the instructions given on
the website.
Local keypad
Button backlight status
Button
Power button
Shutter button
R5914423 /00 | 2022-04-11
Quick Reference Guide
1
2
11
10
9
Color status
Blinking WHITE (slow)
Blinking WHITE (fast)
Solid WHITE
Blinking BLUE
Solid BLUE
Blinking RED
Off
Solid WHITE
Solid RED
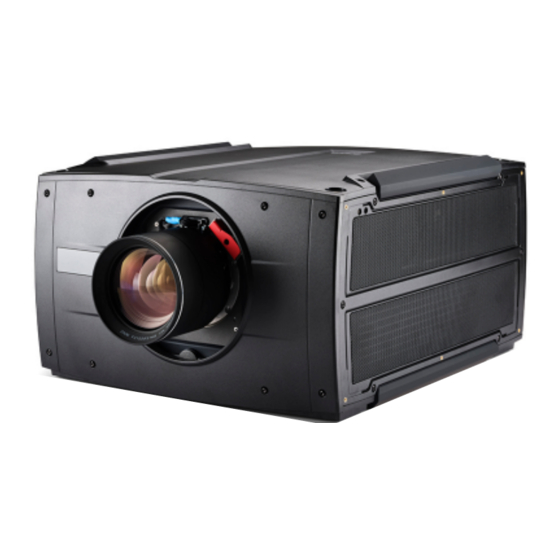
Models F400-HR / FS400-HR
3
4
5
6
8
7
Description
Projector starts up (Booting).
Projector is upgrading firmware.
Projector is in Ready mode.
Projector goes to ON mode.
Projector is ON.
Error condition.
Projector is OFF, starts up, or is in Standby mode.
Projector is ON, shutter is open.
Projector is ON, shutter is closed.
ENABLING BRIGHT OUTCOMES
F400
https://
1
Menu Navigation
2
Menu Selection
3
Open Menu
4
Menu Back
5
Power On/Off
6
OSD On/Off
7
Input Selection
8
Shutter Open/Close
9
Test Patterns
10
Lens Menu
11
LCD Panel
Advertisement
Table of Contents

Related Manuals for Barco F400-HR


Summary of Contents for Barco F400-HR
- Page 1 Download Product Manual: Product manuals and documentation are available online at https:// www.barco.com/support. The QR code at the bottom of this page leads directly to the F400 product page on the Barco website. Registration may be required; follow the instructions given on the website.
- Page 2 RCU buttons Button pressed indicator Shutter open Shutter close LCD panel on / off Project OSD on / off Lens zoom Lens shift Menu open / close Menu selection, OK button Menu navigation Input selection Address button Numeric buttons Backspace (while entering values) XLR connector Decimal mark (while entering values) Macro button...
- Page 3 Communication panel 12V 1A output USB connector 2 Sync I/O 2 Trigger output 1 USB connector 1 Sync I/O 1 Trigger output 2 HDMI Input Status LED’s Wired remote input Display Port IR receiver sensor LAN connection Quad DP1.2 input card Quad DisplayPort 1.2 channel A Input Quad DisplayPort 1.2 channel C Input Quad DisplayPort 1.2 channel B Input...
- Page 4 Install a lens Ensure that the combined handle is in the open position by pulling the release handle out (reference 1). The locking handle (reference 2) will “follow”. Insert the lens in to the correct position. Ensure that the lens connector (reference 3) matches the electrical socket on the lens holder.
- Page 5 Power down the projector Press and hold the power button for 3 seconds. (A timer indicator will show up on the display). The power button illumination will become white, and projector will enter the cool down modus for approximately 5 minutes. When the backlight for the keypad is off, unplug the power cord from the projector.
- Page 6 LED status COLOR STATUS DESCRIPTION PWR (power LED) Projector powers up or has no power Projector is in Standby ORANGE Projector is Ready GREEN Projector is on LIGHT (Illumination LED) Light source is off No light source detected GREEN Light source is on in normal mode GREEN-ORANGE Light source is on in CLO mode ERR (error LED)
Need help?
Do you have a question about the F400-HR and is the answer not in the manual?
Questions and answers