Advertisement
Quick Links
START UP PROCEDURES
1.
Install (6) C-batteries inside battery
compartment.
2.
Remove nozzle protective cap and store it
on battery cap retainer.
3.
Press nozzle into filter nozzle standoff. Do
not touch nozzle or filter to prevent
contamination.
4.
Press and hold [POWER] button until
"APD2000" appears on screen.
5.
Wait for unit to complete "SELF TEST" and
"STNDBY".
6.
When "READY CW" appears on display,
unit is operational.
GENERAL ALARM MESSAGES
Indicates that the APD 2000® cannot calibrate within 5 minutes of
AUTO CAL ERR
STNDBY or an AUTO CAL message.
FLOW ERR
Indicates an obstruction in the airflow
LOW FLO
Indicates a partial obstruction in the airflow.
HIGH FLOW
Indicates a problem with the airflow.
RAD ERR
Indicates a malfunction with the radiation detector.
Indicates either a weak battery(s) or dc input is below the minimum
POWER LOW
requirement.
POWER HIGH
Indicates dc input is above the maximum requirement.
INIT DIAG ERR
Indicates an internal diagnostic error.
Indicate that the APD 2000 could not properly store information into
LOG ERR
the data log history
DELRAY BEACH FIRE-RESCUE DEPARTMENT
QUICK USER GUIDE
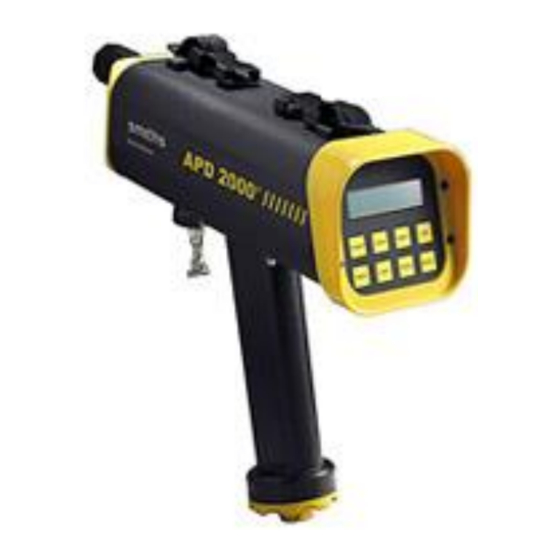
APD 2000
NOTES
Detects and identifies chemical warfare agents
(CWA) and civilian threats (mace/pepper spray).
Technology: Ion mobility spectrometry (IMS).
Modes of Operation: Monitor & Point Sampling
Detcetor
Agent Modes: Nerve/Blister , Nerve-VX, &
Irritants.
Power Source: (6) C-batteries.
Vapor diffuse check source verifies system
performance.
Unit contains 10 millicurie nickel 63 radioactive
source. Requires wipe test every 6 months.
False Response: Caused by strong vapor sources –
cleaning compounds, aromatic vapors, smoke &
fumes.
Backflush/Clear Down: protects unit from
oversaturation. Pump draws filter air into the unit
to purge it of contaminants. Functions
automatically (high conc.) – or - manually (press
[CLEAR] button).
BASIC INSTRUMENT OPERATIONS
CONFIDENCE TEST
1.
While "READY CW" appears on display, press
and release [MODE] key until "READY TEST"
appears on the display.
2.
Press "H" end of confidence sample to no
nozzle, no longer than 1-second. Press hard
enough to open plunger at end of sample.
3.
Verify horn sounds and display shows
"ALARM TEST".
4.
When display returns to "READY TEST",
repeat Steps 2-3 using "G" end of confidence
sample.
5.
When display returns to "READY TEST", press
and release [MODE] key until "READY CW"
appears on display.
Revised: 1/1/2018
Page: 1 of 2
GENERAL INFORMATION
AGENTS DETECTED
SENSITIVITY RESPONSE TIME
For high concentrations of these
agents, detection time is 10
seconds
OPERATING & AGENT MODES
See Page 2.
SHUT DOWN PROCEDURES
1.
Before shutting down, ensure unit is in
clean environmnet and is not alarming.
2.
Press and hold [POWER] button until
"POWER DOWN" appears on display.
3.
Remove filter nozzle standoff and replace
nozzle protective cap.
4.
Remove batteries from battery
compartment.
PRIMARY FUNCTION KEYS
POWER
Turns instrument On/Off.
Turns backflush pump on/off.
CLEAR
Pump draws clean filter air into the unit
to purge it of contaminants.
Switches Agent Mode:
MODE
• "CW" – Nerve/Blister
• "CWVX" - Agent VX
• "IRRT" - Pepper spray/Mace
• "TEST" - confidence test
LIGHT
Turns display backlight On/Off
Nerve agents
Tabun (GA)
o
Sarin (GB)
o
Soman (GD)
o
VX
o
Blister agents
Mustard (HD, HN)
o
Lewisite (L)
o
Pepper Spray / Mace
V – 4 ppb - 30 seconds
G – 15 ppb - 30 seconds
H – 300 ppb - 15 seconds
L – 200 ppb - 15 seconds
Advertisement

Subscribe to Our Youtube Channel
Related Manuals for MSA APD 2000


Summary of Contents for MSA APD 2000
- Page 1 [MODE] key until “READY CW” appears on display. PRIMARY FUNCTION KEYS GENERAL ALARM MESSAGES Indicates that the APD 2000® cannot calibrate within 5 minutes of POWER Turns instrument On/Off. AUTO CAL ERR STNDBY or an AUTO CAL message.
- Page 2 Irritants Pepper spray and mace DECONTAMINATION/MAINTENANCE If you suspect that the APD 2000 is contaminated, perform the following decontamination procedures (Note - Limit your work area to avoid spreading contamination. Use protective gloves while decontaminating): Press [POWER] button to shut unit off.
Need help?
Do you have a question about the APD 2000 and is the answer not in the manual?
Questions and answers