Advertisement
Quick Links
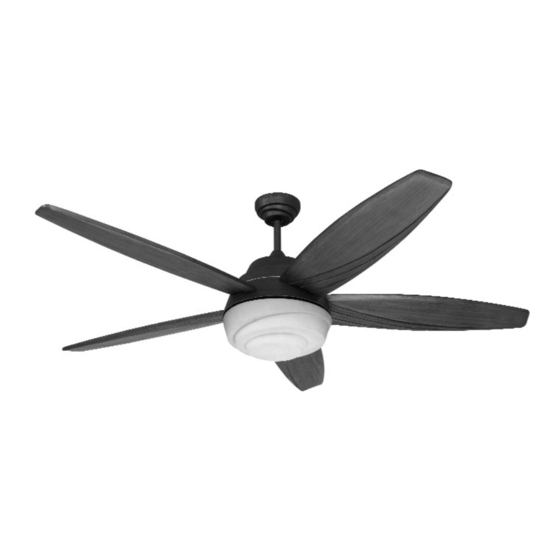
Owner's Guide and Installation Manual
5AGR56XXD Series Fan
UL Model No. : 5AGR56
Attach sales receipt to this card and retain as your proof of purchase
RETAILER NAME:
DATE OF PURCHASE:
MODEL NUMBER:
To register your fixture, please visit our website www.montecarlofans.com
11.3 kgs
24.86 lbs
Total fan weight with light kit
Advertisement

Related Manuals for Monte Carlo Fan Company 5AGR56 D Series


Summary of Contents for Monte Carlo Fan Company 5AGR56 D Series
- Page 1 Owner’s Guide and Installation Manual 5AGR56XXD Series Fan UL Model No. : 5AGR56 Attach sales receipt to this card and retain as your proof of purchase RETAILER NAME: DATE OF PURCHASE: MODEL NUMBER: To register your fixture, please visit our website www.montecarlofans.com 11.3 kgs 24.86 lbs Total fan weight with light kit...
- Page 2 WARNING: TO REDUCE THE RISK OF FIRE, ELECTRIC SHOCK, OR INJURY TO PERSONS, OBSERVE THE FOLLOWING READ AND SAVE THESE INSTRUCTIONS Installation work and electrical wiring must be done by qualified person(s) in accordance with applicable codes and standards (ANSI/NFPA 70-1999), including fire-rated construction.
- Page 3 Use metal outlet box suitable for fan support and use only the screws provided with the outlet Before you begin installing the fan, Switch box (must support 35 lbs). Before attaching fan power off at Service panel and lock service dis- to outlet box, ensure the outlet box is securely Before installing this fan make sure the outlet box is connecting means to prevent power from being...
- Page 4 Install keeper pin. Tighten the 2 set screws on the yoke, Make sure the studs protruding from the once the down rod is in place. bottom of the Mounting bracket are in- stalled with threads all the way through the bracket. Safety cable installation Safety Cable Lag Screw...
- Page 5 Make wire connections to power source using wire nuts provided. Make sure that no filiments are outside of the wirenut. After making the wire connections, the wires should be spread apart with the grounded con- ductor and the equipment-grounding conductor on one Lift canopy and install knurled nuts as Check motor for shipping stabilizers and side of the outlet box and ungrounded conductor on the...
- Page 6 HAND HELD INSTALL WALL MOUNT INSTALL Remove battery cover. Install 12V battery into Place face plate over battery compartment and wall remote. Duracell MN21 / Eveready A23 / GP buttons. Place remote over 2 pins on front cover. 23A all 12V.Attach cover of remote by placing Attach cover of remote by placing over 4 pins over buttons and snap the battery cover in place.
-
Page 7: Fan Speed
Remote Control Transmitter Features: LED LIGHT MEDIUM SPEED HIGH SPEED LOW SPEED LIGHT ON/OFF SET- FAN OFF SETTING TING AND DIMMER (Turns fan off only) (Press and hold to dim light infinitely) FAN SPEED Depress “1 dot” for low speed, “2 dots” for medium or “3 dots” for high. -
Page 8: Troubleshooting
ROUBLE HOOTING If you have difficulty operating your new ceiling fan, it may be the result of incorrect assembly, installation, or wiring. In some cases, these installation errors may be mistaken for defects. If you experience any faults, please check this Trou- ble Shooting Chart. - Page 9 Apr.2012 New format Jun.2013 Update for CUL regulation...
Need help?
Do you have a question about the 5AGR56 D Series and is the answer not in the manual?
Questions and answers