Advertisement
Quick Links
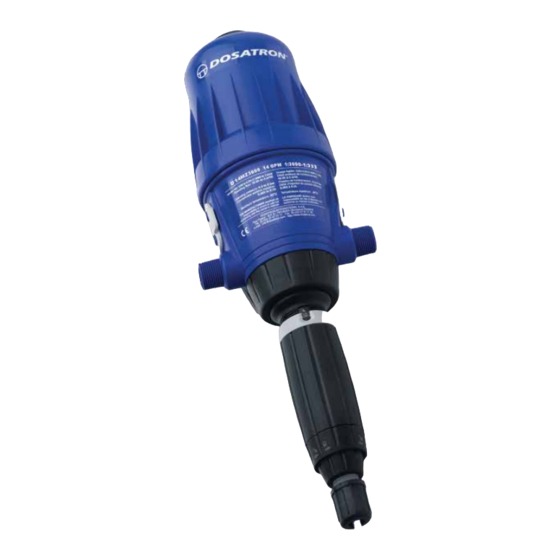
Extend the Life of Your Dosatron
REBUILD KIT
D14MZ3000AFII
Part #: MKD14MZ3000AF
Kit includes:
Part 1: Piston Kit
Upper flange
Lower flange
Omega spring
Connecting rod
Push rod seal
Part 2: Seal Kit
Injection sleeve o-ring
Injection stem o-ring
Check valve assembly
Plunger with seal
800-523-8499 • 727-443-5404
Advertisement

Subscribe to Our Youtube Channel
Related Manuals for dosatron D14MZ3000AFII


Summary of Contents for dosatron D14MZ3000AFII
- Page 1 Extend the Life of Your Dosatron REBUILD KIT D14MZ3000AFII Part #: MKD14MZ3000AF Kit includes: Part 1: Piston Kit Upper flange Lower flange Omega spring Connecting rod Push rod seal Part 2: Seal Kit Injection sleeve o-ring Injection stem o-ring Check valve assembly Plunger with seal 800-523-8499 •...
- Page 2 Congratulations on purchasing your Dosatron Rebuild Kit. Part #: MKD14MZ3000AF This kit is for the Dosatron D14MZ3000AFII and consists of two parts: • Part 1 - Piston Kit • Part 2 - Seal Kit Part 1 - Piston Kit Contents:...
- Page 3 MKD14MZ3000AF Part 1: Piston Kit Instructions Begin by removing the piston from your Dosatron injector. Unscrew and remove the bell housing (you may use a universal strap wrench), pulling the piston out of the body. Set the bell housing and body aside.
- Page 4 You will need to apply pressure to the flange on either side of the notch as you twist the flange counter clockwise. It may be a snug fit. Lift to remove and discard. Flip the piston upside down and follow steps 3 and 4 to remove the lower or smaller diameter flange.
- Page 5 Grasp the top of the white plastic parts of the mechanism and lift straight up. You now have two subassemblies – the push rod on the left and the valve support frame on the right. In order to disassemble the push rod, remove the connecting rod off the Omega spring.
- Page 6 Twist to remove the Omega spring out of the push rod. Install the new Omega Spring (Part #: PDI651) by carefully pushing the Omega spring into the push rod. Slide the other end of the Omega spring into the new Connecting Rod (Part #: PDI649).
- Page 7 Install the new Upper Flange (Part #: PDI643) by locating the small tooth on the inner diameter of the flange. Now locate the notch on the piston shell. Be careful not to install the flange upside down. 800-523-8499 • 727-443-5404...
- Page 8 Align the tooth with the shell and press down and twist a quarter turn clockwise to lock. If it is difficult to twist or if the flange lifts up easily, just remove the flange, realign and try again. Install the new Lower Flange (Part #: PDI644) the same way.
- Page 9 Notice how the valve support frame aligns on the side with the four holes, making sure it goes into the grooves. To demonstrate the alignment of the push rod assembly, the curved top would face inward, inserting the push rod into the single hole.
- Page 10 Now to insert both the valve support frame and the push rod into the piston shell, use your index finger to push on the spring. This will set everything into place and you will hear a click. If the parts aren’t fitting together, just lift both subassemblies out and try again.
- Page 11 MKD14MZ3000AF Part 2: Seal Kit Instructions PJDI139 Unscrew the suction hose nut and remove the suction hose. Unscrew the injection stem nut. Pull the injection stem straight out from the body of the injector. Set the nut and body aside. 800-523-8499 •...
- Page 12 Unscrew and remove the check valve nut. Grab the barb and pull the check valve assembly straight out. It usually comes out in two pieces. Discard all check valve parts. Unscrew and remove the lock nut. CHAT at www.dosatronusa.com...
- Page 13 Remove the C clamp by spreading the opening and sliding it down over the threads. Unscrew and remove the adjusting nut. Push the white injection stem up and out of the black sleeve. 800-523-8499 • 727-443-5404...
- Page 14 Remove and replace the Injection Stem O-Ring (Part #: JDI120). Remove and replace the Injection Sleeve O-Ring (Part #: JDI100). Align the groove in the white stem with the tooth inside the lower portion of the black sleeve. Sliding the stem down in, as far as possible.
- Page 15 Thread the adjusting nut back onto the black sleeve. Replace the C clamp by sliding it over the threads. Rotate until it clicks into place. Thread on the lock nut and hand tighten. 800-523-8499 • 727-443-5404...
- Page 16 Install the new Check Valve Assembly (Part #: PJDI140) into the stem. Make sure it is in the position shown before inserting into the stem. Reinstall the check valve nut. Reinstall the Plunger with Seal (Part #: PJDI138) into the bottom of the piston shell.
- Page 17 Carefully press the piston back into the injector and install the bell housing. To finish up, carefully insert the plunger into injection stem assembly. NOTE: Be extremely careful not to bend the plunger when reassembling. Align the notches in the lower part of the blue body with the teeth on the top of the injection stem assembly.
- Page 18 Reinstall the nut hand tight. Before installing the suction hose, slide the ferrule back onto the hose. Cut a half inch off the top of the hose. Reposition the ferrule as shown. CHAT at www.dosatronusa.com...
- Page 19 Insert the hose onto the barb. Hand tighten the hose nut. After you tighten the nut, pull on the hose to make sure it is connected securely. If the hose comes off easily, cut another half inch off and reattach. Click on QR code to view video.
- Page 20 2090 Sunnydale Blvd. • Clearwater, FL 33765 800-523-8499 • www.dosatronusa.com CHAT at www.dosatronusa.com...
Need help?
Do you have a question about the D14MZ3000AFII and is the answer not in the manual?
Questions and answers