Sign In
Upload
Download
Table of Contents
Contents
Add to my manuals
Delete from my manuals
Share
URL of this page:
HTML Link:
Bookmark this page
Add
Manual will be automatically added to "My Manuals"
Print this page
×
Bookmark added
×
Added to my manuals
Manuals
Brands
Marshall Electronics Manuals
Digital Camera
CV502
Operation manual
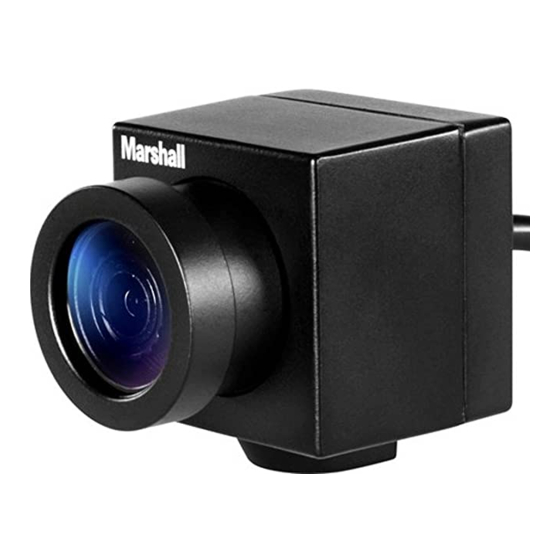
Marshall Electronics CV502 Operation Manual
Full-hd 3g/hd-sdi mini-broadcast pov cameras
Hide thumbs
Also See for CV502
:
Operation manual
(23 pages)
1
2
3
4
5
6
7
8
9
10
11
12
13
14
15
16
17
18
19
20
21
22
23
page
of
23
Go
/
23
Contents
Table of Contents
Troubleshooting
Bookmarks
Table of Contents
Menu Structure
Image Stabilizer
Image Control
Display Control
Troubleshooting
Advertisement
Quick Links
1
Troubleshooting
Download this manual
Marshall Electronics
Full-HD (3G/HD-SDI)
Mini-Broadcast POV Cameras
CV343, CV502, CV345, CV505 models
Operation Manual
Table of
Contents
Previous
Page
Next
Page
1
2
3
4
5
Advertisement
Table of Contents
Need help?
Do you have a question about the CV502 and is the answer not in the manual?
Ask a question
Questions and answers
Related Manuals for Marshall Electronics CV502
IP Camera Marshall Electronics CV343 Operation Manual
Full-hd (3g/hd-sdi) mini-broadcast pov cameras (23 pages)
Security Camera Marshall Electronics CV502-WPM Operation Manual
Full-hd miniature pov camera (24 pages)
Digital Camera Marshall Electronics CV502-MB Quick Start Manual
Full-hd (3g/hd-sdi) 2.5mp mini-broadcast pov camera with 3.7mm 2mp lens (2 pages)
Digital Camera Marshall Electronics CV343-CSB Quick Start Manual
Full-hd (3g-sdi) compact broadcast pov camera (cs mount) (2 pages)
Digital Camera Marshall Electronics CV500 series Operation Manual
1080 hd-sdi (14 pages)
Digital Camera Marshall Electronics CV345-CSB Quick Start Manual
Full-hd 3g/hd-sdi 2.5mp compact broadcast camera with audio plus hdmi cs/c mount w/ auto-iris (2 pages)
Digital Camera Marshall Electronics CV505-MB Quick Start Manual
Full-hd (3g/hd-sdi) 2.5mp mini-broadcast pov camera with 3.7mm 2mp lens (2 pages)
Digital Camera Marshall Electronics CV620 Quick Installation Manual
(2 pages)
Digital Camera Marshall Electronics CV565-MGB Operation Manual
Full-hd miniature genlock pov cameras (24 pages)
Digital Camera Marshall Electronics CV503-WP Operation Manual
Full-hd 3g/hd-sdi mini-broadcast pov cameras (23 pages)
Digital Camera Marshall Electronics V-C310-HDSDI User Manual
Outdoor box camera (4 pages)
Digital Camera Marshall Electronics V-1070CCIR Manual
1/2” high resolution b/w camera (9 pages)
This manual is also suitable for:
Cv343
Cv345
Cv505
Cv365
Cv343-csb
Cv502-wpmb/wpm
...
Show all
Cv502-mb
Cv503-wp
Table of Contents
Print
Rename the bookmark
Delete bookmark?
Delete from my manuals?
Login
Sign In
OR
Sign in with Facebook
Sign in with Google
Upload manual
Upload from disk
Upload from URL


Need help?
Do you have a question about the CV502 and is the answer not in the manual?
Questions and answers