Sign In
Upload
Download
Table of Contents
Contents
Add to my manuals
Delete from my manuals
Share
URL of this page:
HTML Link:
Bookmark this page
Add
Manual will be automatically added to "My Manuals"
Print this page
×
Bookmark added
×
Added to my manuals
Manuals
Brands
Westinghouse Manuals
Cookers
WLE622WA
User manual
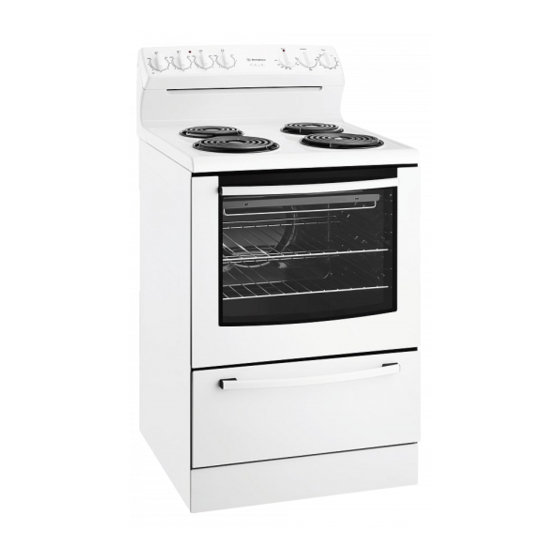
Westinghouse WLE622WA User Manual
60cm upright cooker
Hide thumbs
Also See for WLE622WA
:
User manual
(32 pages)
1
Table Of Contents
2
3
4
5
6
7
8
9
10
11
12
13
14
15
16
17
18
19
20
21
22
23
24
25
26
27
28
29
30
31
32
page
of
32
Go
/
32
Contents
Table of Contents
Bookmarks
Table of Contents
Table of Contents
Important Safety Instructions
Understanding the Cooker
Installation
Controls
Using the Hotplates
Understanding the Functions
Cooking Guide for Ovens
Get to Know Your Oven
Handling Baking & Grilling Problems
Clocks
Cleaning and Caring for the Cooker
Cleaning and Caring for the Oven
Solving Problems
Warranty
Advertisement
Quick Links
Download this manual
USER MANUAL
60CM UPRIGHT COOKER
WLE620WA, WLE622WA, WLE624WA,
WLE625WA, WLE626WA, WLE644WA,
WLE645WA, WLE646WA
Table of
Contents
Previous
Page
Next
Page
1
2
3
4
5
Advertisement
Table of Contents
Need help?
Do you have a question about the WLE622WA and is the answer not in the manual?
Ask a question
Questions and answers
Related Manuals for Westinghouse WLE622WA
Cookers Westinghouse WLE620WA User Manual
600mm upright cooker (32 pages)
Cookers Westinghouse WLE527WA User Manual
540mm upright cooking appliances (32 pages)
Cookers Westinghouse WLG503WB User Manual
540mm upright (32 pages)
Cookers Westinghouse WLE620WC User Manual
60cm upright cooker (17 pages)
Cookers Westinghouse WLE620WC Installation Manual
60cm upright cookers (2 pages)
Cookers Westinghouse WLE524 User Manual
540mm upright cookers (36 pages)
Cookers Westinghouse WLE522 Series Quick Start Manual
(2 pages)
Cookers Westinghouse WLE625 Series Quick Start Manual
(2 pages)
Cookers Westinghouse WLE524WC User Manual
540mm upright cookers (17 pages)
Cookers Westinghouse WLG510WCN/L User Manual
540mm upright cookers (32 pages)
Cookers Westinghouse WLE525WB User Manual
540mm upright (32 pages)
Cookers Westinghouse WLG517WB User Manual
540mm upright (32 pages)
Cookers Westinghouse WLG510WCN User Manual
540mm upright cookers (17 pages)
Cookers Westinghouse WLG512WCN User Manual
540mm upright cookers (17 pages)
Cookers Westinghouse WLG512WC User Manual
540mm upright cookers (32 pages)
Cookers Westinghouse WLG510WC User Manual
540mm upright cookers (32 pages)
This manual is also suitable for:
Wle620wa
Wle624wa
Wle625wa
Wle626wa
Wle644wa
Wle645wa
...
Show all
Wle646wa
Wfe647sa
Table of Contents
Print
Rename the bookmark
Delete bookmark?
Delete from my manuals?
Login
Sign In
OR
Sign in with Facebook
Sign in with Google
Upload manual
Upload from disk
Upload from URL


Need help?
Do you have a question about the WLE622WA and is the answer not in the manual?
Questions and answers