Sign In
Upload
Download
Table of Contents
Contents
Add to my manuals
Delete from my manuals
Share
URL of this page:
HTML Link:
Bookmark this page
Add
Manual will be automatically added to "My Manuals"
Print this page
×
Bookmark added
×
Added to my manuals
Manuals
Brands
Vuzix Manuals
Smart Glasses
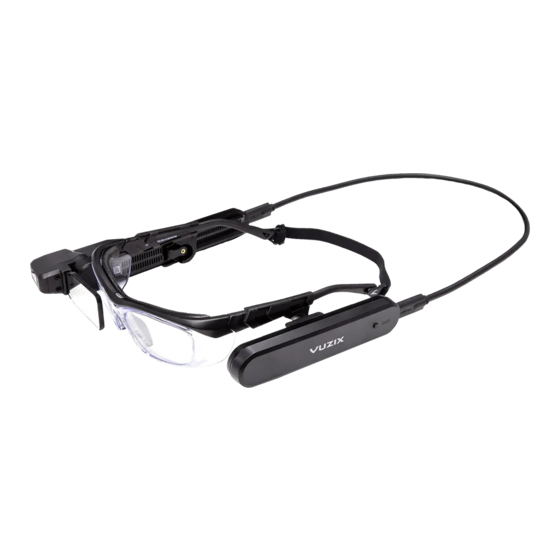
M4000
User manual
Vuzix M4000 User Manual
Hide thumbs
Also See for M4000
:
User manual
(13 pages)
1
2
3
4
5
6
7
8
9
10
11
12
13
14
15
16
17
18
19
20
Table Of Contents
21
page
of
21
Go
/
21
Contents
Table of Contents
Troubleshooting
Bookmarks
Table of Contents
Determine Your Dominant Eye
Preinstalled Applications
Registering Your Device
Installing Applications
Troubleshooting Common Issues
Cleaning and Care
Regulatory Information
Learning more
Advertisement
Quick Links
Download this manual
M400
User Manual V2.0
Model 472
Table of
Contents
Previous
Page
Next
Page
1
2
3
4
5
Advertisement
Table of Contents
Need help?
Do you have a question about the M4000 and is the answer not in the manual?
Ask a question
Questions and answers
Related Manuals for Vuzix M4000
Smart Glasses Vuzix M Series User Manual
Wearing guide (13 pages)
Smart Glasses Vuzix M100 Quick Start Manual
(12 pages)
Smart Glasses Vuzix M300 User Manual
Rugged, android-based wearable computer (56 pages)
Smart Glasses Vuzix M300 Getting Started
(20 pages)
Smart Glasses Vuzix M300 Manual
(7 pages)
Smart Glasses Vuzix M400 User Manual
Model 472 (21 pages)
Smart Glasses Vuzix M400 Mounting Manual
(3 pages)
Smart Glasses Vuzix M300XL User Manual
(16 pages)
Smart Glasses Vuzix M400C Developer's Manual
(61 pages)
Smart Glasses Vuzix 472 User Manual
(21 pages)
Smart Glasses Vuzix Wrap 1200DX User Manual
(27 pages)
Smart Glasses Vuzix Blade User Manual
Version 1.0 (20 pages)
Smart Glasses Vuzix BLADE 2 User Manual
(32 pages)
Smart Glasses Vuzix SHIELD 492 User Manual
(17 pages)
Smart Glasses Vuzix Blade Quick Start Manual
(2 pages)
Smart Glasses Vuzix STAR 1200 User Manual
Augmented reality systems (51 pages)
This manual is also suitable for:
472
Table of Contents
Print
Rename the bookmark
Delete bookmark?
Delete from my manuals?
Login
Sign In
OR
Sign in with Facebook
Sign in with Google
Upload manual
Upload from disk
Upload from URL


Need help?
Do you have a question about the M4000 and is the answer not in the manual?
Questions and answers