Table of Contents
Advertisement
Quick Links
Advertisement
Table of Contents

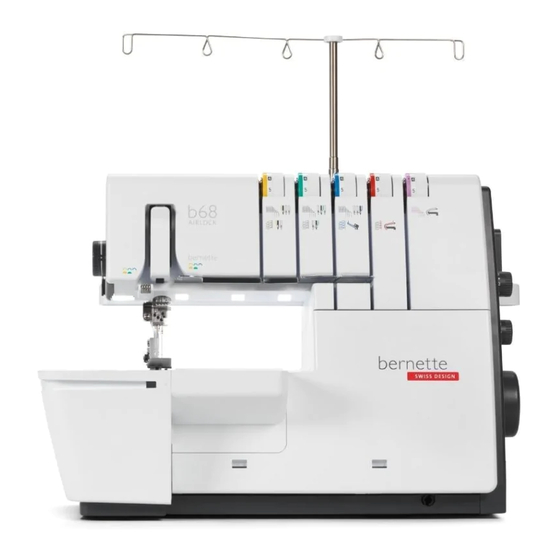
Summary of Contents for Bernette b68 AIRLOCK
- Page 1 Quick Start Guide...
- Page 2 Do not view the LED light directly with optical instruments (e.g. magnifier). The LED light corresponds with protection class 1M. • When the LED light is damaged or defective, contact your bernette specialist dealer. WARNING To reduce the risk of burns, fire, electric shock or injury to persons: •...
- Page 3 • Never use damaged needles. • Always use the original bernette stitch plate. The wrong stitch plate can cause needle breakage. • To disconnect, turn power switch to "0"and then remove the plug from the outlet. Do not unplug by pulling the cord, instead grasp the plug to pull it from the outlet.
- Page 4 «Double-Insulation» or «double-insulated». The symbol may also be marked on the product. Environmental Protection bernette is committed to environmental protection. We strive to minimize the environmental impact of our products by continuously improving product design and our technology of manufacturing.
-
Page 5: Table Of Contents
Content Details of machine ............2 Connection and switching on .......... 3 Changing the needle ............3 Changing the presser foot ..........3 Setting up the machine ............ 4 • Overlock/Combo ............. 4 • Cover ..............5 Threading the looper threads ........... 6 Threading the needle threads ........... -
Page 6: Details Of Machine
Details of machine Presser foot pressure wheel Presser foot lifter Thread cutter Stitch Length Setting Differential Feed Dial Connection for knee lifter (FHS) Handwheel 10 Cutting width dial Foot control-/ power connection 11 mtc micro thread control Main switch 12 Rolled hem selection lever... -
Page 7: Connection And Switching On
Connection and switching on Changing the needle Changing the presser foot... -
Page 8: Setting Up The Machine
Setting up the machine Overlock/Combo Overlock Combo... -
Page 9: Cover
Cover Cover... -
Page 10: Threading The Looper Threads
Threading the looper threads... -
Page 13: Threading The Needle Threads
Threading the needle thread... -
Page 15: Adjusting The Thread Tensions
Adjusting the thread tensions Overlock stitches Looper threads (red/blue) connect on the bottom side of fabric. Looper threads (red/blue) connect on the top side of fabric. Needle thread (yellow) creates loops on bottom side of the fabric. Needle thread (green) creates loops on bottom side of the fabric. - Page 16 The fabric edge forms a tunnel or curls. The seam puckers.
-
Page 17: Cover Stitches
Cover stitches Needle thread (yellow, green or blue) creates loops on bottom side of the fabric. Chain looper (purple) thread loose on the bottom side of fabric. Chain looper (purple) thread too tense, seam is tunneling. - Page 18 The seam puckers. Needle threads (yellow, green or blue) too tense.
-
Page 19: Combo Stitches
Combo stitches Looper threads (red/blue) connect on the bottom side of fabric. Looper threads (red/blue) connect on the top side of fabric. Needle thread (green) creates loops on bottom side of the fabric. Chainstitch needle thread (yellow) creates loops on the bottom side of the fabric. - Page 20 Chain looper (purple) thread loose on the bottom side of fabric. The fabric edge forms a tunnel or curls.
-
Page 21: Setting The Mtc Micro Thread Control
The seam puckers. Setting the mtc micro thread control... -
Page 22: Setting The Cutting Width
Setting the Cutting Width Setting the Stitch Length Adjusting the Differential Feed... -
Page 23: Cleaning And Maintenance
Cleaning and maintenance... -
Page 26: Troubleshooting
Trouble Shooting Fault Remedy Fabric does not feed well. Lengthen the stitch length. Increase presser foot pressure for heavy weight fabric. Decrease the Presser Foot Pressure for lightweight fabrics. Insert the needle correctly. Needle breaks Do not pull the fabric while sewing. Tighten the Needle Set Screw. - Page 28 For complete instructions, you can link to the online user manual or how to videos www.bernette.com/ b68AIRLOCK or scan the QR-Code with your smart phone. 5400068.00A.04 - L2P61 | en 2022-02 © BERNINA International AG Steckborn CH, www.bernina.com www.bernette.com/b68AIRLOCK...


Need help?
Do you have a question about the b68 AIRLOCK and is the answer not in the manual?
Questions and answers
Machine won’t form 4 thread stitch