Sign In
Upload
Download
Table of Contents
Contents
Add to my manuals
Delete from my manuals
Share
URL of this page:
HTML Link:
Bookmark this page
Add
Manual will be automatically added to "My Manuals"
Print this page
×
Bookmark added
×
Added to my manuals
Manuals
Brands
Koldfront Manuals
Air Conditioner
WTC10001W
Owner's manual
Koldfront WTC10001W Owner's Manual
Through the wall air conditioner with supplemental heater
Hide thumbs
1
2
3
Table Of Contents
4
5
6
7
8
9
10
11
12
13
14
15
16
17
18
19
20
21
22
23
24
25
26
27
28
page
of
28
Go
/
28
Contents
Table of Contents
Troubleshooting
Bookmarks
Table of Contents
Operation of Safety Plug
Table of Contents
Introduction
Parts Identification
Air Conditioner Unit
Wall Sleeve
Preparations for Installation
Tools You May Need
Parts Supplied
Installation Instructions
Basic Installation Steps
Before Getting Started
Preparing the Wall Sleeve
Attach Seals and Support Blocks to Wall Sleeve
Prepare Ground Wire
Install Air Conditioner Unit into Wall Sleeve
Completing Installation
Alternate and Supplemental Installation Instructions
Install the Rear Louver Panel / Grille into the NEW Wall Sleeve
Preparation of Previously Installed Wall Sleeve
Rear Louver Panel / Grille Installation into Wall Sleeve Diagram
Install Rear Louver Panel / Grille Directly on Back of Air Conditioner
Non-Koldfront Wall Sleeve Types
Control Panel Operations
To Turn the Unit on
To Change the Temperature
To Adjust Fan Speeds
To Select Operating Mode
To Operate in Cool Mode
To Operate in Heat Mode
To Operate in Auto Mode
To Operate in Fan Only
To Operate in Dry Mode
To Use the Energy Saver Feature
To Use the Sleep Feature
To Use the Timer (Auto Start/Stop) Feature
To Use the Check Filter Feature
Digital Display
Error Codes
Air Directional Louvers
Remote Operations
Additional Notes on Remote Operations
Maintenance
Air Filter Cleaning
Cabinet Cleaning
Normal Sounds
Energy Saving Guide
Troubleshooting Tips
Specifications
Edgestar Limited Warranty
Advertisement
Quick Links
1
Cabinet Cleaning
2
Air Filter Cleaning
3
Troubleshooting Tips
4
Specifications
Download this manual
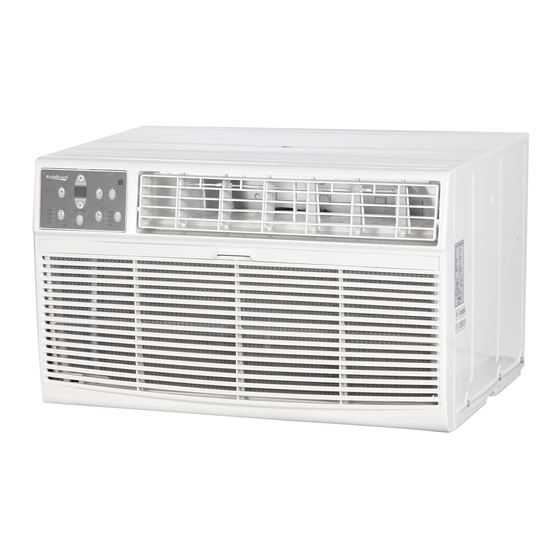
Through The Wall Air Conditioner
With Supplemental Heater
WTC8001W / WTC10001W
WTC12001W / WTC14001W
Owner's Manual
For more information on other great Koldfront products on the web, go to
www.koldfront.com
To use the Koldfront self-diagnostic tool, go to
https://support.edgestar.com
V3.2-10132020
Table of
Contents
Previous
Page
Next
Page
1
2
3
4
5
Advertisement
Table of Contents
Need help?
Do you have a question about the WTC10001W and is the answer not in the manual?
Ask a question
Questions and answers
Related Manuals for Koldfront WTC10001W
Air Conditioner Koldfront WTC12001W Owner's Manual
Through the wall air conditioner with supplemental heater (27 pages)
Air Conditioner Koldfront WTC8001W Service Manual
Through the wall air conditioner (24 pages)
Air Conditioner Koldfront WTC12000W Owner's Manual
Wall air conditioner and heater (22 pages)
Air Conditioner Koldfront WTC10002WCO115V Owner's Manual
Through the wall air conditioner (28 pages)
Air Conditioner Koldfront WTC8002WCO Owner's Manual
Through the wall air conditioner (28 pages)
Air Conditioner Koldfront WTC14001W Owner's Manual
Through the wall air conditioner with supplemental heater (28 pages)
Air Conditioner Koldfront WTC8001WSLV Owner's Manual
Through the wall air conditioner with supplemental heater (28 pages)
Air Conditioner Koldfront WAC8001W Owner's Manual
Window air conditioner and heater (24 pages)
Air Conditioner Koldfront WAC8001W Owner's Manual
Window air conditioner with supplemental heater (23 pages)
Air Conditioner Koldfront WAC25001W Owner's Manual
Window air conditioner and heater (25 pages)
Air Conditioner Koldfront WAC12002WCO Owner's Manual
Window air conditioner (25 pages)
Air Conditioner Koldfront WAC18001W Service Manual
Window air conditioner with supplemental heat function (31 pages)
Air Conditioner Koldfront WAC8003WCO Owner's Manual
Window air conditioner (24 pages)
Air Conditioner Koldfront WAC10003WCO Owner's Manual
Window air conditioner (24 pages)
Air Conditioner Koldfront WAC12003WCO Owner's Manual
Window air conditioner (24 pages)
Air Conditioner Koldfront WAC6002WCO Owner's Manual
(24 pages)
This manual is also suitable for:
Wtc8001w
Wtc12001w
Wtc14001w
Wtc8001wslv
Wtc14001wslv
Wtc12001wslv
Table of Contents
Print
Rename the bookmark
Delete bookmark?
Delete from my manuals?
Login
Sign In
OR
Sign in with Facebook
Sign in with Google
Upload manual
Upload from disk
Upload from URL


Need help?
Do you have a question about the WTC10001W and is the answer not in the manual?
Questions and answers