Table of Contents
Advertisement
Quick Links
Advertisement
Table of Contents

Subscribe to Our Youtube Channel
Related Manuals for birddog BDA200


Summary of Contents for birddog BDA200
- Page 1 EYES A200 FULL NDI . NO COMPROMISES. ® USER GUIDE PART 1...
-
Page 2: Table Of Contents
Contents IMPORTANT INFORMATION..................................4 WHAT’S IN THE BOX....................................5 OVERVIEW......................................5 Features........................................5 Camera Diagrams......................................6 Installing your Camera....................................7 Power Input........................................7 PoE Power Injector.......................................8 Mounting the Camera....................................8 Use SDI video output....................................9 Starting the Camera.....................................9 Setup Camera ID, Baud Rate and Control Protocol..........................9 Controlling the Camera....................................10 Adjusting and Setting with Menus................................11 EXPOSURE Menu......................................11 WHITE BALANCE Menu.....................................11... - Page 3 Before operating the unit, please read this manual thoroughly and retain it for future reference. Copyright Copyright 2019 BirdDog Australia all rights reserved. No part of this manual may be copied, reproduced, translated, or distrib- uted in any form or by any means without prior consent in writing from our company.
-
Page 4: Important Information
IMPORTANT INFORMATION • Do not aim the camera lens at the strong light such as sun or incandescent lamp. The strong light can cause fatal Legal Notice damage to the camera. Attention: Maintenance Precautions: To ensure account security, please change the password af- ter your first login. -
Page 5: What's In The Box
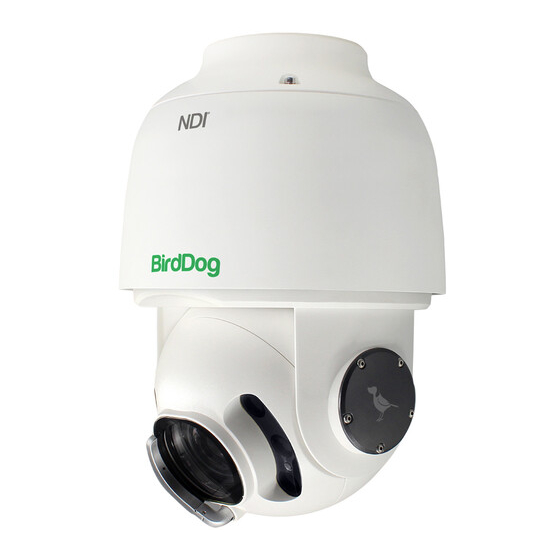
WHAT’S IN THE BOX OVERVIEW This user guide is suitable for the following models: BirdDog Eyes A200 1x BirdDog EyesA200 Features • Resolution: Up to 1080P60, 1080i59.94 1x Accessories • NDI Resolution: Up to 1080P60, 1080P30 ® • Zoom: Optical 30X • Video Compression: H.264/MJPEG... -
Page 6: Camera Diagrams
Camera Diagrams NOTE: All cables are tagged to indicate their functions separately. Use water proof / IP67 rated junction box/ connection box to protect the RJ45 and other connections. IR LED Illuminator Lens Rain Wiper Cable Connections CAMERA SIDE AC Power Adaptor Coaxial Cable SDI Signal... -
Page 7: Installing Your Camera
Installing Your Camera Power Input The following diagrams are for your reference only. See the BirdDog PTZ camera provides 24VAC power input. actual product to mount your camera. Power Cable Check Camera Components and Installation Conditions. Data listed in the below table is applicable to copper cables Before mounting your camera, check the device model num- that use 24 VAC/24 VDC power supply. -
Page 8: Poe Power Injector
• When mounting the camera, please install the bracket For PoE power, you must use BirdDog 80W Power PoE In- adapter to the bracket first and then mount the camera jector: model BL-PP80. It provides high PoE power up to the to the bracket. -
Page 9: Use Sdi Video Output
Use SDI video output 1.2 RS422 (VISCA) control connection diagram Starting the Camera • SONY Keyboard RS422 Connection SONY Keyboard RS422 (VISCA) After you have mounted the camera properly, connect the RS422 Connection Multiple Cameras Connection camera to power. (SONY Keyboard) Each time the camera is powered on, it will perform a self- KEYBOARD Keyboard... -
Page 10: Controlling The Camera
Use RS485 Pelco-D can control up to 255 cameras, cam- • After communicating successfully in between the cam- era ID from 001 to 255 has to be set. era and the control, you can modify the ID and baud rate of the camera using the keyboard. -
Page 11: Exposure Menu
EXPOSURE Menu blown out highlights. The EXPOSURE menu is used to set the items related to ex- DEFOG: ON, OFF. If the shooting scene has fog, you can open posure. AE MODE (Exposure Mode) the defog function to improve the penetration of the image. AUTO SLOW SHUTTER: ON, OFF. -
Page 12: Picture Menu
PICTURE Menu JOYSTICK RECOVER: The PICTURE menu is used to set the items related to the NONE: No effect. picture. A/F: After operate the camera, the mode of focus be changed to auto form manual. PICTURE MENU EXPOSURE APERTURE A/I: After operate the camera, the mode of IRIS be WHITE BALANCE EFFECT changed to auto form manual. -
Page 13: System Setup Menu
SYSTEM SETUP Menu the camera and keyboard and IP control will be unable to communicate. The SYSTEM SETUP menu is used to set the items related to the camera system. FLIP: Select ON to flip the image if you need to lift the camera. VIDEO FORMAT: SDI + IP True Dual Output: You can have SYSTEM SETUP MENU parallel SDI and IP video output. -
Page 14: Function Setting Menu
FUNCTION SETTING Menu Adjust the camera to the position that you want the cam- era to be, and then call the preset 1 using the keyboard The FUNCTION SETTING menu is used to set the items relat- to save the position to be the current preset. ed to the camera functionalities. - Page 15 EDIT SEQUENCE: Set up the above tour. 2. Move the camera to the left limit position that you want, and then call the preset 1 to save. 1. In the order of 1, 2, 3, ... , 6, add each of preset and default dwell time to the tour.
-
Page 16: Dimensions
Dimensions Unit: mm Ø 211 Ø 47.2 176.6... - Page 20 WELCOME TO THE FUTURE. bird-dog.tv hello@bi rd-dog.tv...
Need help?
Do you have a question about the BDA200 and is the answer not in the manual?
Questions and answers