
Subscribe to Our Youtube Channel
Related Manuals for Avaya WAO9132


Summary of Contents for Avaya WAO9132
- Page 1 Installing the Avaya WLAN Access Point WAE9132-WAO9132 Indoor Access Point: WAE9132 Outdoor Access Point: WAO9132 NN47252-306 Issue 01.01 December, 2015...
- Page 2 Documentation, Software, Hosted Service, or hardware provided by Avaya. All content on this site, the documentation, Hosted Service, and the Product provided by Avaya including the selection, arrangement and design of the content is owned either by Avaya or its licensors and is protected by copyright and other...
- Page 3 Avaya or such third party which may own the Mark. Nothing contained in this site, the Documentation, Hosted Service(s) and Product(s) should be construed as granting, by implication, estoppal, or otherwise, any license or right in and to the Marks without the express written permission of Avaya or the applicable third party.
- Page 5 Using the Avaya OS for Avaya WLAN AP 9100 Series (NN47252-102). This document is intended ONLY for WAE9132-WAO9132 model APs. For other models please see the installation guide for that model series. You need the following items: ...
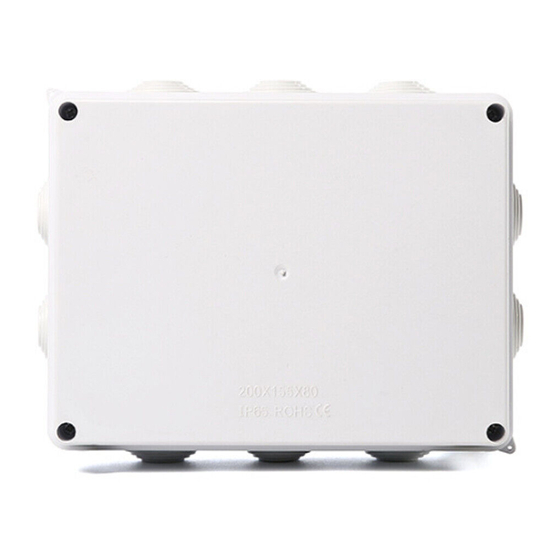
- Page 6 MUST leave these covers securely installed on unused ports to prevent weather damage. Choose a Suitable Location The WAE9132-WAO9132 is tested to IP65 waterproof and dust-proof requirements to protect against severely wet and dusty environments. For optimal placement, we recommend that a predictive survey be performed by a qualified Avaya partner.
- Page 7 Installing the Avaya WLAN Access Point WAE9132-WAO9132 Prepare the Mounting Location For outdoor installations, you must ensure that the AP is grounded to earth ground to dissipate any static electric charge that may develop due to wind. Determine a good electrical earth ground point near the AP mounting location. If an earth ground point is not available, consult an electrician to have one installed.
- Page 8 Mount the AP on a Pole or Wall 5a - Pole Mounting For pole mounting, Avaya recommends using metal straps (not included with the AP). The metal straps can be obtained from BAND-IT-IDEX, Inc. (www.BAND-IT-IDEX.com). See their web site for additional contact information. Complete the following steps to mount the AP to a pole.
- Page 9 Installing the Avaya WLAN Access Point WAE9132-WAO9132 Using the Band-It tool, place the tool onto the strap. Rotate the Band-It tool so that it can pull the excess strap through the buckle and turn the crank until the strap is very tight.
- Page 10 Installing the Avaya WLAN Access Point WAE9132-WAO9132 Using a hammer, bend back and flatten the remaining strap. Using a hammer, bend and flatten the two tabs on the buckle to hold the flattened strap end in place. ...
- Page 11 Installing the Avaya WLAN Access Point WAE9132-WAO9132 Ground to Earth Ground (Required for Outdoor Installations) WARNING: Equipment installed outdoors must be externally grounded using a customer-supplied ground wire before power is applied. Contact the appropriate electrical inspection authority or an electrician if you are uncertain that suitable grounding is available.
- Page 12 Installing the Avaya WLAN Access Point WAE9132-WAO9132 Connect the Ethernet Cable with the Waterproof Connector Waterproof connectors are not needed for indoor installations. For indoor use, simply plug the PoE cable into the GIG1 PoE+ port. If using a second data cable, plug it into the GIG2 port. Skip Step 9 on page For outdoor installations, follow the instructions below.
- Page 13 Installing the Avaya WLAN Access Point WAE9132-WAO9132 The components of the connector are shown in the photo below in the order that they are placed onto the Ethernet cable, and also shown in more detail as a color-coded drawing.
- Page 14 Plug the RJ45 connector into the GIG1 POE+ port on the bottom of the WAE9132- WAO9132, making sure that its tab clicks in place for a secure connection. If power is being properly supplied to the AP, the LED located between the two Ethernet ports will show blinking green.
- Page 15 Radio1 ANT1 GIG2 GIG1 POE+ Radio1 ANT2 The WAE9132-WAO9132 has four male Type N connectors for the antennas, two on the bottom of the unit and to on the top. Radio2 ANT2 Radio2 ANT1 Both of the AP's Radio1 cables (Radio1 ANT1 and Radio1 ANT2) must be attached to antenna leads for the same frequency band (for example, 2.4GHz), and Radio1 must be configured to...
- Page 16 WOS “default” profile, and will receive the configuration and software version defined for that profile. If you are not using WOS, please refer to Using the Avaya OS for Avaya WLAN AP 9100 Series (NN47252-102) to configure your AP manually via the Express Setup menu option.
-
Page 17: Mounting Bracket Dimensions
Installing the Avaya WLAN Access Point WAE9132-WAO9132 Dimensions WAE9132-WAO9132 Dimensions 9.9 in 25.1 cm 2.75 in 7.0 cm 10.1 in 25.6 cm Note: Depth (2.75 in) includes the height of the protrusions built into the top and bottom of unit for screws. - Page 18 Installing the Avaya WLAN Access Point WAE9132-WAO9132 Customer Support Visit the Avaya Support website at https://support.avaya.com/ for the most up-to-date documentation, product notices, and knowledge articles. You can also search for release notes, downloads, and resolutions to issues. Use the online service request system to create a service request.
Need help?
Do you have a question about the WAO9132 and is the answer not in the manual?
Questions and answers