
Subscribe to Our Youtube Channel
Related Manuals for Outdoor GreatRoom Company Brooks


Summary of Contents for Outdoor GreatRoom Company Brooks
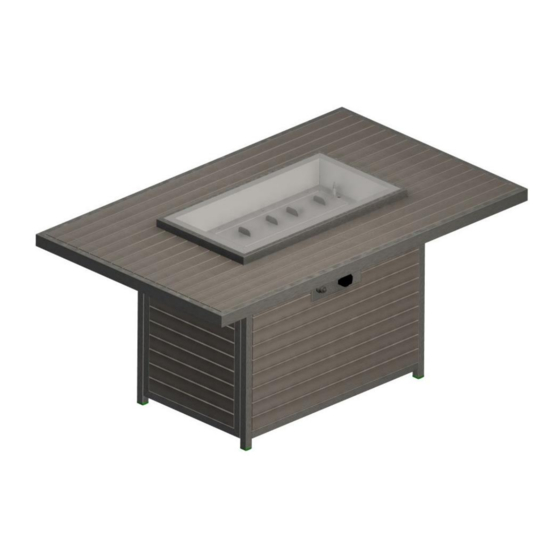
- Page 1 Brooks Fire Pit Table Installation Instructions for Brooks Fire Pit Table BRK-1224...
-
Page 2: Table Of Contents
IMPORTANT Contents Please consult your Crystal Fire instruction manual for detailed instructions and important information related to the burner Required Tools…………………………….…..2 installation including: lighting and operating instructions, safety Included with your Fire Pit……………….3 information, and proper tightening of connections with two wrenches. DO NOT ATTEMPT TO INSTALL CRYSTAL FIRE BURNER WITHOUT Assembly Instructions………………….………4 FIRST CONSULTING THE CRYSTAL FIRE OWNER’S MANUAL. -
Page 3: Included With Your Fire Pit
Included with your Fire Pit Touch-Up Gas Valve Kit Paint Bottle TOUCH PAINT Bolt Caps [X4] [X1] Mounting Gas Valve [X1] screws [X2] Bolt A [X16] M6 Allen Control knob Wrench [X1] M6X20 [X1] CF-1224 Burner Panel A [X1] Panel B [X1] Panel C [X1] Access Door [X1] Center Support [X2]... -
Page 4: Assembly Instructions
Assembly Instructions Included with your Fire Pit INSTALL NOTE: Final tightening of bolts should be completed following installation of all panels. A. 4 Fasteners 1. Unpack all the contents from the box and remove the individual B. 4 B-Bolts packaging from each component. Remove 4 pre-installed bolts (Bolt A) from the underside of the Top. - Page 5 Attach Panel C using Bolt A (x4) as shown below. Drainage holes NOTE: Drainage holes on Panel C must be facing down towards the surface on which you will be placing your fire pit. 5. Attach a Center Support piece, 6.
- Page 6 7. Do a final tightening of the bolts you have installed in your fire pit. Then, with the help of another person, turn the table right side up. 8. Hold the Gas Valve in place from behind the control panel as shown while inserting the two included Mounting Screws.
-
Page 7: Gas Connections
Gas Connections Read and understand your Crystal Fire owner’s manual before beginning burner hookups or using the device. Do not use Teflon tape or pipe dope on flare fittings. 1. Reach inside the burner cut-out and attach natural gas supply line using a 3/8”... - Page 8 3. Set Burner into the fire pit base as shown below. Electrode Access Door 4. Attach flex line from the burner to gas valve as shown below. TIGHTEN CONNECTION SECURELY WITH WRENCH Metal flex line to burner ONLY...
-
Page 9: Igniter Installation
Igniter Installation 1. Make sure the valve is in the OFF position before beginning. 2. Install sparker as shown, using a AAA battery (not included). Negative end should be placed inside the CF-SPARKER, positive end outside of the CF-SPARKER. Sparker will not operate correctly without an ignition and ground wire attached. -
Page 10: Glass Installation
Glass Installation 1. Scatter all of the included Glass Beads evenly onto burner surface. DO NOT OPERATE CRYSTAL FIRE BURNER WITHOUT GLASS BEADS OR OTHER DECORATIVE MEDIA PRESENT DO NOT OPERATE CRYSTAL FIRE BURNER WITH GLASS COVER IN PLACE (NOT INCLUDED) -
Page 11: Position Your Tank
After installing igniter and making gas connections, verify that all connections are tight and that no leaks are present using a solution of soapy water or a commercially available leak-check solution. Position Your Tank (if applicable) 1. Connect the propane hose/regulator to the propane tank and hand tighten (DO NOT USE A WRENCH) and slide the propane tank past the dotted line to ensure the Access Door closes properly. - Page 12 IMPORTANT Please consult your Crystal Fire instruction manual for detailed instructions and important information related to the burner installation including: lighting and operating instructions, safety information, and proper tightening of connections with two wrenches. DO NOT ATTEMPT TO INSTALL CRYSTAL FIRE BURNER WITHOUT FIRST CONSULTING THE CRYSTAL FIRE OWNER’S MANUAL.
Need help?
Do you have a question about the Brooks and is the answer not in the manual?
Questions and answers