Advertisement
Advertisement

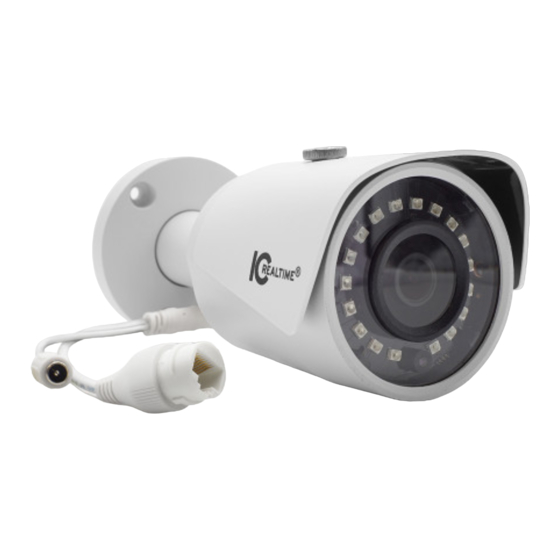
Related Manuals for ICRealtime ICIP-B2001-IR


Summary of Contents for ICRealtime ICIP-B2001-IR
- Page 1 HD Mini IR Waterproof Fixed Network Camera Quick Start Guide Version 1.2.0...
- Page 2 Welcome Thank you for purchasing our Network camera! This user’s manual is designed to be a reference tool for your system. Please read the following safeguard and warnings carefully before you use this series product! Please keep this user’s manual well for future reference! Important Safeguards and Warnings 1.Electrical safety All installation and operation here should conform to your local electrical safety codes.
- Page 3 Please do not dismantle the device; there is no component which can be fixed by users themselves in the machine. It may cause water leakage or bad image for the device due to unprofessional dismantling. It is recommended to use the device with thunder proof device in order to improve thunder proof effect. The grounding holes of the product are recommended to be grounded to further enhance the reliability of the camera.
- Page 4 Please refer to the disk for more details, check and download corresponding user’s manual and tool. Before installation, please open the package and check all the components are included. Contact your local retailer ASAP if something is broken in your package. Accessory Name Amount Network Camera Unit...
-
Page 5: Table Of Contents
Table of Contents Framework ........................... 1 Device External Cable ....................1 Framework and Dimension ..................1 Device Installation ........................3 Install Device ......................... 3 Network Configuration ....................... 5 Modify IP Address ......................5 Login WEB Interface ....................6... -
Page 6: Framework
1 Framework 1.1 Device External Cable You can refer to the following figure for cable information. See Figure 1-1. Figure 1-1 Cable Please refer to the following sheet for detailed information. Port Port name Connector Function description Connect to standard Ethernet cable. Ethernet Network port Note:... - Page 7 Figure 1-3...
-
Page 8: Device Installation
2 Device Installation Note: The device installation steps may be different due to the different appearance and structure, Please make sure the installation surface can min support the 3X weight of the camera and the bracket. 2.1 Install Device Figure 2-1 Device installation 1 Please see Figure 2-1 and Figure 2-2. - Page 9 Figure 2-2 Device installation 2 Step 6 Use cross head screw-driver (in accessories bag) to loosen locking screw. Step 7 Adjust the device in all possible directions, and set its monitoring direction according to the requirements. Step 8 Use cross head screw-driver to tighten the locking screws.
-
Page 10: Network Configuration
3 Network Configuration The IP address of all the cameras is the same when leaving factory (default IP192.168.1.108), in order to make the camera get access to the network smoothly, please plan the useable IP segment reasonably according to the actual network environment. 3.1 Modify IP Address IP address can be acquired and modified through quick configuration tool for the cameras which are accessed via wired network, it needs to connect wired network to configure wireless... -
Page 11: Login Web Interface
Figure 3-1 Step 3 Modify the camera IP address on the “Net” interface, click “Save” to finish modification. See Figure 3-2 for more details. Figure 3-2 3.2 Login WEB Interface... - Page 12 Note: Different devices may have different WEB interfaces, the figures below are just for reference, please refer to the document <<WEB Operation Manual>> in the disk and the actual interface for more details Step 1 Open IE and input the modified camera IP address in the address bar. Step 2 The login interface is shown below, please input your user name and password (Default user name is admin and password is admin respectively), click “login”.
- Page 13 Figure 3-4 Note: This quick start guide is for reference only. Slight difference may be found in user interface. All the designs and software here are subject to change without prior written notice. If there is any uncertainty or controversy, please refer to the final explanation of us. ...
Need help?
Do you have a question about the ICIP-B2001-IR and is the answer not in the manual?
Questions and answers