Table of Contents
Advertisement
Quick Links
Advertisement
Table of Contents

Related Manuals for ICRealtime ICIPD2012VIR


Summary of Contents for ICRealtime ICIPD2012VIR
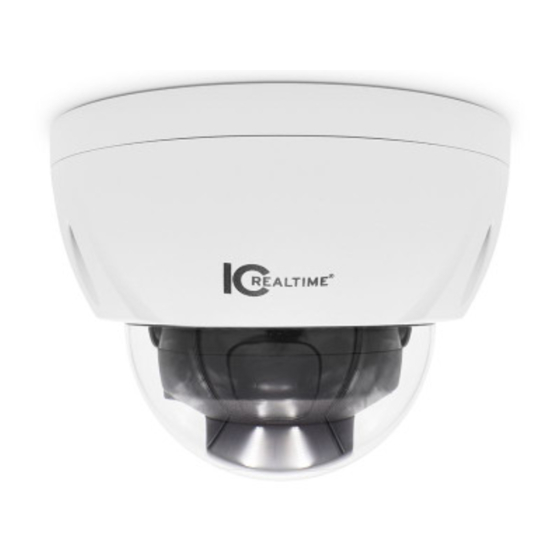
- Page 1 HD Vari-focal Dome Network Camera Quick Start Guide Version 1.0.0...
-
Page 2: Important Safeguards And Warnings
Welcome Thank you for purchasing our Network camera! This user’s manual is designed to be a reference tool for your system. Please read the following safeguard and warnings carefully before you use this series product! Please keep this user’s manual well for future reference! Important Safeguards and Warnings 1.Electrical safety All installation and operation here should conform to your local electrical safety codes. - Page 3 Please do not dismantle the device; there is no component which can be fixed by users themselves in the machine. It may cause water leakage or bad image for the device due to unprofessional dismantling. It is recommended to use the device with thunder proof device in order to improve thunder proof effect. The grounding holes of the product are recommended to be grounded to further enhance the reliability of the camera.
- Page 4 Please refer to the disk for more details, check and download corresponding user’s manual and tool. Before installation, please open the package and check all the components are included. Contact your local retailer ASAP if something is broken in your package. Accessory Name Amount Network Camera Unit...
-
Page 5: Table Of Contents
Table of Contents Structure ............................. 1 Port Description ......................1 Framework and Dimension ..................2 Bidirectional Talk ......................3 1.3.1 Device-end to PC-end ..................3 1.3.2 PC-end to the Device-end ..................3 Alarm Setup ........................4 Device Installation ........................6 Installation Steps ...................... -
Page 6: Structure
1 Structure Note: The following figure is for reference only, which is used to know the functions of device external ports. There are differences about external ports for some product models, please refer to the actual object for more details. 1.1 Port Description You can refer to the following figure for more details. -
Page 7: Framework And Dimension
Connect to standard Ethernet Network port Support POE function 1.2 Framework and Dimension Note: The following figures are for reference only, which are used to know the device dimension, please refer to the actual product for more details. Please refer to the following figure for dimension information. -
Page 8: Bidirectional Talk
Figure 1-3 Dimension illustration 1.3 Bidirectional Talk Note: Some products do not support bidirectional talk, which cannot be applied to this chapter. 1.3.1 Device-end to PC-end Device Connection First, please connect the speaker or the MIC to the audio input port of the device. Then connect the earphone to the audio output port of the PC. -
Page 9: Alarm Setup
At the PC-end, input the audio information to the speaker or MIC, and then you can get the audio transmitted from the PC-end via the earphone or sound box at the device-end. 1.4 Alarm Setup Note: It is only supported by some series products. Figure 1-4 Alarm input, output description: Step 1... - Page 10 Figure 1-5 Please refer to the following figure for alarm output information. See Figure 1-6 and Figure 1-7. Figure 1-6 Figure 1-7 Mode A: Level application. Alarm output high and low level, alarm output is OC; it needs to increase pull-up resistance externally to work normally.
-
Page 11: Device Installation
2 Device Installation 2.1 Installation Steps Figure 2-1 Important Before the installation, please make sure the installation surface can at least support 3x weight of the camera and the bracket. Please follow the steps listed below to install the device. Please refer to Figure 2-1 for reference. Step 1 Use star-shaped wrench in the accessories bag to unscrew the three star-shaped screws on the dome enclosure, and then open the dome enclosure. - Page 12 Step 5 Adjust the lens to the needed angle according to the application requirements of the location. Hold the screw location of the rotation bracket on both sides, turn the rotation bracket horizontally, adjust the lens direction horizontally to the targeted position; unscrew the two locking screws on both sides (do not remove them completely, just make them loose), hold the IR light decoration cover to make the lens rotate vertically, adjust the vertical direction of lens to a proper monitoring angle, then tighten the locking screws on both sides;...
-
Page 13: Micro Sd Card Installation
Figure 2-3 Step 2 Before step 4 of device installation, install the cable with waterproof sealing plug on the pedestal through the installation hole under the device pedestal, and assemble the cable pin. Step 3 Connect the pin accessed with cable to the device, and then install the device according to the normal steps. -
Page 14: Network Configuration
3 Network Configuration The IP address of all the cameras is the same when leaving factory (default IP192.168.1.108), in order to make the camera get access to the network smoothly, please plan the useable IP segment reasonably according to the actual network environment. 3.1 Modify IP Address IP address can be acquired and modified through quick configuration tool for the cameras which are accessed via wired network, it needs to connect wired network to configure wireless parameters... -
Page 15: Login Web Interface
Figure 3-1 Step 3 Modify the camera IP address on the “Net” interface, click “Save” to finish modification. See Figure 3-2 for more details. Figure 3-2 3.2 Login WEB Interface Note: Different devices may have different WEB interfaces, the figures below are just for reference, please refer to the document <<WEB Operation Manual>>... - Page 16 Figure 3-3 Step 3 Install controls according to the system prompt; see Figure 3-4 for the WEB main interface. Please modify the administrator password as soon as possible after you successfully logged in. Figure 3-4...
- Page 17 Note This user’s manual is for reference only. Slight difference may be found in user interface. All the designs and software here are subject to change without prior written notice. All trademarks and registered trademarks mentioned are the properties of their respective owners.
Need help?
Do you have a question about the ICIPD2012VIR and is the answer not in the manual?
Questions and answers